If the recorder has a reputation problem, let’s address the elephant in the music room: yes, many people remember it as the squeaky plastic instrument from elementary school. But that is not the recorder’s full story. In the right hands, it is expressive, charming, surprisingly elegant, and far more musical than its lunchbox-level reputation suggests. Better yet, it is one of the easiest instruments for beginners to start learning because you can make a sound quickly, build confidence fast, and begin playing simple songs before your coffee gets cold.
This step-by-step guide walks you through the basics of how to play the recorder, from holding it correctly to playing your first notes and practicing without sounding like a panicked seagull. Whether you are a parent helping a child, an adult beginner, or someone reconnecting with an instrument from the past, this guide will help you start strong and sound better sooner.
Why the Recorder Is a Great Beginner Instrument
The recorder is simple in design, but that simplicity is part of its magic. There are no reeds to soak, no brass mouthpiece battles, and no need to wrestle with a giant instrument case that makes you look like you are smuggling sports equipment. A basic soprano recorder is affordable, lightweight, and portable. It also teaches core musical skills that matter on any instrument: breath control, rhythm, reading notes, articulation, listening, and finger coordination.
For beginners, the soprano recorder in C is usually the best place to start. It is the most common classroom and entry-level model, and many beginner methods introduce notes in an easy sequence that helps new players succeed quickly.
Step 1: Get to Know Your Recorder
Before you play, spend a minute meeting the instrument like civilized people. A typical recorder has a mouthpiece at the top, a thumb hole on the back, and finger holes down the front. Most beginner recorders are made of plastic, which is practical, durable, and easy to maintain. That makes it a smart starting choice.
What type of recorder should beginners use?
Choose a soprano recorder if you are just starting out. It is the standard beginner model and is used in many lessons and beginner books. If possible, choose a decent-quality instrument rather than the absolute cheapest one you can find. A better beginner recorder usually gives you a cleaner tone and fewer frustrating squeaks. In other words, buy an instrument that wants to cooperate.
Baroque or German fingering?
You may see beginner recorders labeled with Baroque fingering or German fingering. Either can work at the very beginning, but Baroque fingering is more widely supported in method books and long-term study. If you want the smoothest path forward, Baroque fingering is usually the safer choice.
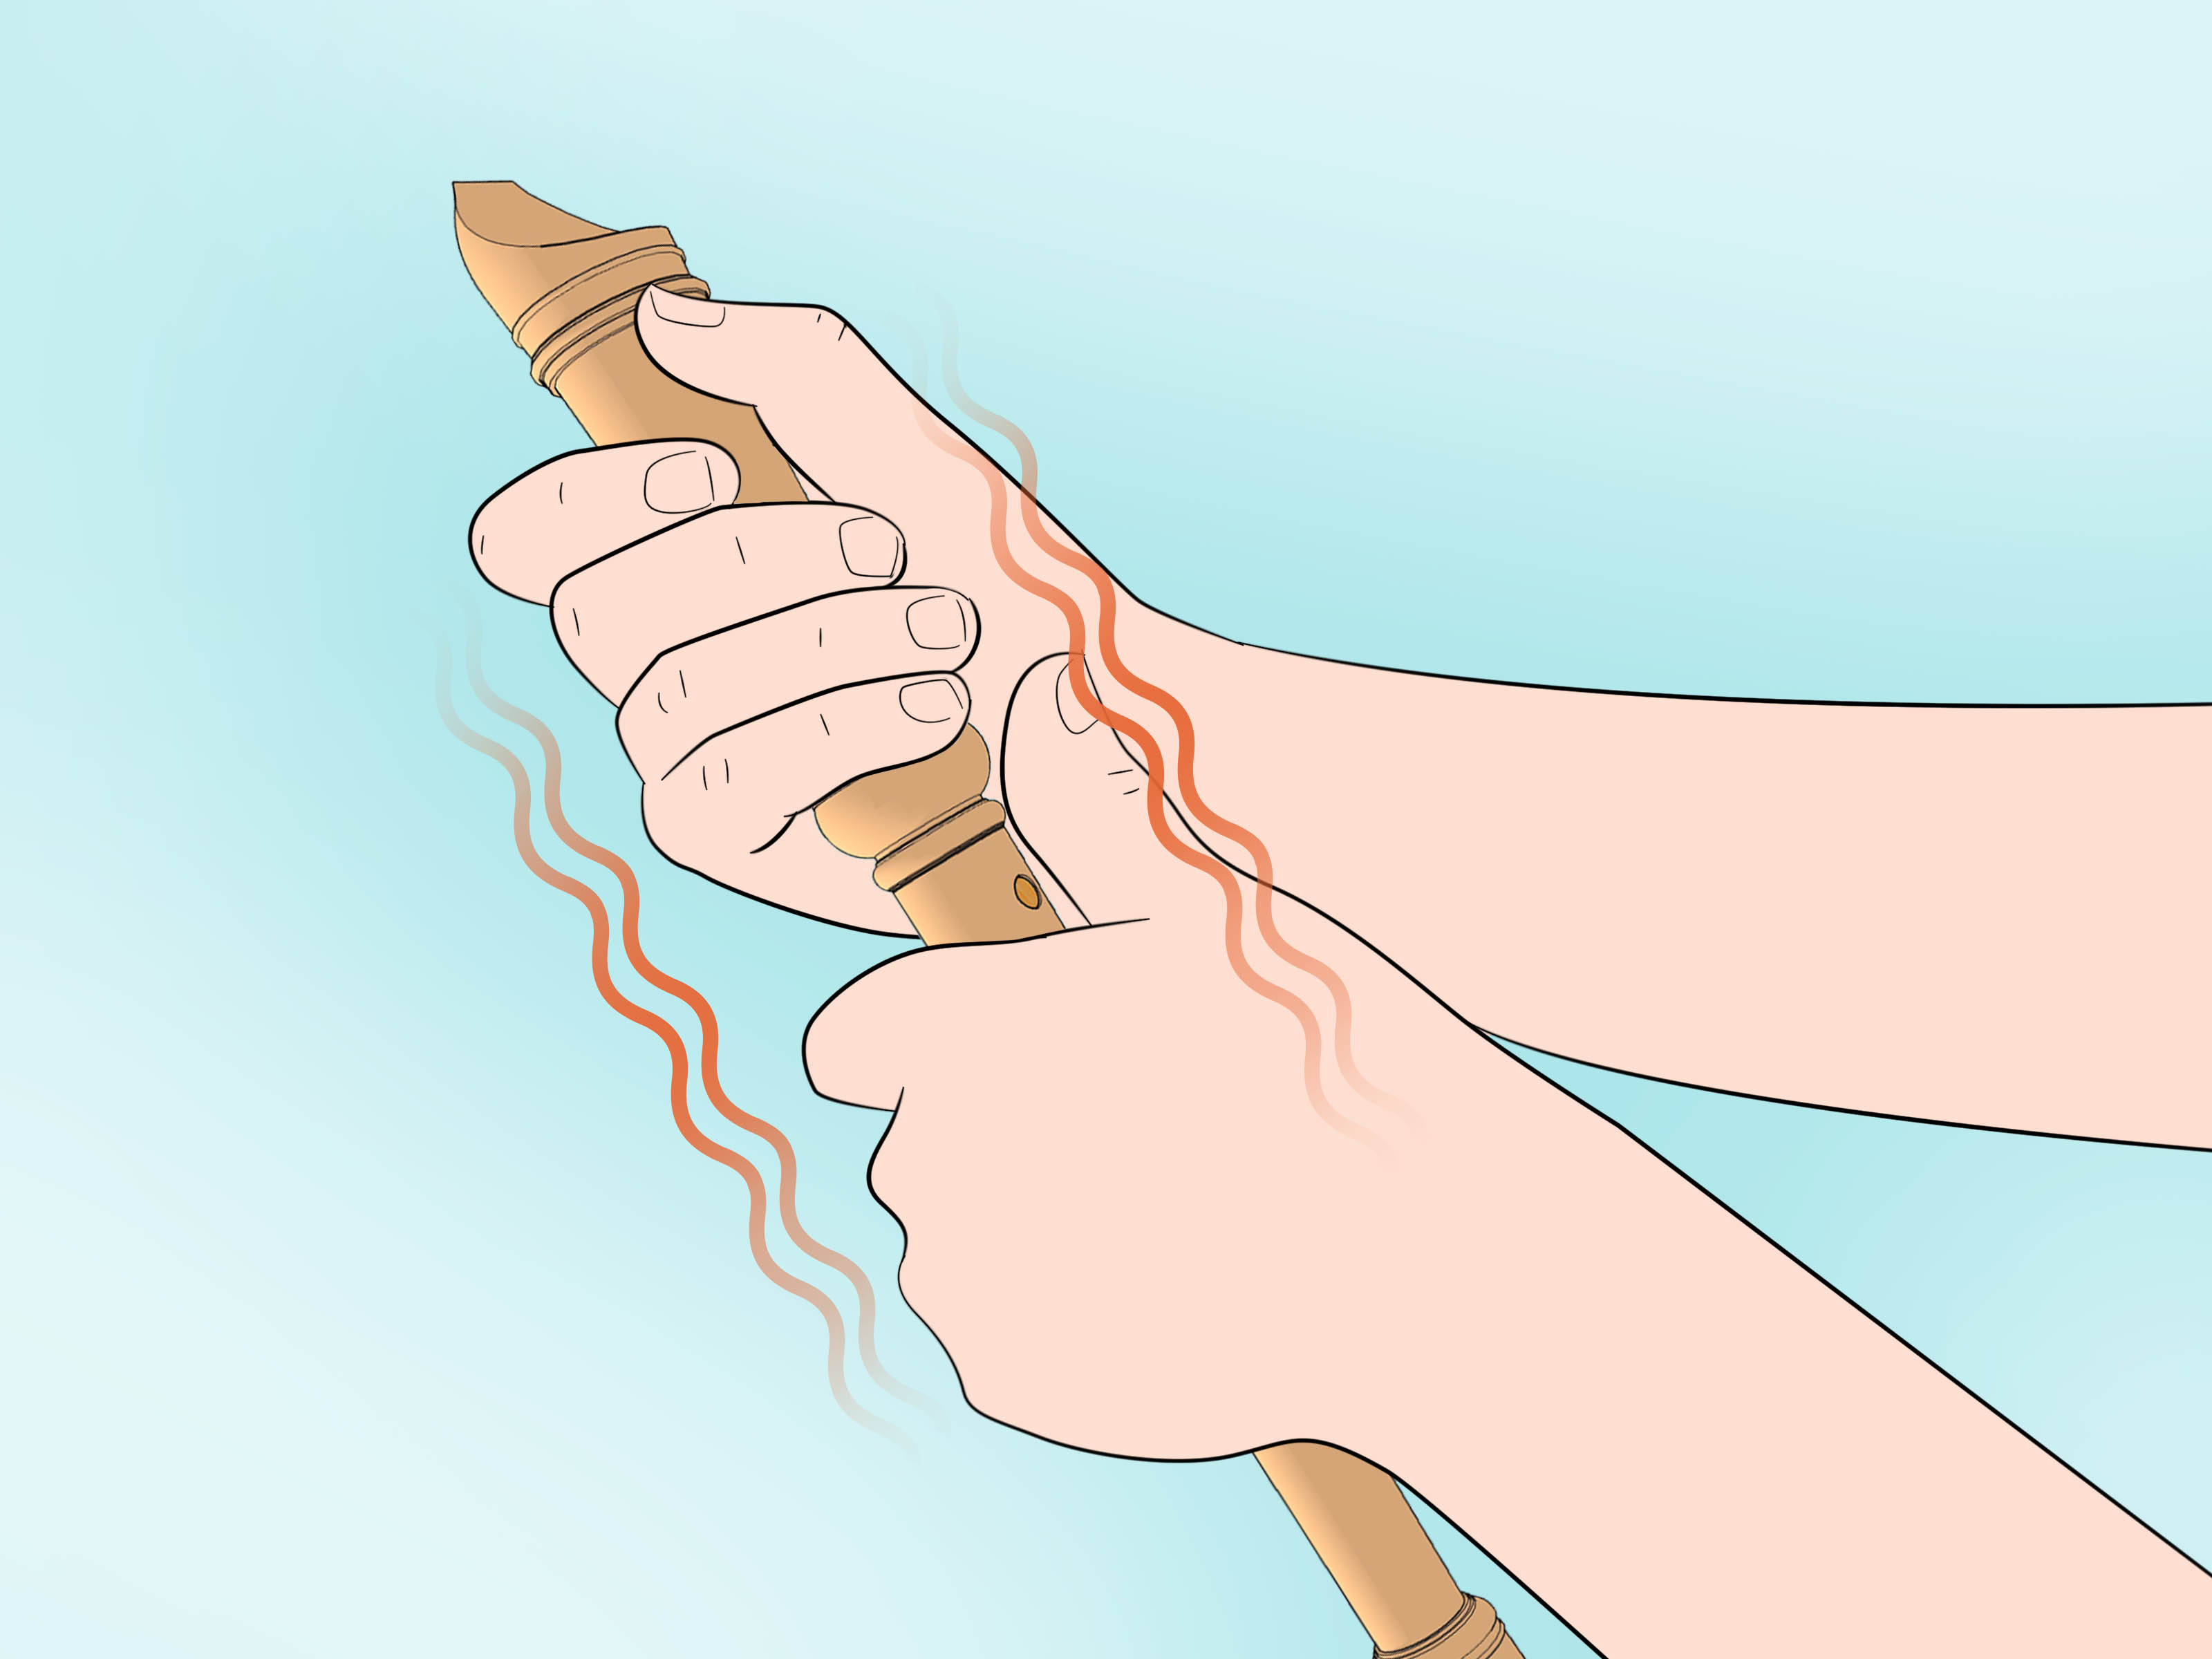
Step 2: Learn How to Hold the Recorder
This step sounds simple, but it saves beginners from a surprising amount of chaos.
Basic hand position
Hold the recorder with your left hand on top and your right hand on the bottom. Your left thumb covers the hole on the back. The fingers of your left hand cover the upper front holes, while your right-hand fingers cover the lower front holes.
Keep your fingers curved and relaxed. Do not flatten them like you are trying to iron the instrument. Use the pads of your fingers to cover the holes completely. If a hole is only partly covered, the recorder may squeak, chirp, or make a noise that sounds like the instrument is filing a complaint.
Posture matters
Sit or stand tall with relaxed shoulders. Keep your neck easy, your chest open, and your feet grounded. Good posture helps you breathe better, and breathing better helps everything else. If your posture looks like a wilted houseplant, your tone will probably sound like one too.
Step 3: Make Your First Sound
The good news is that it does not take long to get a sound from a recorder. The better news is that it also does not take long to get a good sound if you begin with the right habits.
How to blow into the recorder
Place the mouthpiece gently between your lips and form a seal. Do not bite. Do not clamp down. The recorder is not a corn dog. Blow with a gentle, steady stream of air. Many beginners blow too hard because they assume louder equals better. On recorder, harder usually equals squeakier.
Think of warm, focused air rather than a gust of wind trying to knock over patio furniture. A relaxed throat and steady breath will give you a cleaner, sweeter tone.
Warm up the instrument
If your recorder sounds fuzzy or clogged, moisture may be building up in the windway. This happens often, especially with plastic recorders. Warming the head joint a little before playing and clearing moisture gently can help. It is a normal part of recorder life, not a sign that your instrument has given up on you.
Step 4: Start with Easy Notes
Many beginner recorder methods introduce the first notes as B, A, and G. That sequence is popular for a reason: the notes are simple to finger, they sit comfortably on the instrument, and they unlock several easy songs almost immediately.
How to play B
Cover the back thumb hole with your left thumb and the first front hole with your left index finger. Blow gently. Congratulations, you have entered the world of recorder notes.
How to play A
Keep the thumb and first hole covered, then add your left middle finger to cover the second hole. Same calm air, same relaxed hands.
How to play G
Keep the thumb, first hole, and second hole covered, then add your left ring finger to cover the third hole. Now you have three notes, which means you officially have musical options instead of just ambition.
Why these notes matter
With B, A, and G, you can begin playing beginner-friendly tunes and short patterns. This builds coordination, pitch awareness, and confidence without overwhelming your fingers or your patience.
Step 5: Learn Basic Articulation
Once you can make a note, the next step is learning how to start each note clearly. This is called articulation, and it is one of the secrets to sounding musical instead of robotic.
Use “too” and “doo”
A simple way to begin is to think or whisper syllables like “too” and “doo” as you play. “Too” gives a clearer, more defined start to the note. “Doo” creates a softer, gentler attack. The idea is not to jab at the note with your tongue like you are picking a fight. Instead, let the tongue move naturally, the way it does when you speak.
Try holding a B and then playing several repeated B notes with “too-too-too.” After that, try “doo-doo-doo.” You will hear the difference right away. This is where the recorder starts sounding less like a school assignment and more like actual music.
Step 6: Play Your First Simple Songs
As soon as you know B, A, and G, start playing tiny melodies. Do not wait until you feel “ready.” Playing real music is what makes technique stick.
Good beginner song ideas
- Hot Cross Buns – the unofficial national anthem of beginner recorder players
- Mary Had a Little Lamb
- Au Clair de la Lune
- Simple call-and-response patterns
These songs help you practice note changes, rhythm, breath, and listening without requiring the finger speed of a caffeinated wizard.
Step 7: Read the Fingering and Music Clearly
At first, many beginners rely on letter names or fingering charts. That is fine. A fingering chart is your training wheels, not your forever home. Use it to learn where your fingers go, then begin connecting those finger patterns with notes on the staff.
Tips for reading music on recorder
Start with short patterns rather than full pages of music. Clap rhythms before you play. Say note names out loud. Finger the notes silently before blowing. That last trick is especially useful because it lets your hands learn the movement without the added drama of sound.
If you are teaching a child, break music into very small pieces. One measure played well beats four measures played like a kitchen accident.
Step 8: Practice Smart, Not Forever
You do not need marathon sessions to improve on recorder. In fact, short, focused practice often works better for beginners.
A beginner practice routine
- Take a few calm breaths and check posture.
- Play a few long notes with gentle air.
- Review B, A, and G slowly.
- Practice repeated notes using “too” and “doo.”
- Play one or two easy songs.
- Repeat the trickiest part once more before stopping.
Ten to fifteen focused minutes is plenty for many beginners. The goal is consistency, not exhaustion. You are building skill, not training for recorder Olympics.
Common Beginner Mistakes and How to Fix Them
Squeaking
Cause: blowing too hard, leaking finger holes, or tense hands.
Fix: use softer air, check full hole coverage, and relax your grip.
Weak or airy tone
Cause: unfocused breath or loose finger placement.
Fix: steady the air stream and make sure every covered hole is actually covered.
Messy note starts
Cause: no articulation or overly aggressive tonguing.
Fix: practice gentle “too” and “doo” syllables.
Frustration with songs
Cause: moving too fast.
Fix: slow down, isolate two or three notes, and build up from there.
How to Sound Better Faster
If you want fast improvement, focus on tone before speed. A slow, beautiful B is more useful than a frantic melody that sounds like your recorder is being chased. Listen carefully to every note. Ask yourself:
- Did the note start clearly?
- Was the tone gentle and steady?
- Were all the holes fully covered?
- Did I stay relaxed?
Recorder rewards awareness. Tiny changes in breath, fingers, and tongue make a big difference. That is part of what makes the instrument so satisfying. It teaches you that music is not just about pressing the right buttons. On recorder, there are no buttons. It is all you, friend.
What Learning the Recorder Really Feels Like: A 500-Word Experience Section
Learning the recorder is a funny little adventure because the progress comes in bursts. On day one, you feel wildly optimistic. You hold the instrument, play one decent B, and think, “I am basically one recital away from greatness.” Five minutes later, the squeaks arrive, your fingers miss a hole, and you realize the recorder is humble on the outside but sneaky on the inside.
Most beginners go through three emotional seasons. The first is curiosity. Everything is new. You are learning what the thumb hole does, how much air is too much air, and why your left hand is apparently in charge of top-floor management. This stage is exciting because every small success feels huge. Playing B, then A, then G can feel like unlocking a secret code.
The second season is mild betrayal. This is when you discover that the recorder remembers every sloppy habit. Blow too hard? Squeak. Leave a tiny gap over a hole? Squeak. Sit like a shrimp at a laptop? Thin tone. It can feel unfair at first. But this stage is actually valuable because the instrument gives instant feedback. The recorder is brutally honest, but in a helpful way. It is basically the strict but effective coach of beginner instruments.
Then comes the third season: actual music. This is the magical moment when your fingers start moving more naturally, your articulation feels less awkward, and a simple tune suddenly sounds like a tune instead of a cry for help. Maybe it is “Hot Cross Buns.” Maybe it is “Mary Had a Little Lamb.” Maybe it is just a three-note pattern you can play evenly with a nice tone. Whatever it is, that first real musical moment sticks with you.
Another experience many players share is how quickly the recorder teaches patience. You cannot force it. If you rush, it tells on you. If you relax, listen, and adjust, it rewards you. That makes the recorder surprisingly good for building practice habits. It teaches that improvement often comes from repeating one small idea carefully rather than attacking the whole song like a heroic disaster.
There is also something unexpectedly joyful about how portable and low-pressure the recorder can be. You can practice for a few minutes, set it down, come back, and try again. You do not need a giant setup. You do not need cables, reeds, amps, or a second mortgage. Just the instrument, a little patience, and a willingness to laugh at your squeaks instead of taking them personally.
For children, the recorder often becomes the first instrument that makes music feel real. For adults, it can be a refreshing reminder that learning something new does not have to be dramatic or expensive. It can just be fun. Honest, squeaky, gradually-more-beautiful fun.
And that might be the best part of learning the recorder: it starts simple, gets deep fast, and keeps rewarding anyone willing to slow down, breathe well, and keep going. Not bad for a little tube with holes.
Final Thoughts
If you are wondering how to play the recorder well, the answer is wonderfully unglamorous: hold it correctly, breathe gently, cover the holes fully, articulate clearly, and practice simple music with patience. That is it. No mystical talent required. Just steady habits and a sense of humor.
Start with the basics, especially B, A, and G. Focus on a beautiful tone instead of speed. Use short, regular practice sessions. Play easy songs early. And remember that squeaks are not proof that you are bad at music. They are just proof that the recorder has opinions.
Stick with it, and this humble beginner instrument can open the door to real musicianship, better listening, stronger rhythm, and the simple pleasure of making music with your own breath and hands.