Agave pups are the plant world’s version of “surprise, you now own more agaves.” One day you have a single sculptural rosette looking dramatic in a pot or desert-style bed. A few months later, tiny spiky miniatures appear around the base like a very serious succulent family reunion. The good news? Those pups can become healthy new plants if you remove and plant them correctly.
Learning how to remove agave pups from the mother plant is one of the easiest ways to propagate agave, save money, fill a xeriscape garden, or create gifts for fellow plant lovers who enjoy plants with personality and a slight medieval-weapon vibe. The process is simple, but agaves are not soft, floppy houseplants. They have sharp leaf tips, tough roots, and a strong preference for dry, well-draining conditions. Treat them with respect, and they will reward you with handsome, drought-tolerant new plants.
This guide walks you through when to separate agave offsets, what tools to use, how to cut the pup away, how long to let it callus, and how to plant it in a container or garden bed without accidentally creating a soggy little rot factory.
What Are Agave Pups?
Agave pups, also called offsets, offshoots, suckers, or baby agaves, are small plants that grow from the base or underground rhizomes of a mature agave. They are usually genetic copies of the mother plant, which means a pup from a blue-gray agave should grow into a similar blue-gray agave. No mystery seedling lottery, no botanical plot twist.
Some agave species produce pups generously. Others are more private and may produce few or none. Agave americana, for example, is famous for making plenty of offsets, sometimes too many if you are trying to keep a clean, minimalist landscape. Other agaves, such as some non-clumping varieties, may not offset much at all. Before assuming something is wrong, remember that pup production depends on species, maturity, growing conditions, and whether the mother plant is approaching the end of its life cycle.
Most agaves are monocarpic, meaning the main rosette flowers once after years of growth and then dies. That sounds tragic, but agaves are practical plants. Many leave behind pups that continue the clump, so the garden gets a sequel even after the mother plant takes its final bow.
When Is the Best Time to Remove Agave Pups?
The best time to remove agave pups is usually spring or early fall, when temperatures are warm enough for root growth but not brutally hot. In mild climates, you can often transplant agave pups almost any time of year, but extreme heat, freezing weather, and wet winter soil make the job harder on the plant.
A good pup is usually a few inches tall, has several leaves, and ideally has some roots of its own. If the pup is tiny, pale, or still buried deep under the mother plant, it may survive separation, but it will need more patience. A pup with roots is like a teenager with a job and a driver’s license: still not fully independent, but much easier to send out into the world.
Tools and Supplies You’ll Need
Agave propagation does not require fancy equipment. However, it does require protection. This is not the moment for bare hands, flip-flops, and optimism.
- Thick gloves, preferably leather or heavy-duty garden gloves
- Long sleeves and eye protection
- A sharp knife, hori-hori knife, hand trowel, pruning saw, or small shovel
- Clean pruning shears for small runners or roots
- Rubbing alcohol or disinfectant for cleaning blades
- Cactus or succulent potting mix
- Containers with drainage holes, if potting
- Pumice, perlite, coarse sand, or gravel for extra drainage
- A shaded, dry spot where cut pups can callus
Clean tools matter because fresh cuts can invite rot or disease. Wipe blades before cutting, especially if you have been working with other plants. Your agave pup does not need to inherit last week’s mystery fungus.
Step-by-Step: How to Remove Agave Pups from the Mother Plant
1. Inspect the Mother Plant and Choose the Right Pup
Look around the base of the mother agave for pups that are large enough to handle. A strong candidate has several visible leaves, a firm base, and enough size that you can grip or lift it without crushing it. Avoid pups that are mushy, blackened, badly damaged, or already rotting.
If there are several pups, remove the easiest ones first. Those growing a few inches away from the mother plant are often attached by a runner and may be simpler to separate than pups jammed tightly under the rosette. Agaves are beautiful, but they do not care about your knuckles.
2. Clear Soil Around the Pup
Use a hand trowel or gloved fingers to gently remove soil around the pup. Your goal is to expose the base of the offset and find the connection between the pup and the mother plant. In many cases, you will see a thick runner, rhizome, or root-like stem linking the two.
Work slowly. If the mother plant is large, its leaves may hide sharp spines at exactly the height of your wrist, forearm, or unsuspecting forehead. Move leaves aside carefully, and never lean your face over an agave like you are smelling a rose. Agaves are not roses. Agaves believe in boundaries.
3. Cut the Pup Away Cleanly
Once the connection is visible, cut between the pup and the mother plant using a sharp knife, pruners, or shovel. Try to keep as many of the pup’s own roots intact as possible. If the pup has a small root system, lift it with the roots attached. If it has no roots, do not panic. Unrooted agave pups can still grow roots if allowed to callus and planted correctly.
A clean cut is better than ripping. Ripping leaves ragged tissue that dries unevenly and can rot more easily. Think of it as plant surgery, not a tug-of-war contest.
4. Trim Damaged Roots or Leaves
After removing the pup, inspect it. Trim broken, mushy, or badly torn roots with clean pruners. Remove dead lower leaves if they are already loose. Do not strip healthy leaves unnecessarily because the young plant needs stored energy while it establishes.
If the pup has a long underground stem, you can shorten it slightly, but leave enough base for stability and root formation. A tiny pup with no base and no roots is much harder to establish.
5. Let the Cut Surface Callus
If the pup has a fresh cut, especially if it has few or no roots, let it sit in a dry, shaded, well-ventilated place for a few days before planting. Some gardeners wait two or three days; others prefer about a week, especially for larger cuts. The goal is for the cut surface to dry and form a callus.
This step is important because agaves hate wet wounds. Planting a freshly cut, uncallused pup into damp soil can encourage rot. The callus acts like a natural bandage. Do not place the pup in direct hot sun while it dries, and do not wrap it in plastic. It needs air, not a spa treatment.
How to Plant Agave Pups in a Pot
Container planting is a smart choice if your pup is small, rootless, or needs time to recover before going into the landscape. Choose a pot only slightly larger than the pup’s root area. A huge pot holds too much wet soil around a small plant, which can cause root rot.
Use a cactus or succulent mix, or make your own by combining potting soil with mineral materials such as pumice, perlite, coarse sand, or small gravel. The mix should drain quickly and feel gritty rather than heavy. The pot must have drainage holes. Decorative cachepots without holes are adorable little bathtubs, and agave roots do not want a bath.
Set the pup so the crown sits at or slightly above the soil line. Do not bury the lower leaves. Firm the soil gently around the base so the pup stands upright. If it wobbles, use small stones around the base for support, but keep mulch and wet organic material away from the crown.
Wait a day or two before watering if the pup was freshly cut or has few roots. Then water lightly and let the soil dry before watering again. Once the pup begins to root and show firm growth, gradually move it into brighter light. A young pup may scorch if thrown immediately into intense afternoon sun, even if the mother plant lives there happily.
How to Plant Agave Pups in the Ground
For outdoor planting, choose a site with full sun or bright partial sun, depending on your climate and agave species. In very hot desert or inland areas, young pups may appreciate light afternoon shade until established. In cooler climates, give them as much sun as possible.
Drainage is the big rule. Agaves prefer sandy, gritty, rocky, sharply drained soil. If your garden soil is heavy clay, plant the pup on a mound, slope, raised bed, or amended area where water runs away from the crown. Do not plant agave pups in low spots where rainwater collects. That is not a planting hole; that is a tiny swamp with a cancellation notice.
Dig a hole wider than the root spread but not much deeper than the pup’s base. Agaves often have shallow, spreading roots, so width matters more than depth. Set the plant high, backfill with gritty soil, and keep the crown above grade. Water lightly after planting if the pup is rooted and the weather is warm, then let the soil dry between waterings.
Aftercare: Water, Light, and Patience
Newly planted agave pups need a careful balance. They need enough moisture to encourage root growth, but not so much that the base stays wet. For potted pups, water when the top inch or two of mix has dried. For in-ground pups, water lightly during establishment, then reduce watering as the plant settles in.
Mature agaves are drought tolerant, but new pups are not instantly mature just because they look tough. During the first month, check them regularly. A pup that is rooting may look slightly wrinkled or quiet for a while. That does not always mean failure. Agaves are slow, stubborn plants. Their growth strategy is less “instant gratification” and more “I’ll be magnificent in my own time, thank you.”
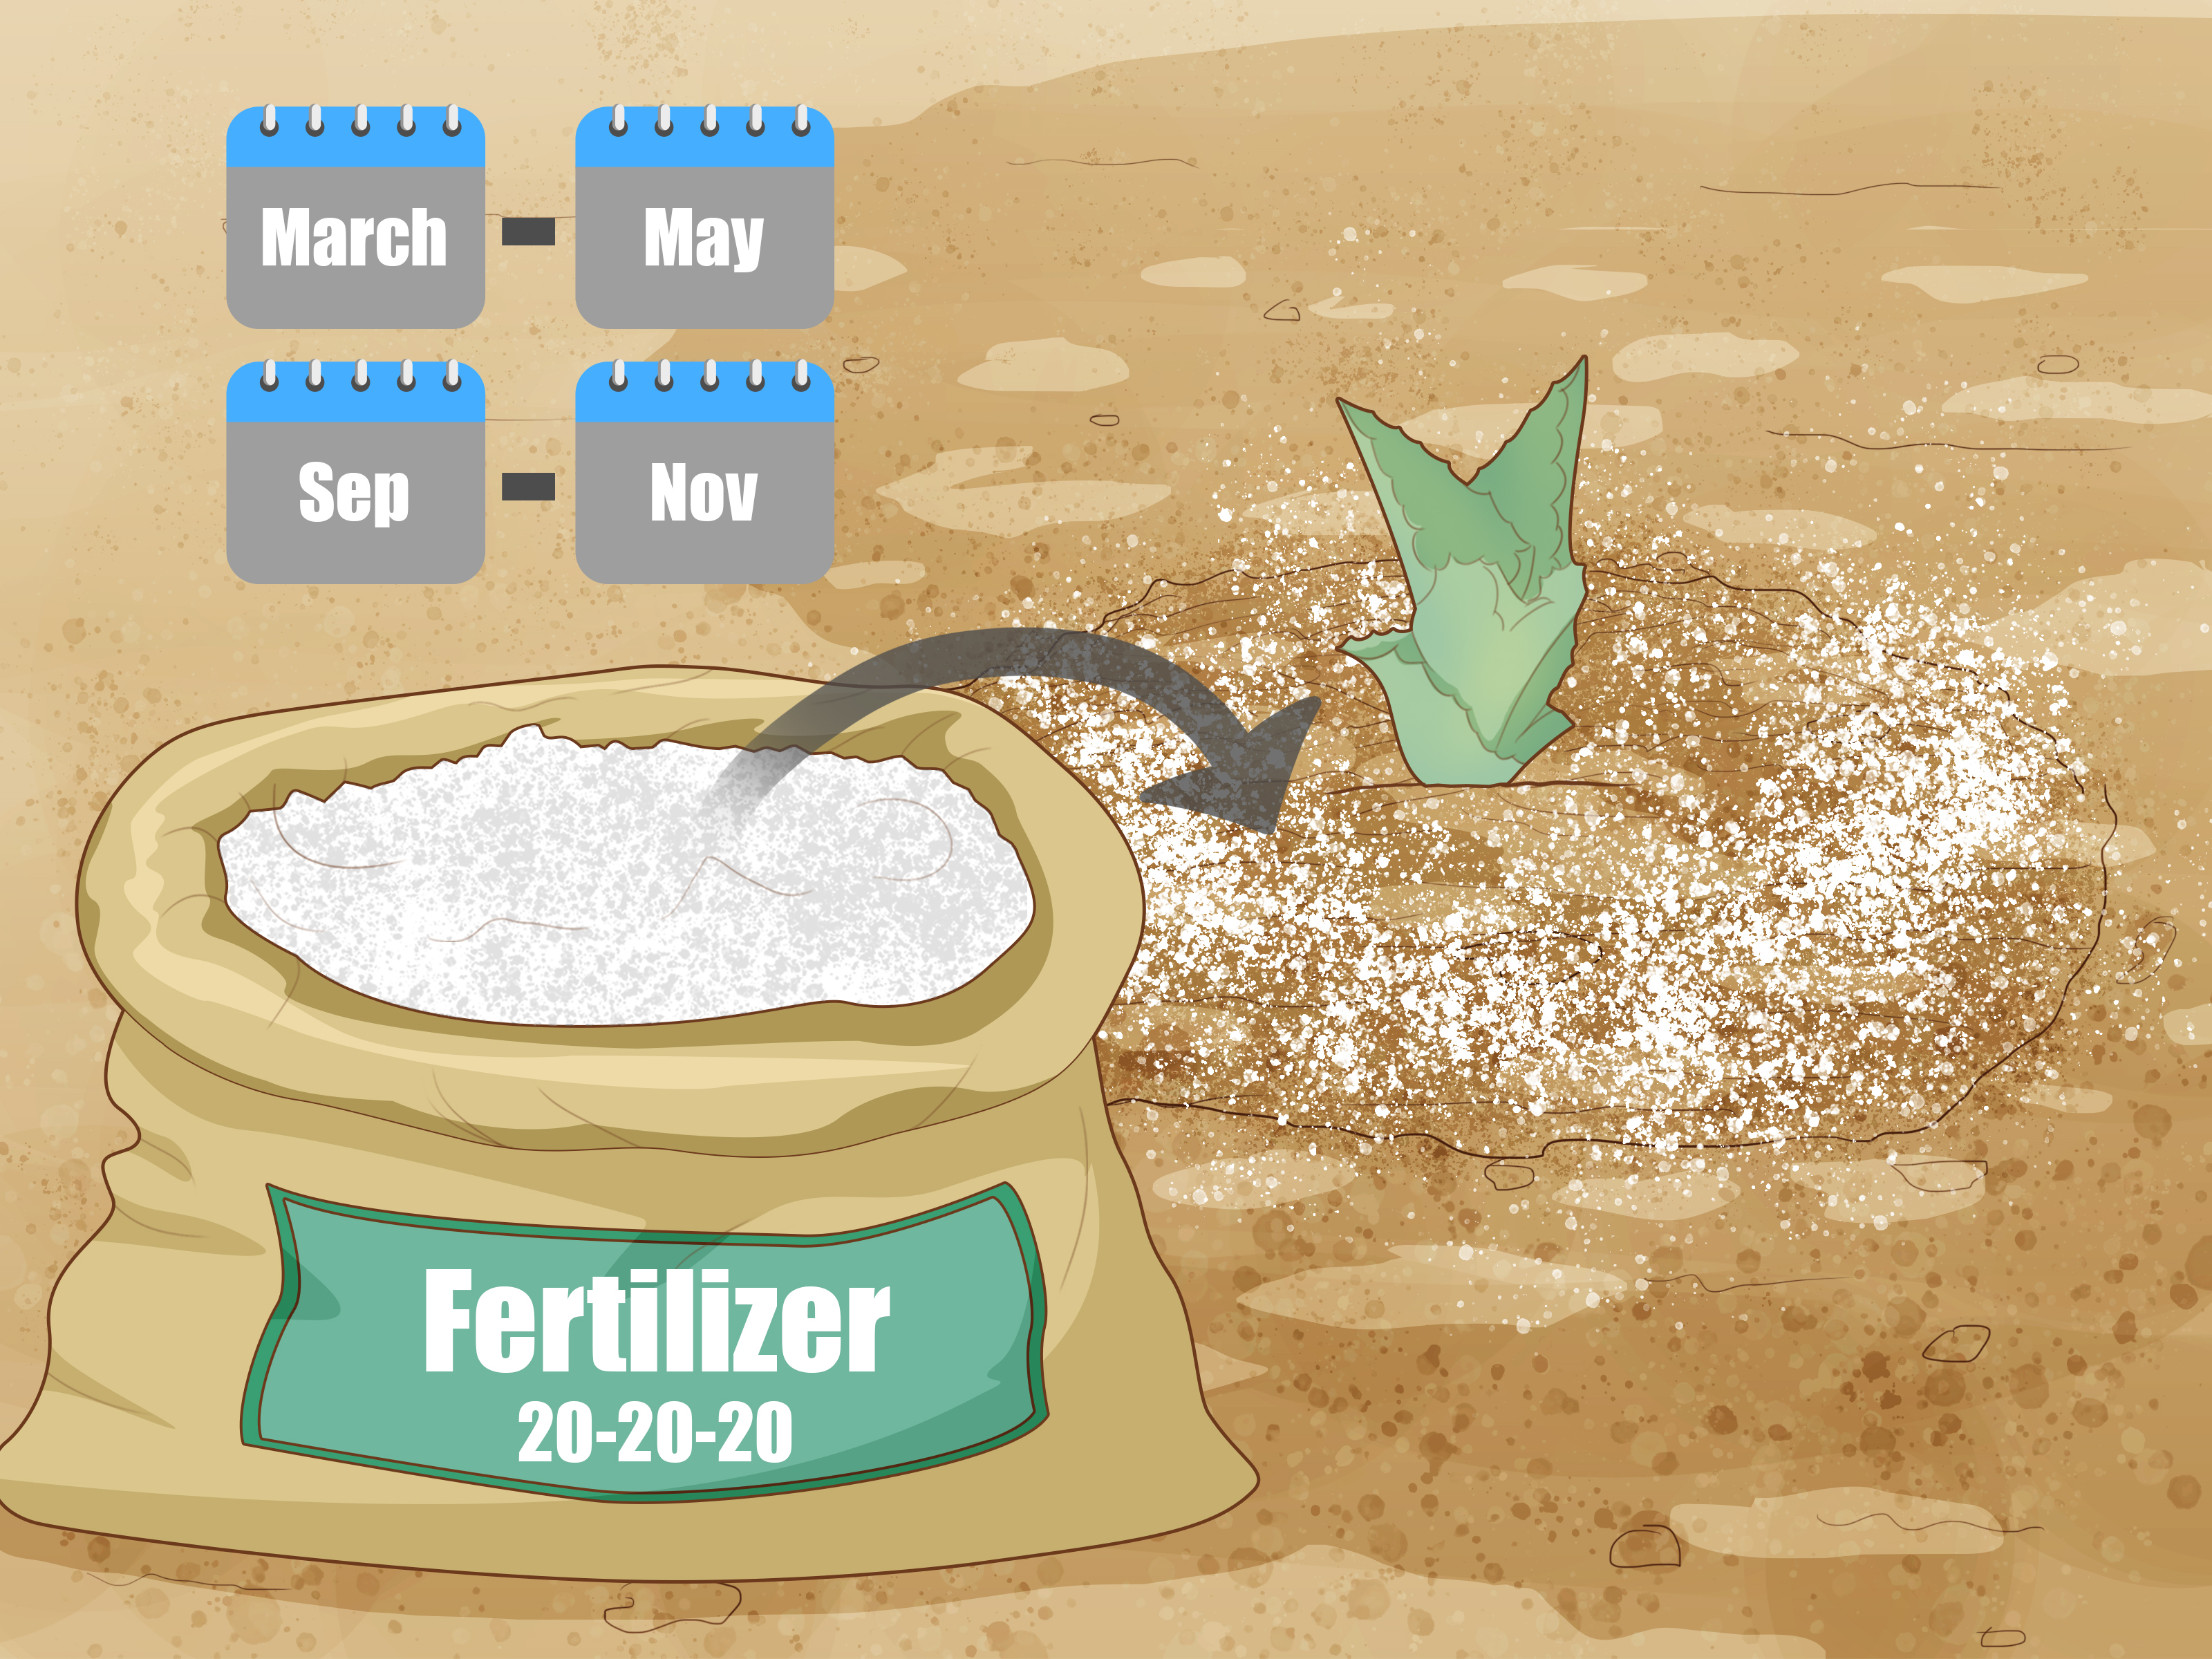
Avoid fertilizing immediately after transplanting. Too much fertilizer can push weak growth and may encourage flowering in mature plants. If you feed container agaves later, use a diluted succulent fertilizer during the active growing season, not during winter dormancy.
Common Mistakes When Removing and Planting Agave Pups
Planting Too Deep
Burying the crown is one of the fastest ways to rot an agave pup. Keep the base stable, but do not cover the central crown or lower leaves with soil or mulch.
Watering Too Soon or Too Much
Freshly cut pups need time to seal. If the pup has few roots, heavy watering will not help it drink; it will only keep the wound wet. Water lightly after callusing and allow the soil to dry.
Using Heavy Soil
Regular potting soil can hold too much moisture unless amended. Garden clay can be even worse. Add grit, pumice, perlite, or gravel, and prioritize drainage over richness.
Skipping Gloves
Agave spines can puncture skin, scratch arms, and make a simple garden task feel like a duel. Wear gloves and eye protection. Pride heals slower than a clean puncture wound.
Removing Pups Too Small
Tiny pups can survive, but larger pups with several leaves and some roots establish faster. If you are not in a hurry, let very small pups grow longer before separating them.
Troubleshooting Agave Pup Problems
The Pup Is Turning Brown or Mushy
Mushiness usually means rot. Remove the pup from wet soil, cut away soft tissue with a clean blade, let it dry and callus, and replant in a drier, grittier mix. If the center has rotted, the pup may not recover.
The Pup Looks Wrinkled
Wrinkling can happen while a pup is forming roots. Check the base. If it is firm, give it bright light, warmth, and careful watering. If it is soft, reduce moisture and inspect for rot.
The Pup Has No Roots
No roots does not mean no hope. Let the cut callus, plant in dry or barely moist succulent mix, and water lightly only after several days. Keep it warm and bright, but protect it from harsh direct sun until roots form.
The Mother Plant Is Surrounded by Too Many Pups
Remove extras while they are small. This keeps the mother plant visible, reduces crowding, and prevents a tidy garden bed from becoming an agave traffic jam.
Experience Notes: What It Feels Like to Actually Do This Job
The first time you remove agave pups, the job looks easier from a distance. From ten feet away, a pup seems like a cute little bonus plant. Up close, you realize it is attached to a mother plant that has the defensive architecture of a dragon fruit crossed with a fencing instructor. This is why preparation matters. Put on gloves before you start, not halfway through after the first spine reminds you who is in charge.
One practical experience is that the easiest pup is not always the biggest pup. A large pup may look ready, but if it is wedged directly under the mother rosette, reaching it can be awkward. A smaller pup growing a few inches away may come up cleanly with a short section of runner and several roots. In many home gardens, that is the better beginner choice. You get a healthy plant without wrestling the entire clump.
Another lesson: do not rush the callus stage. It is tempting to remove the pup, admire your work, and immediately tuck it into a handsome terracotta pot. But agaves reward patience. Letting the cut dry in a shaded, airy spot for a few days often makes the difference between a pup that roots and a pup that melts at the base. The waiting period feels unproductive, but it is actually one of the most important parts of the process.
Soil choice also becomes obvious after you water the first time. A good succulent mix drains quickly. Water should move through the pot, not hover on top like it is considering a long vacation. If the mix stays wet for days, add more mineral material or repot before the pup suffers. Agave roots like oxygen around them, and soggy soil removes that oxygen.
When planting outdoors, placing the pup slightly high is a trick worth remembering. Soil settles after watering. A pup planted perfectly level may sink lower later, leaving the crown vulnerable to rot. By planting it a little proud of the soil surface, you give it room to settle without burying the center. This is especially useful in areas with winter rain or heavy garden soil.
Expect slow progress. A newly planted agave pup may sit for weeks looking almost exactly the same. That does not mean nothing is happening. Below the soil, it may be growing roots and anchoring itself. Tugging it every few days to “check” is not helpful. A gentle firmness test after several weeks is enough. If the pup resists slightly, roots are forming.
Finally, label your pups if you collect different agave species. Young agaves can look surprisingly similar, and memory becomes unreliable after the third pot. A simple plant tag saves you from future conversations that begin with, “I think this is the one with the blue leaves… maybe?” Garden confidence is lovely, but labels are cheaper.
Conclusion
Removing agave pups from the mother plant is a practical, satisfying way to propagate agave and build a drought-tolerant garden without buying new plants every time you want more structure. The key steps are simple: choose a healthy pup, protect yourself from spines, expose the connection, cut cleanly, preserve roots when possible, let fresh cuts callus, and plant in sharply draining soil.
The most important rule is to think like an agave. These plants come from tough, dry environments where drainage matters more than pampering. They do not want rich, soggy soil or constant watering. Give them sun, air, grit, and patience, and even a small pup can grow into a bold architectural plant that looks like it belongs in a desert garden, a modern patio pot, or the entrance to a villain’s very stylish greenhouse.
Whether you are thinning a crowded mother plant, rescuing pups before a mature agave flowers, or simply multiplying your favorite succulent, the process is beginner-friendly when done carefully. Just remember: gloves first, water later, and never underestimate a plant with spikes.