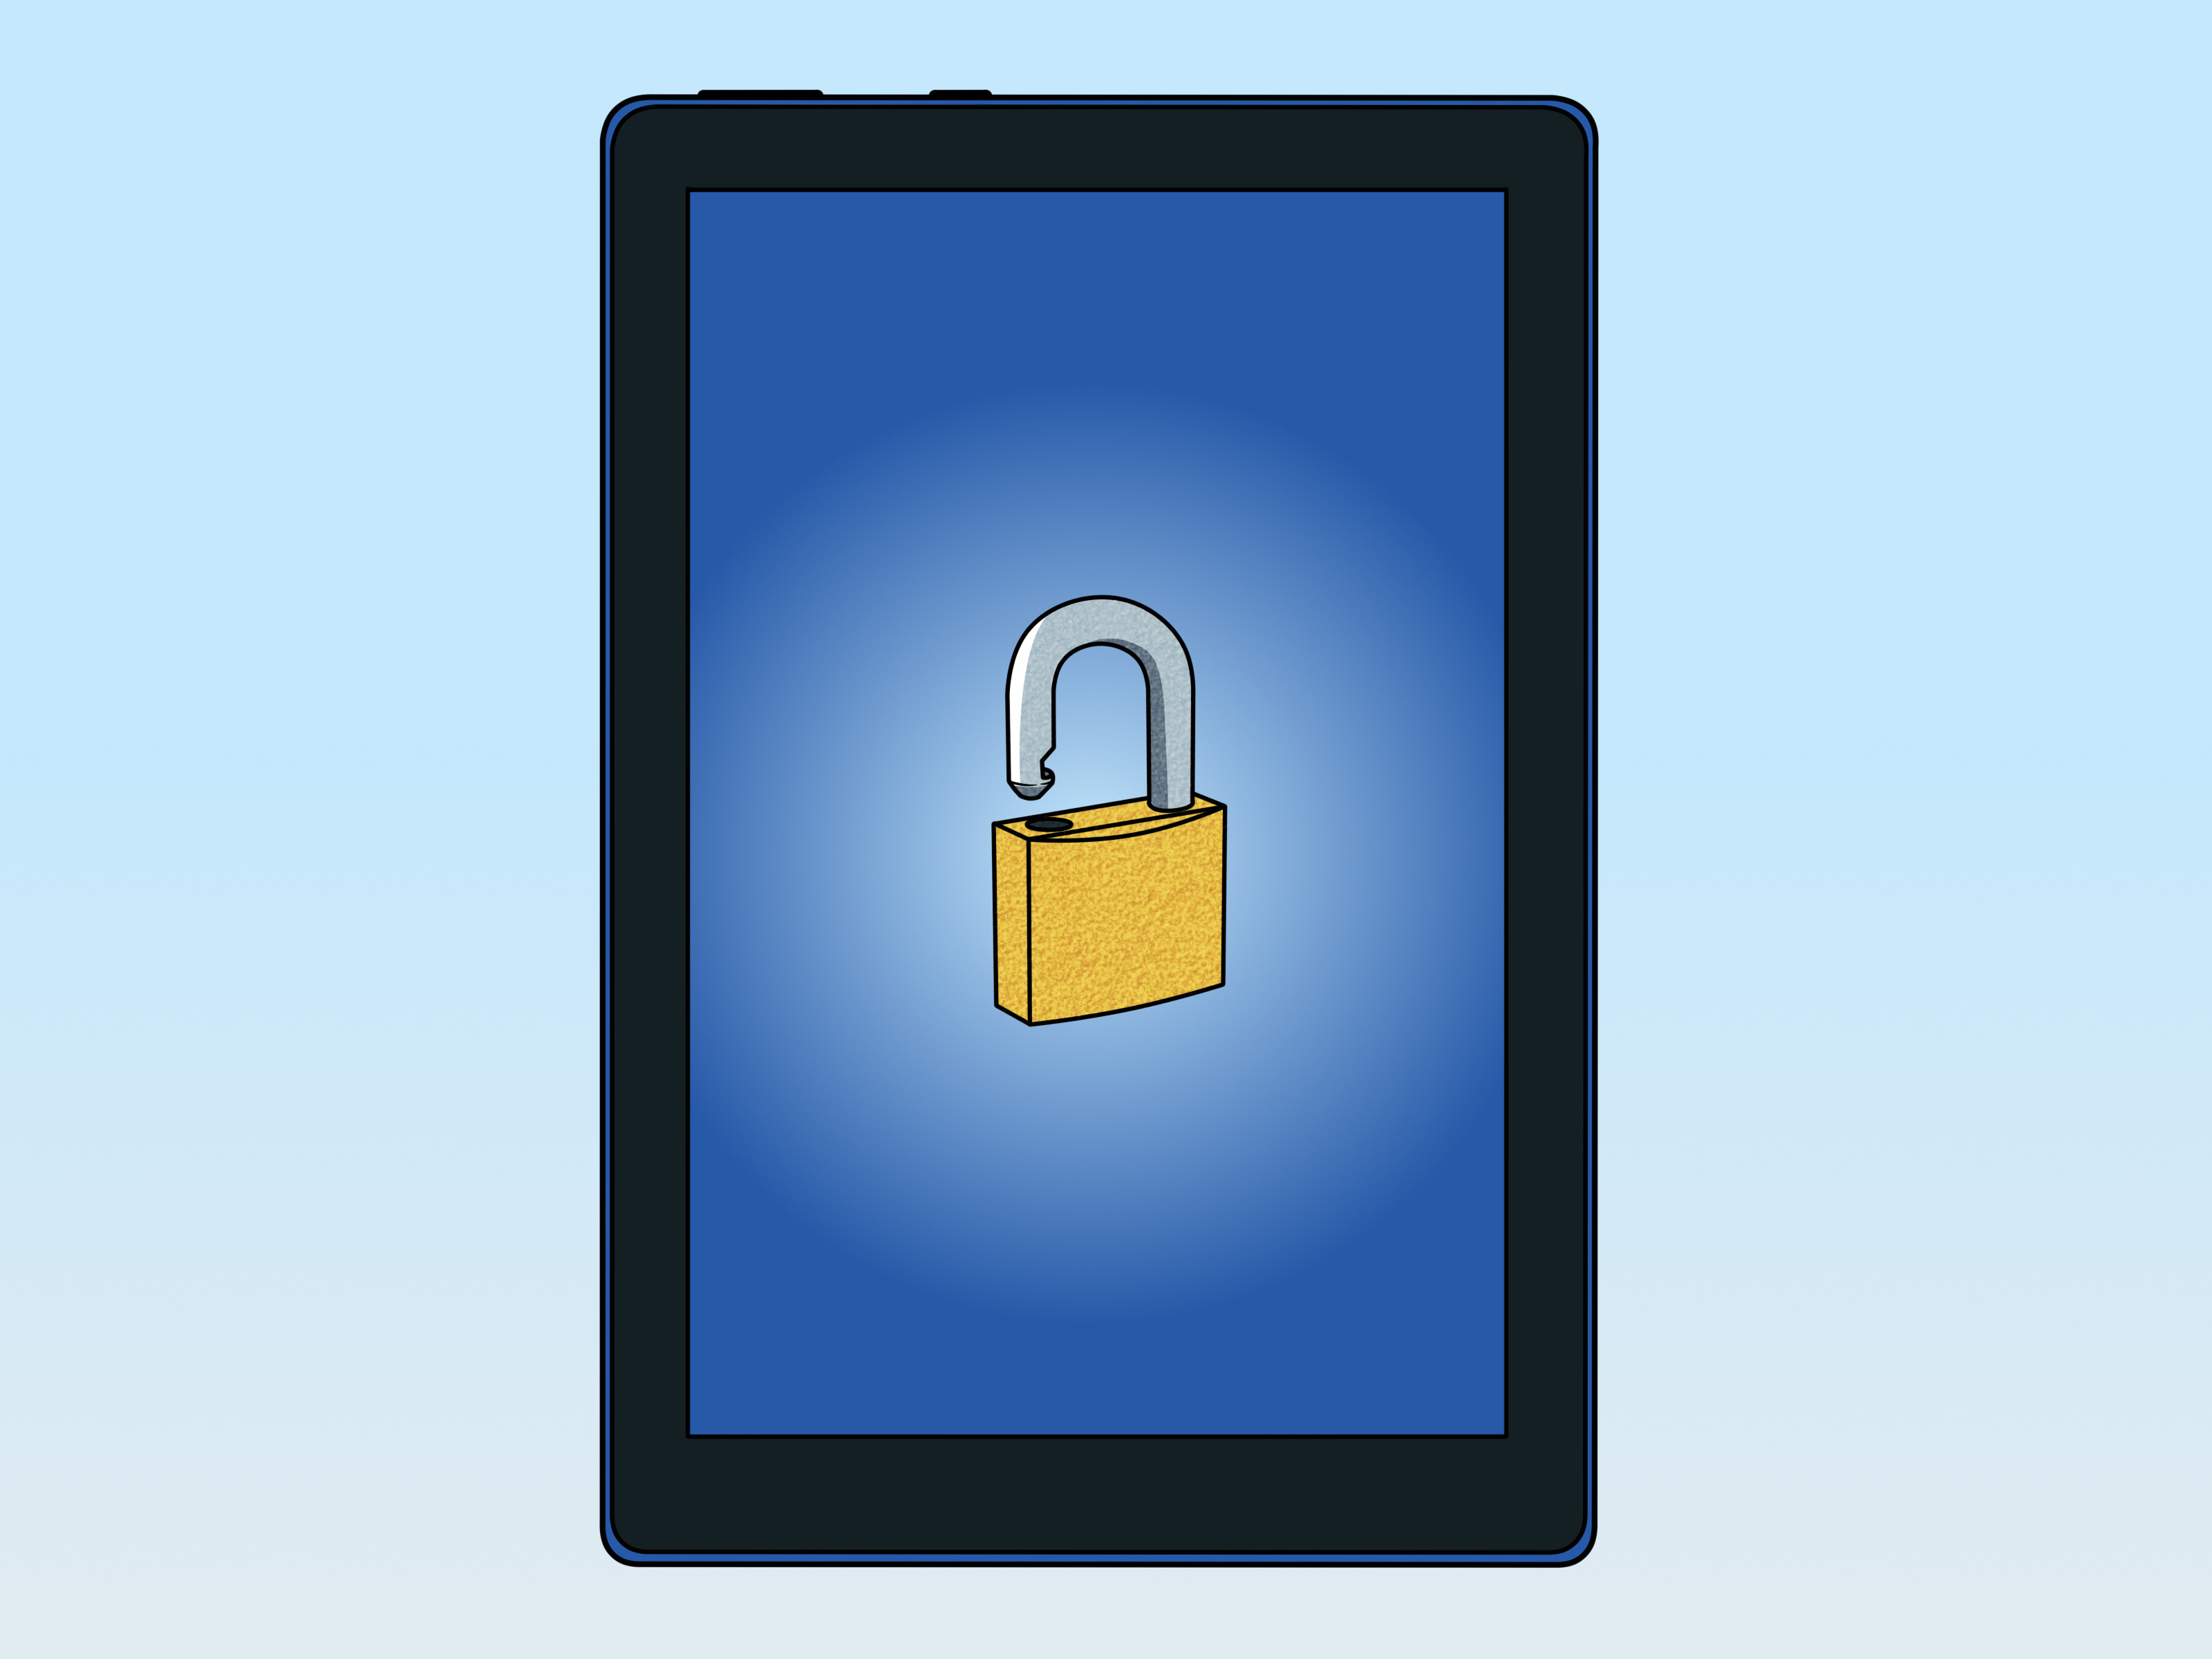
Rooting a Kindle Fire sounds like the tech version of finding a secret door behind a bookshelf. One minute you have a budget-friendly Amazon tablet built around Prime Video, Kindle books, and the Amazon Appstore. The next minute, you are wondering whether you can unlock deeper Android features, install custom tools, remove stubborn bloatware, or make your Fire tablet feel more like a regular Android device.
The short answer: yes, some Kindle Fire and Amazon Fire tablets can be rooted. The honest answer: not every model can be rooted easily, safely, or at all. Modern Fire tablets are much more locked down than older models, and there is no magical “root every Fire tablet in one click” button that works across all generations. Anyone promising that should be treated like a pop-up ad claiming you just won a yacht.
This guide walks you through the safe, realistic way to approach Kindle Fire rooting. You will learn how to identify your tablet, prepare your device, enable ADB, understand the difference between true root and no-root customization, and follow a careful rooting workflow when your exact model is supported. The goal is not to throw random commands at your tablet and hope for fireworks. The goal is to root smart, avoid bricking your device, and know when a no-root option is the better move.
What Does It Mean to Root a Kindle Fire?
Rooting means gaining administrator-level access to the Android-based system underneath Fire OS. Amazon Fire OS is built from Android, but Amazon changes the interface, app store, services, and restrictions to fit its own ecosystem. Root access gives advanced users the ability to modify system files, run root-only apps, remove deeper system packages, install custom modules, or flash custom software on supported devices.
Think of Fire OS like renting an apartment where Amazon chose the furniture, painted the walls, and locked a few closets. Rooting is like getting the master key. Useful? Absolutely. Risky? Also yes. With great power comes the ability to accidentally delete something important before lunch.
Before You Start: Important Warnings
Rooting your Kindle Fire may void warranty coverage, erase your data, break streaming apps, cause update problems, or even brick the tablet if you use the wrong files. Rooting should only be done on a tablet you own and are willing to troubleshoot. Do not root a school, workplace, borrowed, or family-managed device without permission.
You should also know that rooting is model-specific. A method that works on a Fire HD 10 from 2017 may fail completely on a Fire HD 8 from 2022 or a Fire Max 11. Fire OS version matters too. Updates can patch old exploits, remove compatibility, or change how the bootloader behaves. That is why the first step is not downloading a random root tool. The first step is identifying exactly what you have.
Rooting vs. No-Root Customization: Choose the Right Path
Many people search for “how to root Kindle Fire” because they want one of three things: Google Play Store, fewer Amazon apps, or a more normal Android-style experience. Good news: you may not need root for any of that.
Use No-Root Customization If You Want Simpler Changes
No-root methods can often help you install Google Play, disable some Amazon apps, change launchers, sideload APK files, manage apps with ADB, and make the device feel cleaner. Tools such as Fire Toolbox are popular because they automate many tweaks through ADB without requiring full root access. This is usually the best option for newer Fire tablets where true root is unavailable or too risky.
Use Root Only If You Need Deeper Control
Root is worth considering if you want root-only backup tools, Magisk modules, deeper system modification, custom recovery, or custom ROM experiments on a supported model. If your only goal is “I want YouTube, Gmail, Chrome, and fewer Amazon suggestions,” no-root customization is usually easier and safer.
Step 1: Identify Your Kindle Fire Model and Fire OS Version
Open your tablet and go to Settings > Device Options > About Fire Tablet. Write down the device name, generation, serial information if needed, and Fire OS version. You might see something like Fire HD 8, Fire HD 10, Fire 7, or Fire Max 11. The generation is extremely important because rooting methods are usually tied to a specific hardware release.
Next, check the Fire OS version under System Updates. A small version difference can change everything. For example, an older Fire OS build may have a known exploit, while a newer update may patch it. If you plan to root, avoid updating until you have confirmed whether your current version is compatible with a trusted guide for your exact model.
Step 2: Back Up Your Kindle Fire
Rooting can wipe your data, especially if unlocking the bootloader or flashing images is involved. Before touching ADB or fastboot, back up your books, photos, downloads, documents, app data, and anything stored locally. Cloud content tied to your Amazon account can usually be re-downloaded, but local files may disappear faster than snacks at a study group.
Remove your microSD card before major modifications. Some Google Play installation methods and factory reset processes can affect storage behavior, and removing the card reduces the chance of losing files. Also charge your tablet to at least 60 percent. A tablet that dies in the middle of flashing system files is not being dramatic; it is becoming a problem.
Step 3: Enable Developer Options and ADB
ADB, short for Android Debug Bridge, lets your computer communicate with your Kindle Fire. It is the foundation for many root and no-root customization methods.
Enable Developer Options
On most Fire tablets, open Settings > Device Options. Tap the Serial Number field repeatedly until Developer Options appears. Then open Developer Options and enable ADB Debugging. When you connect the tablet to your computer, the tablet may ask whether you trust the computer. Choose allow only if it is your own computer.
Install ADB on Your Computer
On Windows, you may need Amazon’s Fire tablet driver or the Android platform tools. On macOS or Linux, Android platform tools are usually enough. After installation, connect your tablet with a reliable USB cable. Open a terminal or command prompt and run:
If everything works, you should see your device listed. If it says “unauthorized,” look at the tablet screen and approve the connection. If nothing appears, try a different USB port, a data-capable cable, or reinstall the driver.
Step 4: Research Your Exact Root Method
This is the step where patience saves tablets. Search for a root guide that matches your exact model, generation, and Fire OS version. Trusted Android development communities, especially device-specific XDA forums, are usually more reliable than random one-click root websites. Look for guides with active comments, confirmed success reports, clear warnings, and recovery instructions.
A trustworthy guide should tell you which tablet models are supported, which Fire OS versions work, what files are required, how to recover if something goes wrong, and whether the process uses bootloader unlocking, a temporary exploit, custom recovery, or Magisk. If the guide is vague, outdated, or says “works on all Kindle Fire tablets,” walk away slowly.
Step 5: Understand the Common Rooting Methods
Rooting a Kindle Fire usually falls into one of several categories. Your tablet may support one, several, or none.
Method A: Bootloader Unlock and Custom Recovery
Some older Fire tablets can be bootloader-unlocked using model-specific methods. After unlocking, users may install a custom recovery such as TWRP, flash Magisk, or install a custom ROM. This is powerful but risky. Unlocking or flashing the wrong image can brick the tablet.
Method B: Magisk Patched Boot Image
On many Android devices, Magisk root is installed by patching a boot image and flashing it back to the device. The general idea is to copy the correct boot image to the tablet, patch it with Magisk, pull the patched image back to the computer, and flash it with fastboot. However, this only works when you have the correct firmware image and an unlockable or already-unlocked bootloader.
A typical Android Magisk workflow may look like this, but do not run these commands unless your exact Kindle Fire guide says your model supports them:
These commands are examples of the process, not a universal recipe. On many Fire tablets, fastboot flashing is locked, unavailable, or dangerous without a model-specific exploit.
Method C: Temporary Exploit-Based Root
Some older Fire models were rooted through security exploits that temporarily gained elevated access. These methods are often tied to older chipsets and older Fire OS builds. They may stop working after a software update. Because exploit-based methods can be sensitive and version-specific, follow only established development threads and avoid shady downloads.
Step 6: Download Files Carefully
If your model has a confirmed root method, download files only from the official project page, trusted developer thread, or verified repository. Avoid “universal root” APKs, fake download buttons, and bundles that include unknown software. If a site makes you complete surveys, install browser extensions, or disable antivirus, that is your cue to leave.
Keep a folder on your computer with everything clearly labeled: platform tools, drivers, recovery image, boot image, Magisk APK, unlock script, and unbrick files if provided. Read the instructions twice before doing anything. Rooting is not a race. There are no bonus points for panicking quickly.
Step 7: Follow the Root Procedure Slowly
Once you have a guide for your exact tablet, follow it exactly. Do not substitute files from another model. Do not skip “boring” preparation steps. Do not update Fire OS midway through the process. Keep the tablet connected, keep your computer awake, and avoid using a loose USB cable that disconnects when someone breathes near it.
Most successful root procedures follow a rhythm: confirm ADB connection, enter the required boot or recovery mode, run the approved script or command, flash the correct file, reboot, and verify root. If the guide asks you to wait, wait. First boots after modification can take longer than usual.
Step 8: Verify Root Access
After rebooting, open Magisk or the root management app recommended by your guide. Check whether root is installed and whether the app reports a clean installation. You can also use a reputable root checker app, but download it from a trusted app store. If root is working, you should receive a permission prompt when an app requests administrator access.
Be selective with root permissions. Do not grant root access to random apps. Root is like giving someone the keys to your house, car, snack drawer, and secret cookie stash at the same time. Only approve apps you understand and trust.
Step 9: Install Google Play or Customize Fire OS
Once you have root, you may want to install Google Play, remove Amazon apps, or change the launcher. However, Google Play can often be installed without root on many Fire tablets by sideloading the required Google components in the correct order. For many users, that is the smarter path.
If you use root to remove system apps, be careful. Some Amazon packages are tied to login, updates, parental controls, storage, or system stability. Instead of deleting everything that looks annoying, freeze or disable apps first when possible. If something breaks, you can reverse the change more easily.
Step 10: Prevent Problems After Rooting
After rooting, avoid installing Fire OS updates automatically unless you know they are safe for your setup. Updates can remove root, patch the method you used, or cause boot loops. Also keep copies of the files you used to root, along with notes about your exact Fire OS version and process. Future-you will be grateful, and future-you is the person most likely to forget where everything went.
Install only necessary root modules. Too many modifications can slow the tablet or create conflicts. Amazon Fire tablets are affordable, but they are not performance monsters. Treat them kindly and they will reward you with fewer crashes.
Common Problems and Fixes
ADB Does Not Detect the Tablet
Use a different USB cable, preferably one that supports data transfer. Re-enable ADB Debugging, approve the computer on the tablet screen, reinstall drivers, and run adb kill-server followed by adb start-server. On Windows, check Device Manager for driver issues.
The Tablet Is Stuck on the Fire Logo
A long first boot can be normal, but if the tablet stays stuck for a very long time, boot into recovery if available and follow the recovery steps from your model-specific guide. A factory reset may help, but it will remove downloaded content and local data.
Root Disappeared After an Update
Fire OS updates can remove root. Check whether your root method supports the new version before trying again. Do not flash old boot images onto a newer system build unless a trusted guide specifically says it is safe.
Apps Stop Working After Root
Some streaming, banking, school, and security-sensitive apps may dislike rooted devices. Magisk can sometimes help manage root visibility, but compatibility is not guaranteed. If those apps are important, consider whether root is worth the tradeoff.
Best No-Root Alternative: Fire Toolbox and ADB Tweaks
If your Kindle Fire cannot be rooted, you are not stuck. Fire Toolbox and manual ADB commands can still improve the experience. Many users use no-root tools to install Google Play, disable ads where supported, manage Amazon apps, replace the launcher, sideload APKs, and clean up the interface.
This approach is especially useful for newer Fire HD 8, Fire HD 10, and Fire Max 11 tablets. You get many of the benefits people actually want from rooting without unlocking the bootloader or flashing system images. For most casual users, this is the sweet spot: more freedom, less danger, fewer dramatic tablet funerals.
Is Rooting a Kindle Fire Worth It?
Rooting is worth it if you have a supported older model, enjoy tinkering, understand the risks, and need deeper control. It is not worth it if your tablet is new, mission-critical, used by a child, or mainly needed for reading, streaming, browsing, and light apps.
For many people, the best Kindle Fire upgrade path is simple: enable ADB, install Google Play using a trusted method, disable a few unwanted apps, and stop there. True root is exciting, but it is not always necessary. Sometimes the smartest hack is knowing when not to hack.
Real-World Experience: Lessons From Rooting and Tweaking Fire Tablets
The biggest lesson from working with Kindle Fire tablets is that expectation management matters more than bravery. A Fire tablet is not a Pixel tablet with a friendly unlock switch and a huge official modding ecosystem. It is an Amazon device designed to keep you inside Amazon’s world. That does not make it bad. In fact, Fire tablets are popular because they are cheap, sturdy, and perfectly fine for reading, streaming, recipes, video calls, and casual games. But once you start modifying them, you quickly learn that “Android-based” does not always mean “easy to root.”
One common experience is that users begin with a big rooting dream but later realize they only wanted Google Play. That is like buying a full mechanic’s toolbox because your bicycle seat is too low. Installing Google Play or using Fire Toolbox may solve the actual problem in less time and with less risk. Before rooting, list your goals. Do you need root-only apps? Do you need a custom ROM? Do you need Magisk modules? Or do you simply want Chrome, YouTube, Gmail, and fewer Amazon recommendations? The answer should guide the method.
Another lesson is that old guides can be both useful and dangerous. Fire tablet development threads from years ago may still be accurate for the exact device they cover. But they can be totally wrong for a newer generation with a similar name. “Fire HD 8” alone is not enough information. There are multiple generations, chipsets, and Fire OS versions. A file made for one device can be useless or harmful on another. Always match the codename, generation, and software version before trusting any instruction.
People also underestimate the value of preparation. The smoothest rooting experiences usually happen when everything is ready before the first command is run. Drivers are installed. ADB works. The battery is charged. Files are organized. The user has read the full thread, including the comments where people report problems. The roughest experiences usually begin with “I skipped that part because it looked optional.” In rooting, optional-looking steps are often the steps that prevent disaster.
Rooting also teaches humility. Sometimes a method fails even when you follow the instructions. Maybe the tablet updated silently. Maybe the USB cable drops connection. Maybe the guide assumes Linux knowledge you do not have yet. That does not mean you are bad at tech. It means device modification is messy. Take notes, move slowly, and do not keep repeating a failed command without understanding why it failed.
The best practical advice is to start with the least invasive solution. Try official settings first. Then try ADB. Then try a trusted no-root tool. Only move to bootloader unlocking, patched boot images, custom recovery, or full root when you know your model supports it and the benefit is worth the risk. A working Fire tablet with 80 percent of the customization you wanted is better than a perfectly rooted tablet that no longer boots.
Finally, remember that rooting is not a personality test. You are not less “techy” if you choose not to root. Smart users choose the method that fits the device, the goal, and the risk. On some Kindle Fire models, true root is a fun weekend project. On others, it is a brick-shaped trap wearing a discount-tablet costume. Know the difference, and you will get much better results.
Conclusion
Rooting your Kindle Fire can unlock powerful features, but it is not a one-size-fits-all process. The safest tutorial begins with identifying your exact model, backing up your data, enabling ADB, researching confirmed root support, and using only trusted files. Older Fire tablets may have workable root methods through bootloader unlocks, custom recovery, or Magisk. Newer models often do better with no-root customization tools such as Fire Toolbox and careful ADB tweaks.
If your goal is full system control, root may be worth exploring. If your goal is simply a better app selection and a cleaner interface, skip the risky stuff and use no-root methods. Either way, move slowly, read carefully, and never trust a tool that promises universal root with zero risk. Your Kindle Fire may be inexpensive, but it still deserves better than becoming a rectangular paperweight with Wi-Fi memories.