

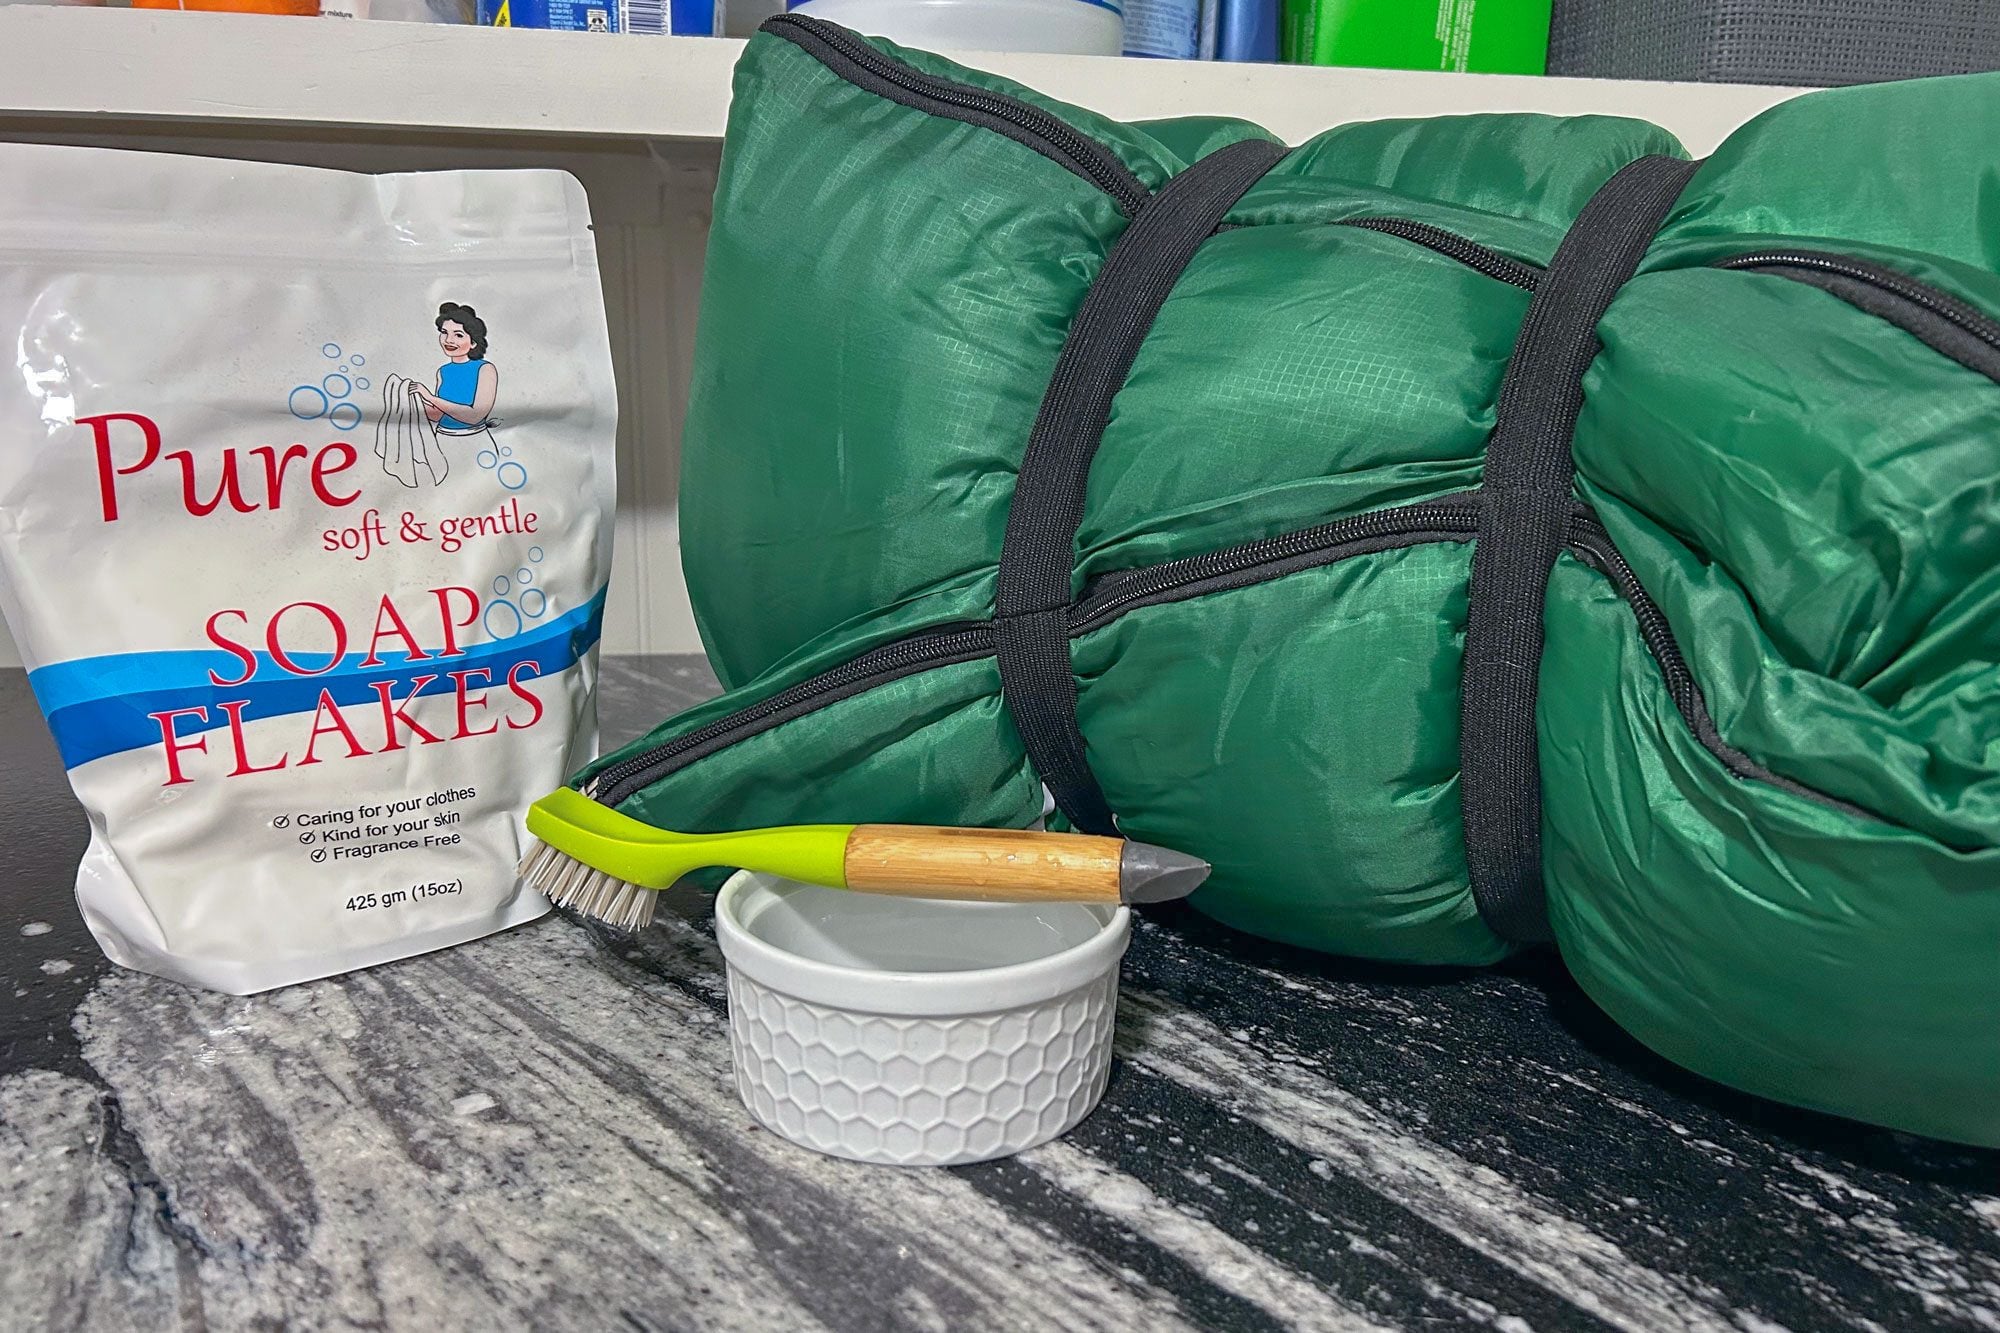
A sleeping bag may look like an oversized blanket, but washing one like ordinary bedding is a reliable way to turn expensive outdoor gear into a lumpy nylon burrito. The good news is that most modern sleeping bags can be washed safely in a washing machine. The less-good news is that you need the right machine, the right cleaner, a gentle cycle, and enough patience to dry the bag completely.
This guide explains how to wash a sleeping bag in a washing machine without damaging the shell, insulation, baffles, zippers, or water-repellent finish. It covers both down and synthetic sleeping bags, common mistakes, drying techniques, and practical lessons that can save you from a very expensive laundry-day plot twist.
Can You Wash a Sleeping Bag in a Washing Machine?
In many cases, yes. A sleeping bag can usually be machine washed when its care label permits it and the washer has enough space for the bag to move freely. A large-capacity front-loading washing machine is generally the safest option. A top-loading washer may also work when it does not have a center agitator.
Traditional top-loading machines with tall center agitators are risky because the agitator can twist the bag, strain the seams, tear delicate shell fabric, or damage the internal baffles that keep insulation in place. If the only machine available has a center post, skip the experiment and use a commercial front-loader at a laundromat instead.
Always Read the Care Label First
Before selecting a cycle, locate the manufacturer’s care label. It may be sewn near the footbox, zipper, draft tube, or interior lining. That label outranks every general cleaning guide because sleeping bags can contain different shell fabrics, waterproof membranes, treated down, synthetic fibers, glued components, or specialty coatings.
If the label says “hand wash only,” “professional clean only,” or “do not tumble dry,” follow it. When the label is missing, search for the exact brand and model rather than guessing based on what worked for your neighbor’s 1998 rectangular camp bag.
When Does a Sleeping Bag Need a Full Wash?
A sleeping bag does not need to visit the washing machine after every weekend trip. Frequent washing creates unnecessary wear, especially on lightweight backpacking bags made with thin shell fabrics and delicate baffle construction.
Consider a complete wash when the bag has noticeable body odor, greasy areas around the hood and collar, visible dirt, reduced loft, clumped insulation, or a general feeling that it has developed its own ecosystem. Depending on use, that may mean once per year, once every two years, or after a particularly long and sweaty expedition.
Gear manufacturers vary in their recommended schedules. Some suggest washing annually when a bag is used regularly, while others recommend cleaning every one or two years based on conditions and frequency. The more useful rule is to wash when dirt and body oils begin affecting cleanliness or loftnot simply because a calendar notification appeared.
Spot Cleaning May Be Enough
If only the hood, collar, or footbox is dirty, spot cleaning is gentler than washing the entire sleeping bag. Mix a small amount of technical cleaner or mild non-detergent soap with water. Pull the shell fabric away from the insulation, then gently clean the affected area with a soft cloth or toothbrush.
Avoid soaking the insulation during spot treatment. Let the cleaned area dry completely before storing the bag. Spot cleaning can postpone a full wash and extend the life of the fabric and insulation.
What You Need to Wash a Sleeping Bag
- A large-capacity front-loading washing machine or top-loader without a center agitator
- A down-specific cleaner for down sleeping bags
- A technical wash suitable for synthetic sleeping bags
- A large-capacity dryer
- Clean wool or purpose-made dryer balls
- A clean towel for supporting or balancing the load
- Several hours with no urgent plans
Choose the Correct Sleeping Bag Cleaner
Down and synthetic insulation should not automatically be washed with ordinary household laundry detergent. Standard detergent may contain fragrances, enzymes, brighteners, surfactants, or other ingredients that can leave residue on insulation and interfere with loft or water repellency.
For a down sleeping bag, use a cleaner specifically formulated for down. These products are designed to remove oils and dirt without stripping the natural properties that help down clusters remain lofty.
For a synthetic sleeping bag, use a technical gear wash or a product recommended by the manufacturer. Some care labels permit a small amount of fragrance-free, dye-free liquid detergent, but a purpose-made cleaner is the safer default for technical materials.
Never use fabric softener, chlorine bleach, oxygen bleach, stain-removing bleach alternatives, or heavily scented detergent. Fabric softener can coat insulation fibers, while bleach can weaken shell fabric and stitching. Dry cleaning is also widely discouraged because solvents may damage technical fabrics and strip natural oils from down.
How To Wash a Sleeping Bag in a Washing Machine
Step 1: Inspect the Sleeping Bag
Lay the bag flat in a well-lit area. Check the shell, lining, zipper, seams, hood, drawcords, and footbox. Look for small tears, loose stitching, damaged zipper teeth, or insulation leaking through the fabric.
Repair holes before washing. Waterlogged insulation becomes surprisingly heavy, and a tiny tear can become a much larger opening during the spin cycle. Push escaping down gently back through the fabric rather than pulling feathers outward.
Step 2: Clean the Washing Machine
Check the detergent drawer and drum for old detergent, bleach, or fabric-softener residue. Wipe the compartments clean. When the machine has recently been used with strongly scented detergent or softener, run an empty rinse cycle before washing the sleeping bag.
This step is particularly useful for down bags because detergent residue may cling to the fill. Your washing machine does not need to become a surgical theater, but it should not smell like a lavender candle factory either.
Step 3: Prepare the Bag
Empty all pockets and remove detachable items that are not machine washable. Loosen drawcords so they are not under tension. Check the care label for zipper instructions. Many manufacturers recommend closing the main zipper and turning the bag inside out, which exposes the lining to more direct cleaning and helps protect the outer shell.
Do not tightly roll or bundle the sleeping bag. Place it loosely in the washer so water can circulate through the insulation.
Step 4: Make Sure the Washer Is Large Enough
The sleeping bag should have room to tumble. If it is tightly wedged against the drum before the cycle begins, the machine is too small. An overloaded washer may clean unevenly, leave soap trapped inside the fill, or create excessive stress during spinning.
Large winter bags, double sleeping bags, expedition bags, and thick rectangular models commonly require a commercial machine. Wash only one sleeping bag at a time unless the manufacturer specifically states otherwise.
Step 5: Add the Appropriate Cleaner
Measure the cleaner according to its label and the weight or size of the sleeping bag. Do not add extra soap because the bag looks especially dirty. More cleaner does not guarantee a cleaner sleeping bag; it mainly guarantees more rinsing and a possible foam party inside the laundromat.
Place the cleaner in the appropriate dispenser. Do not add fabric softener, scent boosters, bleach, or dryer-sheet products.
Step 6: Select a Gentle Cycle
Choose a gentle, delicate, wool, or silk cycle if allowed by the sleeping bag’s care label. Use cold or lukewarm water. Some manufacturers recommend approximately 86°F, or 30°C, while others allow warm water. Avoid hot water unless the product label specifically permits it.
Use a low or moderate spin speed. A very aggressive spin may place unnecessary stress on wet seams and baffles.
Step 7: Run an Extra Rinse
One rinse is often not enough for a bulky insulated item. Select the washer’s extra-rinse option or run a second rinse-only cycle after the main wash. The goal is to remove cleaner from the shell, lining, and deep within the insulation.
Inspect the rinse water when possible. If you still see foam or feel slippery residue on the fabric, rinse again. Several major gear-care guides recommend two rinses or an additional soap-free cycle.
Step 8: Remove the Wet Bag Carefully
A wet sleeping bag can be much heavier than expected. Do not grab it by one end and let the rest hang toward the floor. That weight can strain internal baffles and exterior seams.
Place both arms underneath the bag and support its full length as you lift it from the washer. Transfer it directly to a suitably large dryer. Do not wring, twist, or aggressively squeeze the bag.
How To Dry a Sleeping Bag After Washing
Drying is often more importantand more time-consumingthan washing. A bag that feels dry on the shell may still contain moisture deep inside its insulation. Storing it too soon can create musty odors, mildew, clumped down, and reduced warmth.
Use a Large Dryer on Low Heat
Place the sleeping bag loosely in a large-capacity dryer. Select low heat or the temperature specified on the care label. High heat can melt nylon fabric, damage synthetic insulation, weaken seam tape, or harm water-repellent finishes.
Check the bag regularly. Dryer temperatures differ, and a setting labeled “low” on one machine may feel surprisingly warm on another. If the shell becomes hot to the touch, stop the cycle and let it cool.
Drying a Down Sleeping Bag
Wet down collapses into dense clumps. This is normal and does not mean the bag has been ruined. Add clean, lightweight dryer balls to help break apart clumps and redistribute the fill. Some manufacturers allow clean tennis balls, while specialist gear-care companies recommend purpose-made dryer balls because they are lighter and gentler. Follow the bag maker’s instructions when they specify one method.
Pause the dryer every 20 to 30 minutes. Remove the bag, feel for damp clumps, gently massage them apart, rotate the bag, and resume drying. A down sleeping bag may require several low-heat cycles and two to six hours of total washing and drying time.
Drying a Synthetic Sleeping Bag
Synthetic insulation generally dries faster than down, but it still requires low heat and enough room to tumble. Dryer balls may help separate the fill, provided the care label allows them.
Check for cold, dense, or damp areas around the footbox, hood, draft collar, and zipper baffle. These thicker sections often remain wet after the main body appears dry.
How To Know the Bag Is Completely Dry
The sleeping bag should feel uniformly light, fluffy, and room temperature. There should be no cool patches, dense sections, damp smell, or visible clumps. Shake the bag and inspect the insulation from end to end.
After machine drying, spread the bag loosely across a clean bed or drying rack for several additional hours. Do not store it until you are certain that no moisture remains.
Down vs. Synthetic Sleeping Bag Washing
Washing a Down Sleeping Bag
Down provides excellent warmth for its weight, but its clusters clump dramatically when wet and take longer to dry. Use a down-specific cleaner, rinse thoroughly, support the bag while wet, and allow several hours for low-heat drying and manual re-lofting.
Washing a Synthetic Sleeping Bag
Synthetic insulation is generally more forgiving and dries faster. However, it can still be damaged by agitators, high heat, fabric softener, and harsh detergent. Use technical wash, a gentle cycle, extra rinsing, and a low-temperature dryer.
What About Waterproof or Hydrophobic Sleeping Bags?
Some sleeping bags contain hydrophobic down or have a durable water-repellent finish on the shell. Use only cleaning and reproofing products approved for that construction. Do not automatically add a wash-in waterproofing treatment, as it may coat the insulation when a spray-on shell treatment would be more appropriate.
Common Sleeping Bag Washing Mistakes
- Using a center-agitator washer: It can twist the bag and damage internal construction.
- Overloading a small washer: The bag cannot circulate, rinse, or spin properly.
- Using regular scented detergent: Residue may reduce loft or interfere with technical finishes.
- Adding too much cleaner: Excess soap becomes difficult to rinse from thick insulation.
- Using fabric softener: It can coat down clusters and synthetic fibers.
- Using high dryer heat: Technical fabrics and synthetic fill may melt or deform.
- Lifting the wet bag by one end: Saturated insulation can strain seams and baffles.
- Stopping the dryer too early: Hidden moisture can lead to odors, mildew, and clumping.
- Storing the bag compressed: Long-term compression can reduce loft and warmth.
How To Keep a Sleeping Bag Cleaner Between Washes
Preventive care is easier than spending half a day watching a commercial dryer rotate at the speed of continental drift.
- Use a washable sleeping bag liner.
- Sleep in clean base layers and socks.
- Remove muddy clothes before entering the bag.
- Air the bag after every trip.
- Keep it away from campfire sparks, food, and leaking toiletries.
- Use a groundsheet when sleeping outside a tent.
- Store it loosely in a large breathable sack.
A liner collects much of the sweat, sunscreen, body oil, and dirt that would otherwise reach the sleeping bag. Unlike the bag, the liner can normally be washed with routine laundry, making it one of the simplest ways to reduce cleaning frequency.
When To Use a Professional Sleeping Bag Cleaner
Professional service may be worthwhile for an expensive expedition bag, an older down bag with delicate fabric, a model with damaged baffles, or a bag too large for available machines. It is also sensible when the manufacturer specifically recommends professional care.
Some companies take a conservative approach and warn that even careful machine washing can lead to down migration or internal damage. When the care label is unclear or the bag is particularly valuable, contact the manufacturer before washing it.
Experience-Based Lessons: What Washing Day Actually Looks Like
The most common surprise is not the washing process. It is the drying time. A sleeping bag may complete its wash cycle in less than an hour, emerge looking reasonably clean, and then spend the rest of the afternoon pretending it has never heard of evaporation.
Consider a typical three-season down sleeping bag that has been used for several backpacking trips. The collar has a slightly darker color from skin oils, the footbox smells faintly of trail shoes, and the bag no longer expands as quickly as it did when new. The owner chooses a small household front-loader because the sleeping bag technically fits inside. That sounds reasonable, but “fits” is not the same as “has room to move.” Once wet, the bag fills the drum and barely tumbles. The result is uneven washing and a suspicious amount of soap remaining after the first rinse.
The better experience begins at a laundromat with an oversized machine. The bag moves freely, water reaches the insulation evenly, and the extra-rinse setting removes the cleaner more effectively. The washer may wobble during the spin cycle because the wet bag gathers on one side. Adding one or two clean damp towels, when permitted by the machine and bag instructions, can help balance the load without stuffing the drum.
Then comes the alarming moment: the washed down bag looks flat, heavy, and thoroughly defeated. Beginners sometimes assume they have destroyed it. In reality, wet down naturally forms clumps. Low heat, gentle dryer balls, periodic turning, and patience gradually restore the loft. After the first cycle, the shell may feel dry while the hood and footbox remain cold and dense. After the second cycle, most sections begin fluffing. After the third, a few stubborn clumps still need to be massaged apart by hand.
A synthetic sleeping bag creates less drama, but it can still fool you. Its outer fabric may dry quickly while thicker insulation near the zipper draft tube remains damp. Rolling the bag loosely between your hands reveals these cool sections better than simply touching the surface.
Another practical lesson is to begin early in the day. Washing a sleeping bag at 8 p.m. before a morning camping trip is the outdoor equivalent of assembling furniture five minutes before guests arrive. Even a synthetic bag may need multiple cycles, while a thick down model can require several hours. Rushing usually leads to higher heat, incomplete drying, or both.
Finally, storage matters. After the bag is fully dry, it should not be immediately crushed into its small backpacking stuff sack and forgotten until winter. Store it loosely in a breathable storage bag or hang it in a cool, dry closet. The compression sack is transportation equipment, not long-term housing.
The final takeaway is simple: washing a sleeping bag in a washing machine is safe when the care label allows it, the machine is large enough, the cleaner matches the insulation, and the drying process is not rushed. Most laundry disasters come from one of four shortcuts: using an agitator, using too much detergent, applying excessive heat, or storing the bag before it is completely dry. Avoid those mistakes, and your clean, fluffy sleeping bag should be ready for many more nights under the starsor on your cousin’s living-room floor.