

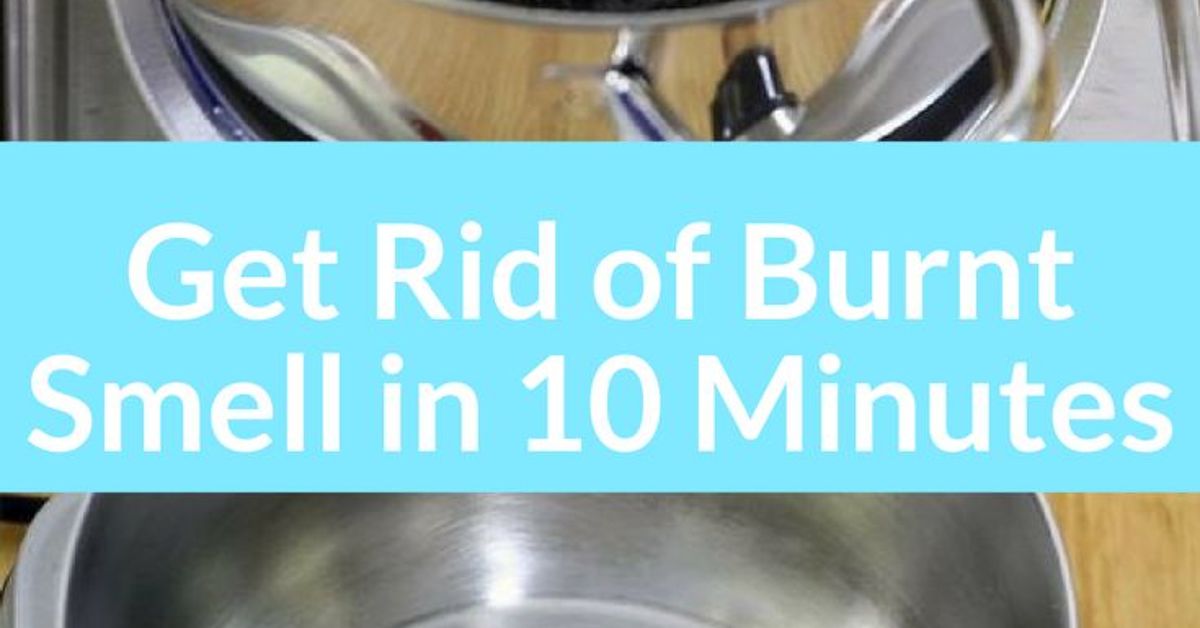
You looked away for thirty seconds. Maybe the phone rang. Maybe the dog performed an unauthorized kitchen inspection. Whatever happened, dinner is now attached to the bottom of your pan with the structural integrity of highway pavement.
Before declaring the cookware a total loss, grab a lemon. Simmering lemon pieces in water can soften stuck-on food, reduce greasy odors, and make a scorched pot considerably easier to scrub. The method is inexpensive, pleasantly fresh-smelling, and far less dramatic than attacking the pan with every chemical under the sink.
There is one important reality check: lemons are helpful, not magical. Heat and water perform much of the loosening, while lemon’s acidity helps with grease, residue, odors, and some discoloration. Thick layers of black carbon may still require a second round with baking soda or a cleaner approved by the cookware manufacturer.
Why the Lemon Method Works
A burnt pan usually contains several kinds of mess at once: dehydrated food, cooked-on oil, caramelized sugars, proteins, and sometimes a stubborn layer of carbonized residue. Ordinary dish soap may remove the surface grease but struggle to penetrate the hardened layer underneath.
Simmering water rehydrates the residue and transfers heat into the scorched material. As it softens, the food becomes easier to lift with a wooden spoon, silicone spatula, or nonabrasive scrubber. Major cookware brands commonly recommend boiling or simmering water to loosen burnt food rather than beginning with aggressive scraping.
What the Lemon Adds
Lemon juice contains citric acid. That mild acidity can help break up greasy films, brighten certain metal stains, and reduce the stale smell that sometimes remains after food burns. Lemon is especially useful when the pan contains cooked-on fats, sauce residue, or the lingering perfume of a dinner that became charcoal.
The cut peel also releases fragrant oils while the water heats. Those oils are not industrial degreasers, but they make the job smell more like a clean kitchen and less like a campfire hosted inside your saucepan.
Cleaning experts frequently use heated lemon water to soften dried food in appliances, while lemon juice is also recommended for greasy pan residue and some burnt deposits.
What You Will Need
- One or two lemons
- Enough water to cover the burnt area
- A wooden spoon or heat-safe silicone spatula
- Mild dish soap
- A soft sponge, nylon brush, or non-scratch scrubber
- Baking soda for an optional second treatment
- Kitchen gloves if the lemon juice irritates your skin
Fresh lemons are ideal, but lemons that are slightly dry, wrinkled, or past their salad-dressing prime are perfect for this job. Cleaning a pan is a dignified retirement plan for a lemon that has been rolling around the produce drawer for two weeks.
How to Clean a Burnt Pot or Pan With Lemons
Step 1: Let the Cookware Cool
Remove the pan from the burner and allow it to cool until it is safe to handle. Do not carry a screaming-hot pan directly to the sink and fill it with cold water. Sudden temperature changes can warp metal cookware and may damage or crack enamel. Manufacturers of stainless steel and enameled cast iron consistently recommend cooling cookware before washing it.
Step 2: Remove Loose Food and Excess Grease
Use a wooden spoon or silicone utensil to remove anything that is already loose. If the pan contains a pool of oil or animal fat, let it cool and dispose of it properly rather than pouring it down the drain. Wipe away excess grease with a paper towel before adding water.
Do not scrape a nonstick or enameled surface with a knife, metal spatula, or steel tool. Scratches are much harder to repair than dinner.
Step 3: Cut the Lemons
Quarter one large lemon or cut two small lemons into thick slices. Squeeze some juice into the pan, then drop in the peels and pulp. There is no need to remove the seeds unless watching them float around bothers you on a deeply personal level.
For a lightly scorched skillet, one lemon is usually enough. Use two when cleaning a large stockpot, Dutch oven, or pan with a heavier greasy coating.
Step 4: Add Water
Pour in enough water to cover the burnt area by approximately one inch. Avoid filling the cookware to the top because bubbling lemon water can boil over and create a second cleaning project.
Step 5: Bring the Water to a Gentle Boil
Place the pan over medium heat. Bring the lemon water to a gentle boil, then lower the heat and simmer for five to ten minutes.
As the water heats, you may see brown or black particles begin to float away from the bottom. This is the kitchen equivalent of receiving a favorable progress report.
Step 6: Loosen the Residue
While the mixture simmers, gently push at the burnt areas with a wooden spoon or silicone spatula. Do not gouge the surface. The goal is to persuade the residue, not interrogate it.
Pay extra attention to the corners and the curved area where the bottom meets the sides. Food often collects there because ordinary sponges cannot make firm contact with the curve.
Step 7: Cool and Empty the Pan
Turn off the heat and allow the water to cool until it can be handled safely. Pour the liquid through a sink strainer to prevent lemon seeds and food particles from entering the drain.
Do not immediately rinse a hot pan under cold water. Giving the cookware a few minutes to cool protects it from thermal shock.
Step 8: Wash With Soap and a Soft Sponge
Add a small amount of mild dish soap and scrub with a soft sponge, nylon brush, or non-scratch pad. In many cases, the scorched layer will lift away with surprisingly little effort.
Rinse thoroughly so no lemon pulp, soap, or loosened residue remains. Dry the cookware promptly to reduce water spots and, in the case of iron-based cookware, help prevent rust.
What to Do When Lemon Alone Is Not Enough
A lemon treatment works best on fresh burns, cooked-on sauce, rice, pasta, milk residue, greasy drippings, and moderate scorching. A thick black layer produced by prolonged high heat may need an additional step.
Try a Baking Soda Paste
After completing the lemon treatment, allow the pan to cool. Sprinkle baking soda over the remaining stain and add just enough water to create a soft paste. Leave it for 10 to 30 minutes, then scrub gently with a nonabrasive sponge.
Baking soda is mildly abrasive, so it can lift residue without the sharp scratching action of steel wool. Cookware makers and cleaning publications frequently recommend baking soda and water for persistent burnt food.
Do not expect a dramatic chemical super-reaction from mixing a large amount of baking soda directly into lemon juice. The acid and base neutralize one another. The initial fizz may help disturb loose particles, but using the lemon treatment first and the baking soda paste second usually preserves the useful properties of each ingredient.
Repeat the Simmer
For burnt rice or thick sauce, a second simmer may be more effective than harder scrubbing. Add fresh water, another lemon half, and simmer for five additional minutes. Repeated softening is safer for delicate finishes than applying extra force.
Use a Manufacturer-Approved Cleaner
Stainless steel may tolerate a specialized stainless steel cleanser, while enameled cookware may require a product designed specifically for enamel. Always follow the label and the cookware manufacturer’s instructions. Avoid assuming that a cleaner safe for a restaurant-style stainless skillet is also safe for a coated pan.
Is Lemon Safe for Every Type of Cookware?
No single cleaning method is suitable for every pot and pan. Check the care instructions supplied with your cookware before using acidic ingredients, abrasives, or prolonged heat.
Stainless Steel
The lemon simmer is generally well suited to stainless steel because quality stainless cookware is nonreactive enough for cooking acidic foods. It can also help with some discoloration and greasy residue. Use a soft sponge and avoid steel wool on polished surfaces unless the manufacturer specifically permits it.
Enameled Cast Iron
A brief lemon-water treatment may be acceptable for many enameled interiors, but the safest routine is gentle heat, mild soap, and a nonmetal sponge. Never plunge hot enamel into cold water. Some manufacturers also warn that citrus-based commercial cleaners may dull an exterior enamel finish, so rinse the pot thoroughly and avoid leaving concentrated lemon juice on the exterior.
Traditional Cast Iron
Skip the lemon method for seasoned, uncoated cast iron. Acid can weaken or strip the seasoning, particularly when heated or left in contact with the pan. Instead, simmer plain water for a few minutes, use a pan scraper or coarse salt, dry the skillet completely, and apply a thin layer of cooking oil.
Carbon Steel
Treat seasoned carbon steel much like traditional cast iron. Acidic lemon water can disturb the seasoning. Use warm water, a scraper, gentle soap when permitted by the manufacturer, immediate drying, and a very light coating of oil.
Nonstick and Ceramic-Coated Pans
Use extra caution. A mild lemon soak may be harmless for some coatings, but prolonged boiling, abrasives, and aggressive scrubbing can shorten the life of a nonstick surface. Start with warm soapy water and a soft sponge. For persistent residue, consult the manufacturer’s instructions or use a gentle baking soda paste. Never use steel wool, metal scrapers, or oven cleaner on a coated surface.
Aluminum
Lemon can help brighten some darkened aluminum, but acidic ingredients may react with bare aluminum when exposure is prolonged. Keep the treatment brief, rinse well, and check the manufacturer’s recommendations. A soft baking soda paste is another commonly recommended option for stubborn stains.
Important Safety Rules
Never Mix Lemon Juice With Chlorine Bleach
Lemon juice is acidic. Mixing an acid with chlorine bleach can release dangerous chlorine gas, which can irritate or injure the eyes and respiratory system. Do not add bleach, bleach-based cleanser, or an unknown cleaning product to the lemon mixture. Use one cleaning method at a time, rinse the cookware thoroughly, and follow all product labels.
Ventilate the Kitchen
Open a window or run the range hood, especially when heating a badly burnt pan. Burnt oils and old food residue can release unpleasant odors even when the cleaning ingredients themselves are mild.
Keep the Handle Positioned Safely
Turn the handle inward so it cannot be bumped while the water simmers. Use oven mitts when moving the pot, and remember that metal handles may become hot.
Replace Severely Damaged Cookware
Cleaning cannot repair a deeply warped base, loose handle, peeling nonstick coating, cracked enamel, or severely pitted cooking surface. Retire cookware that is physically damaged or no longer safe to use.
How to Prevent Burnt Pots and Pans
- Use moderate heat: Many home cooks use more heat than necessary, especially with stainless steel and heavy-bottomed cookware.
- Set a timer: A two-minute timer is cheaper than a new saucepan.
- Stir thick foods regularly: Oatmeal, milk, tomato sauce, rice, caramel, and cheese sauces can scorch quickly.
- Use enough liquid: Check soups, grains, and braises during cooking and add water or stock before the pan dries out.
- Match the burner to the pan: Flames extending past the base waste energy and can scorch the sides or handles.
- Clean residue promptly: A thin greasy film can burn during the next cooking session and become much harder to remove.
- Preheat carefully: An empty pan can overheat faster than expected, particularly on induction and powerful gas burners.
Common Kitchen Experiences: What Usually Happens With the Lemon Method
The most encouraging lemon-cleaning experience usually occurs with a stainless steel saucepan containing burnt rice. At first, the bottom may look hopelessly covered in a hard beige-and-brown layer. After the lemon water simmers, the edges often begin curling upward. A wooden spoon can then slide under the softened sections, lifting them in surprisingly large pieces. The result may not be showroom-perfect immediately, but the pan generally moves from “possibly ruined” to “normal washing job” in less than half an hour.
Burnt tomato sauce behaves differently. Because the mess contains both cooked sugars and oil, the water may turn orange-brown while small flakes rise to the surface. Lemon helps with the greasy smell, but a faint dark ring can remain around the bottom. A short baking soda treatment after the lemon simmer is often what finishes the job. Trying to scrub the ring before simmering usually requires much more effort and produces far less impressive results.
Scorched milk is another familiar kitchen disaster. It forms a thin, stubborn film that seems determined to become part of the cookware’s permanent architecture. The lemon method can loosen that film, although it may require two gentle simmering cycles. The biggest improvement is often the odor: heated lemon water replaces the sour, smoky smell with something much fresher. After the second cycle, a nylon brush can usually reach the cloudy residue around the curved edges.
A pan used for caramel presents the easiest-looking mess and sometimes the simplest cleanup. Hardened sugar appears terrifying, but hot water dissolves sugar efficiently. Lemon is not essential in this case, though it adds a fresh scent and can help with any buttery film. The key lesson is patience. Let the water do the work rather than chipping at the hardened sugar with a metal utensil.
Greasy roasting pans can be more stubborn because the residue often covers a broad area instead of one concentrated spot. Simmering may not be practical in a shallow pan, so hot lemon water can be poured into the cooled pan and left for 15 to 20 minutes. After soaking, the cut side of a lemon can be rubbed gently over greasy areas before washing with dish soap. A second degreasing wash may still be necessary, particularly after roasting fatty meat.
The least successful experience occurs when someone expects lemons to erase years of black buildup in one pass. Old polymerized oil and heavy carbon deposits are different from a fresh cooking accident. Lemon water may soften the surface and remove odors, but restoration may require repeated baking soda treatments, an approved cookware cleanser, or acceptance that the pan has developed a permanent patina.
Another frequent mistake is scrubbing too soon. When the pan still contains dry, burnt residue, people instinctively attack it with the roughest pad available. That can scratch stainless steel, dull enamel, and destroy a nonstick coating. Waiting through a ten-minute simmer feels slower, but it normally reduces the total cleaning time because the residue releases with less force.
The most useful lesson from these everyday situations is that cleaning should escalate gradually. Begin with water, heat, lemon, and a gentle utensil. Move to dish soap and a soft sponge. Add baking soda only when necessary. Use specialized cleaner only after checking the cookware instructions. This sequence protects the pan while giving each simple method a chance to work.
Frequently Asked Questions
Can bottled lemon juice clean a burnt pan?
Yes. Add several tablespoons to the water before simmering. Fresh lemon pieces are more convenient for rubbing and provide a stronger fresh scent, but bottled juice can supply the acidity needed for a basic treatment.
How long should lemon water boil?
Five to ten minutes is usually enough. Use a gentle boil or steady simmer rather than an aggressive rolling boil. A badly burnt pan may benefit from a second cycle.
Can I add salt?
Coarse salt can provide gentle scrubbing action on some durable surfaces, and lemon-and-salt methods are sometimes used on greasy cookware. Avoid coarse abrasives on nonstick, polished, or delicate finishes unless the manufacturer approves them.
Will lemons remove black stains completely?
They may remove fresh food residue and lighten some stains, but severe carbonization or heat discoloration can remain. Follow with baking soda or a cleaner designed for the cookware material.
Can the pan go into the dishwasher afterward?
Only when the manufacturer identifies it as dishwasher-safe. Hand-washing is generally gentler, particularly for nonstick coatings, polished cookware, wooden handles, and enameled finishes. Burnt pots and pans are also better cleaned by hand before being placed in a dishwasher.
Conclusion
Cleaning a burnt pot does not have to become an arm workout or a chemistry experiment. For compatible cookware, simmering lemon pieces in water is an easy first response that softens stuck-on food, freshens odors, and reduces the need for aggressive scrubbing.
Let the pan cool, cover the burnt area with water, add sliced lemons, simmer gently, loosen the residue with a wooden or silicone utensil, and finish with mild dish soap. When a stain remains, follow with a baking soda paste or a manufacturer-approved cleanser.
The method is inexpensive, practical, and ideal for fresh kitchen mishaps. Just match the treatment to the cookware, protect delicate coatings, avoid using lemon on seasoned cast iron or carbon steel, and never combine lemon juice with chlorine bleach. Your dinner may be beyond rescue, but the pan probably is not.