Leather is a lot like a confident movie star: it looks better with age, but it absolutely does not appreciate being dragged across concrete, scraped by a zipper, or body-checked by a coffee table. A tiny scuff can make your favorite boots, jacket, sofa, purse, or car seat look like it just lost a bar fight. The good news? Most scuffed leather can be improved at home, and some of it can be restored so well that only you and the leather know what happened.
If you are trying to fix scuffed leather without making it worse, the secret is simple: don’t treat every mark the same. A faint surface rub needs a different fix than a deeper scrape that has removed color or roughed up the finish. That is where many DIY repairs go sideways. People panic, grab the nearest cleaner, scrub like they are erasing bad decisions, and suddenly the scuff has a larger, louder cousin.
This guide breaks the process into three practical methods, from the easiest cosmetic touch-up to a more serious repair for deeper damage. You will also learn when to stop, when to switch products, and when to call a professional before your leather item starts looking “distressed” in the wrong, expensive way.
Before You Fix the Scuff, Figure Out What Kind of Damage You Have
Not every blemish on leather is a true scratch. Some marks are just surface transfer or dull scuffing on the finish. Others cut through the top color layer. A few go deeper and rough up the fibers underneath. If you choose the wrong repair method, you can turn a small issue into a larger one.
Light scuff
This usually looks like a faint rub, streak, or shiny dull mark on the surface. The leather itself is still intact, and the color may not be fully gone. These are the easiest fixes and often respond well to cleaning, buffing, and conditioning.
Medium scuff or scratch
This type is more visible and may have removed some finish or color. You can still save it at home, but you may need a leather balm, cream, or color-matched touch-up product instead of basic conditioner alone.
Deep gouge, tear, or peeling finish
If the surface is split, the leather is lifting, or you can feel an actual groove with your fingernail, you are moving into repair-kit territory. This can still be a DIY job in some cases, but you will need patience, a steady hand, and the ability to resist the ancient human urge to “just add more product.”
One more thing: smooth finished leather behaves very differently from suede, nubuck, or delicate unfinished leather. If your item is suede-like, velvety, or highly absorbent, do not use the same methods you would use on a smooth leather sofa or boot. That is how a small scuff becomes modern art.
Way 1: Clean, Condition, and Buff Out Light Scuffs
Best for: minor surface scuffs, faint scratches, dull rubbing, everyday wear marks
If the scuff is shallow and mostly sitting in the finish, this is the smartest place to start. In many cases, leather just needs a gentle cleanup and a little moisture to relax the appearance of the mark. Think of it as giving your leather a glass of water and a pep talk.
What you need: a soft microfiber cloth, a mild leather cleaner or lightly damp cloth, and a quality leather conditioner.
Step 1: Remove surface dirt. Wipe the area gently with a clean, soft cloth. If the leather is dusty or a little grimy, use a barely damp cloth or a leather-safe cleaner. Never soak the leather. Leather likes moisture in moderation, not a surprise swimming lesson.
Step 2: Let it dry completely. This part is not glamorous, but it matters. Applying conditioner to damp, dirty leather can trap grime and create uneven results.
Step 3: Spot test first. Test the conditioner in a hidden area. Some products can darken leather slightly, especially on lighter shades. Better to discover that under a strap or behind a cushion than dead center on the seat of your favorite chair.
Step 4: Apply a small amount of conditioner. Use a soft cloth and work the product into the scuffed area with light, circular motions. Then blend outward so the finish looks even. If the scuff is mild, this alone may dramatically reduce it.
Step 5: Buff gently. After the conditioner settles, buff the area with a clean, dry cloth. This helps restore sheen and smooth out the look of the surface.
This method works especially well on shoes, handbags, belts, jackets, and finished furniture leather. It is also the least risky of the three approaches, which is why it deserves first place. When in doubt, start gentle. Leather responds much better to calm confidence than to aggressive “scrub now, regret later” energy.
Pro tip: If the mark improves but does not fully disappear, do not keep piling on product in one session. Let the leather rest, then reassess. A second light application is usually smarter than one heavy, greasy overcorrection.
Way 2: Lift Surface Scuffs With a Gentle DIY Method
Best for: stubborn surface marks, transferred scuffs, mild finish rubbing on smooth leather
Sometimes a scuff is not really a scratch at all. It is just a mark sitting on top of the finish, which means you may be able to lift it rather than repair it. This is where careful DIY methods can help. The keyword is careful. Not “attack it like you are sanding a deck.”
What you can try: a pink artist’s eraser, a tiny dab of non-gel white toothpaste, or a baking soda paste for certain smooth finished leathers. The goal is to remove the mark, not the leather’s will to live.
Option A: Artist’s eraser
For glossy or finished leather with a shallow surface mark, a clean pink artist’s eraser can be surprisingly effective. Rub lightly over the scuff, then buff with a dry cloth. This is especially handy for small accessories and structured bags.
Option B: Non-gel white toothpaste
Apply the tiniest amount to a soft cloth and rub gently over the scuff. Wipe away residue with a clean, slightly damp cloth, then dry and buff. This can work well for isolated marks, but moderation is everything. Too much pressure can dull the finish.
Option C: Baking soda paste
Mix a small amount of baking soda with water to create a light paste. Use it sparingly on a soft cloth or very soft brush, then wipe clean and dry. This is a last-resort trick for surface scuffs, not a daily skincare routine for your leather.
After using any of these methods, apply a small amount of conditioner to rebalance the leather and restore softness. Otherwise, you may win the scuff battle but leave the leather dry and a little cranky.
Important caution: Melamine sponges, often sold as magic erasers, can remove marks, but they are abrasive. On some leather finishes, they can also remove more than you intended. If you use one at all, use a feather-light touch and test it first on a hidden area. For many leather items, a softer method is the safer bet.
This approach is excellent when you are dealing with the kind of scuff that looks dramatic from three feet away but turns out to be mostly cosmetic. In other words, it is the leather equivalent of realizing your “huge problem” was just spinach in your teeth.
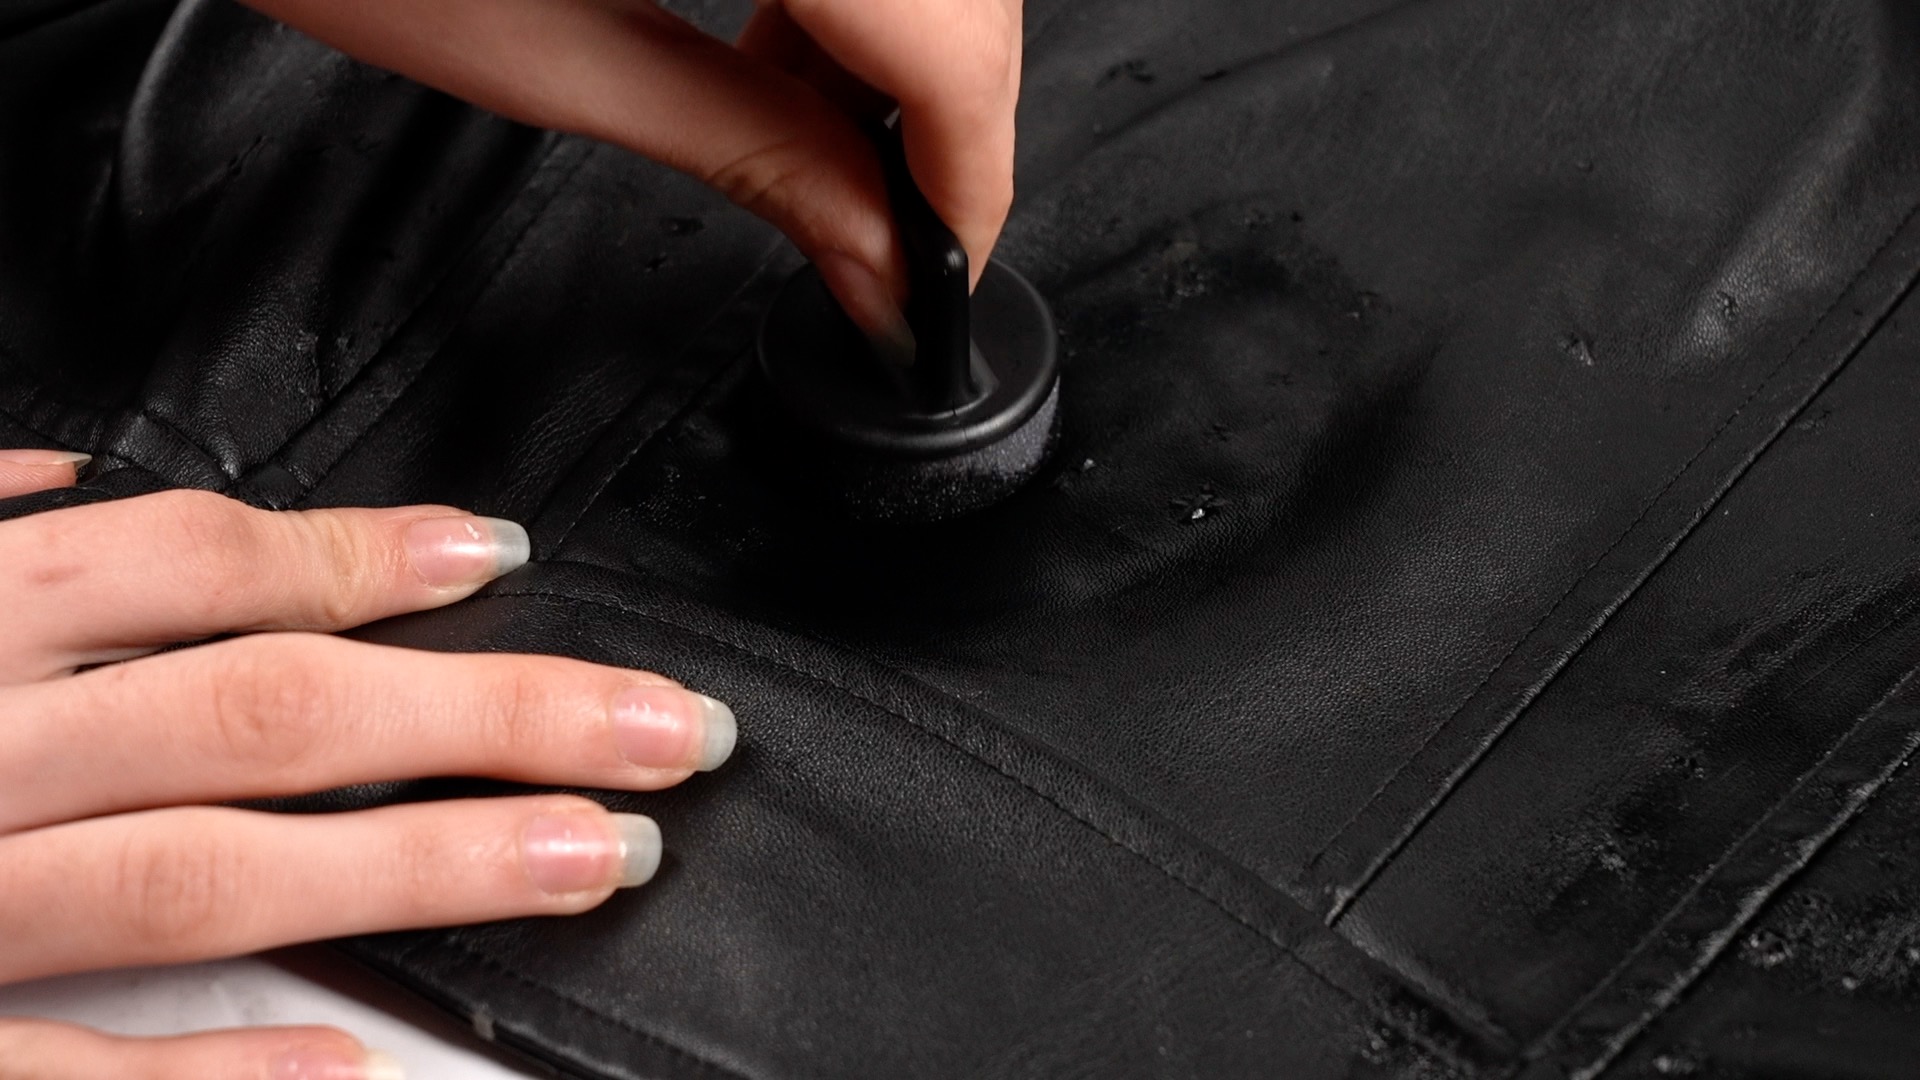
Way 3: Recolor and Repair Deeper Scuffs
Best for: visible color loss, roughened scratches, deeper scuffs, worn spots on furniture, bags, and shoes
If the scuff has gone beyond the top shine and taken color with it, conditioner alone will not fully solve the problem. You need to replace or disguise the lost finish. This is where leather balm, recoloring cream, repair compound, or a leather repair kit earns its paycheck.
What you need: leather cleaner, color-matched leather balm or cream, applicator pad or soft cloth, and for deeper damage, a repair kit with filler or compound.
Step 1: Clean the area first. Any dirt, oil, or residue will interfere with color bonding and blending. Skip this step, and your repair may look blotchy or wear off quickly.
Step 2: Match the color carefully. “Close enough” is risky when it comes to leather. If you are working on a medium-brown chair and choose a chocolate-brown balm, congratulations, you may create a permanent spotlight. Start with the closest possible match and build slowly.
Step 3: Apply a thin layer. Use a small amount of balm or cream and work it into the scuffed area. Blend the edges so the transition looks natural. Allow it to dry before deciding whether it needs another coat.
Step 4: For rough or deeper damage, use filler sparingly. If the scuff has texture loss, a repair compound can smooth the surface before recoloring. Apply a very thin amount, let it cure as directed, and only then apply color. This is the part where patience becomes a personality trait.
Step 5: Buff and finish. Once the color has dried, buff gently. Some repairs also benefit from a finishing conditioner after the product has fully set, depending on the instructions of the product you use.
This third method is often the best choice for leather couches, car seats, boots with scraped toes, or handbags that have taken repeated hits at corners and edges. It is also the method most likely to separate the patient DIY hero from the person who ends up online at 1:00 a.m. searching “how to undo a bad leather repair.”
If the leather is peeling badly, cracking over a large area, or torn, a professional may still be your best option. A home repair can improve the look, but not every piece is a weekend project. Some leather items have expensive finishes, unusual dyes, or sentimental value that deserves expert hands.
Mistakes That Can Make Scuffed Leather Worse
Fixing scuffed leather is often less about heroics and more about restraint. Here are the biggest mistakes people make:
Using too much water: Leather should be cleaned, not soaked. Excess moisture can stain, stiffen, or distort certain finishes.
Skipping the patch test: Even a good product can darken or alter some leathers.
Scrubbing aggressively: Pressure does not equal progress. Sometimes it just means a larger damaged area.
Using random household cleaners: If a product sounds more suitable for a bathtub, oven, or car wheel, it probably should not meet your leather jacket.
Ignoring leather type: Suede, nubuck, aniline, and unfinished leather need specialized care and sometimes professional treatment.
Trying to fix deep damage with conditioner alone: Conditioner can improve appearance, but it cannot magically rebuild missing finish or fill a gouge.
When to Call a Professional
DIY works beautifully for many scuffs, but not every leather problem belongs on your kitchen table with a microfiber cloth and optimism. Call a professional if:
You have a tear, split seam, or peeling finish over a large area.
The leather is suede, nubuck, or highly delicate unfinished leather.
The item is expensive, vintage, designer, or emotionally important.
You tried a safe method once and the damage got worse.
The color matching is too tricky to fake convincingly.
There is no shame in outsourcing a repair when the stakes are high. That is not failure. That is strategic adulthood.
Quick FAQ About Fixing Scuffed Leather
Can scuffed leather really be restored?
Often, yes. Light scuffs may disappear with cleaning and conditioning. Medium and deeper scuffs can often be improved or nearly hidden with recoloring products and repair kits.
Is petroleum jelly okay for scuffed leather?
It can work in a pinch on some finished leather items, especially for buffing minor scuffs, but it is not always the best long-term leather treatment. A dedicated leather conditioner is usually the safer, more predictable choice.
Can I use shoe polish?
Sometimes, especially on leather shoes and certain furniture touch-ups, but color matching matters. If the polish does not match well, the repair can look worse than the original scuff.
What about vinegar or rubbing alcohol?
These are sometimes used in controlled, limited cleaning situations, but they are not universal fixes for scuffs. They can dry out or alter some finishes, so they should be used carefully and not as a first impulse.
Experience: What Fixing Scuffed Leather Teaches You in Real Life
The funny thing about scuffed leather is that it rarely gets damaged at a convenient time. It happens when you are rushing out the door, sliding into the driver’s seat with too much enthusiasm, dragging a chair across the room, or setting down your bag in the exact wrong place with the exact wrong metal hardware nearby. One minute your leather looks rich and polished, and the next it has a bright little scar that catches sunlight like it is trying to file a formal complaint.
What most people learn after fixing scuffed leather a few times is that the repair is usually more psychological than technical. The first instinct is panic. You stare at the mark, lean left, lean right, and convince yourself the item is ruined forever. Then you start imagining the cost of replacing the whole thing. But once you actually slow down, clean the area, test a product, and work in small steps, you realize leather is more forgiving than it first appears.
One of the biggest real-world lessons is that light scuffs are often dramatic but shallow. They look terrible because they interrupt the color and sheen, not because the leather is destroyed. A little conditioner and buffing can make them fade so much that you start wondering whether the mark was ever as bad as you thought. Leather has that magical ability to recover some dignity very quickly.
Deeper scuffs teach a different lesson: patience beats force every time. When color has been scraped away, people tend to overapply balm, polish, or repair cream because they want instant perfection. But leather rarely rewards impatience. Thin layers look better. Drying time matters. Gentle blending matters. Walking away for twenty minutes matters. Yes, it is annoying. Yes, it works.
There is also the matter of expectations. Repairing scuffed leather does not always mean making it look factory-new. Sometimes success means the damage no longer jumps out at you from across the room. Sometimes it means the boot toe looks polished again. Sometimes it means the corner of your bag no longer looks like it was nibbled by a tiny determined raccoon. Improvement counts.
And then there is the long-term perspective. People who own leather for years usually stop chasing total flawlessness. They start aiming for cared-for, not untouched. A well-maintained leather item develops character, depth, and patina. The occasional repaired scuff becomes part of the story, not proof of failure. In that sense, fixing scuffed leather is not just maintenance. It is a weirdly satisfying little ritual in keeping good things around longer.
So if your leather has a fresh scuff today, don’t panic, don’t scrub like a maniac, and definitely don’t assume the item is doomed. Start small, work smart, and remember that leather is tough stuff. It has survived cattle ranches, motorcycle rides, airport luggage bins, office chairs, pet claws, and decades of human overconfidence. With the right method, your scuffed leather can absolutely make a comeback.
Final Thoughts
If you want the simplest rule for fixing scuffed leather, here it is: start with the gentlest method that has a reasonable chance of working. Clean first. Condition light scuffs. Use careful DIY scuff-lifting techniques for surface marks. Bring in color restoration or repair compounds only when the damage is deeper. That order saves time, saves money, and saves you from turning a tiny blemish into a full-blown leather identity crisis.
The best part is that once you learn these three methods, you can use them on everything from shoes and handbags to couches and car seats. Suddenly, a scuff is not a disaster. It is just a small maintenance project with a satisfying before-and-after. And frankly, that is a much better story than “I replaced the whole chair because of one ugly mark.”