

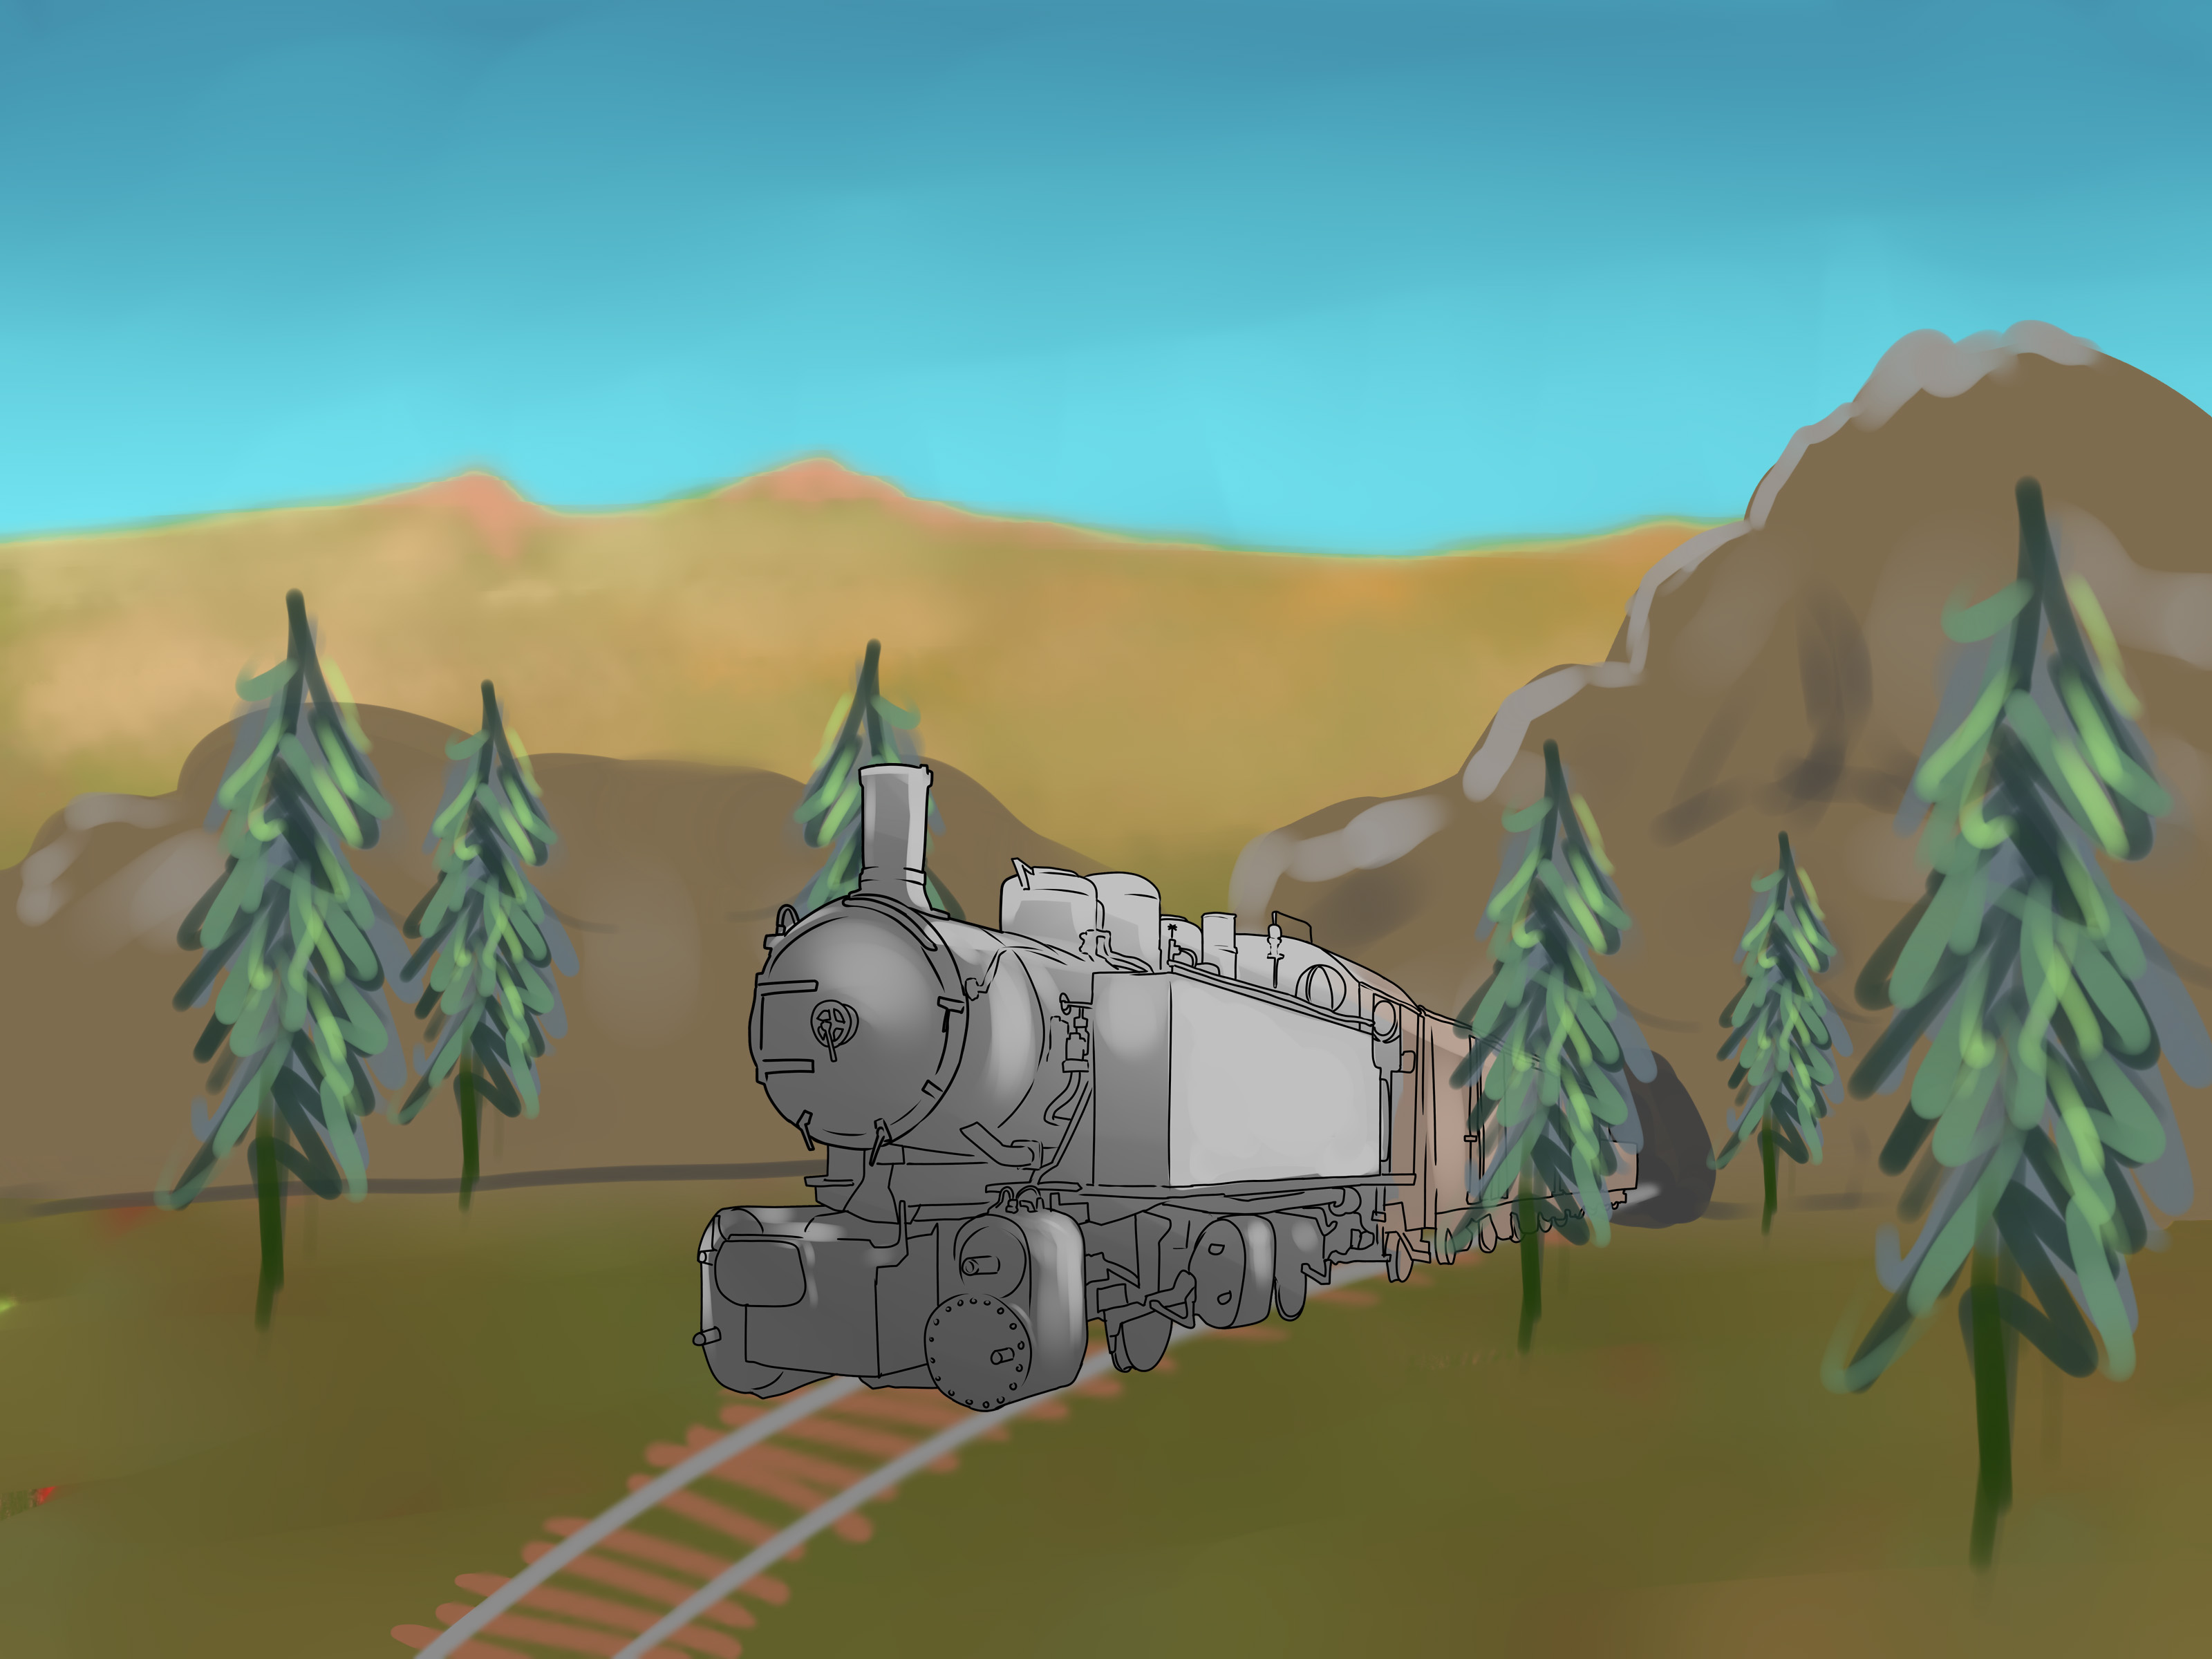
Building a model railroad is part woodworking project, part electrical puzzle, part miniature art studio, and part excuse to make train noises when nobody is watching. The good news is that you do not need a basement the size of Grand Central Terminal, a professional engineering degree, or a conductor’s hatalthough the hat certainly improves morale.
A successful model train layout begins with realistic goals, reliable trackwork, and a design that fits both your available space and the way you want to operate trains. Start small enough to finish, test every stage before covering it with scenery, and remember that miniature railroads are supposed to be enjoyable. Perfection can wait at the station.
Research basis for layout planning and beginner construction principles.
What Do You Need to Build a Model Railroad?
The exact shopping list depends on your chosen scale and layout design, but most beginner model railroads require the following basic materials:
- A locomotive and compatible rolling stock
- Sectional track, flextrack, or track with integrated roadbed
- A DC power pack or Digital Command Control system
- Plywood, foam board, lumber, or modular benchwork
- Roadbed, rail joiners, feeder wires, and electrical connectors
- Basic tools such as a drill, screwdriver, hobby knife, ruler, wire stripper, and rail cutter
- Scenery materials, structures, paint, ballast, trees, and figures
You do not need to buy everything at once. In fact, purchasing three dozen buildings before confirming that your track plan works is an excellent way to create a very detailed town with no functioning railroad.
Step 1: Decide What Kind of Railroad You Want
Before buying track, define what you want the layout to do. Some hobbyists enjoy watching long trains travel continuously through mountain scenery. Others prefer switching freight cars among warehouses, factories, and team tracks. You might want to reproduce a specific railroad, model a favorite region, or invent a fictional short line with a suspiciously profitable pickle factory.
Choose an Operating Style
A continuous-loop layout allows trains to keep running without intervention. It is relaxing, beginner-friendly, and ideal when you mainly want to watch trains pass through scenery. A point-to-point layout emphasizes realistic operations, with trains traveling between terminals and switching industries along the route.
You can combine both approaches by building a loop with sidings, a small yard, and one or two industries. This gives you continuous running when you want to relax and switching activity when you feel like becoming the busiest dispatcher in the county.
Step 2: Choose the Right Model Train Scale
Scale describes how much smaller the model is than the real train. Gauge refers to the distance between the rails. The two terms are related, but they are not technically identical.
HO scale, with a ratio of approximately 1:87, is the most widely used model railroad size in the United States. It provides a useful balance between visible detail and manageable space. N scale, approximately 1:160, allows longer trains and broader scenes in a smaller room. O scale models are much larger and visually impressive, but they generally require wider curves and more space.
Scale and gauge guidance synthesized from established hobby references.
Match the Scale to Your Space
HO scale works well for a traditional tabletop railroad or a shelf layout around a room. N scale is useful for apartments, compact spare rooms, and anyone who dreams of running a 20-car freight train without removing the couch. O scale is a strong choice when large models, durability, and dramatic sound are more important than squeezing in miles of miniature main line.
Before committing, visit a hobby shop, train show, or model railroad club. Seeing several scales in person is much more informative than studying measurements on a screen.
Step 3: Measure the Space and Set a Budget
Measure the room, closet, garage, spare bedroom, or corner where the railroad will live. Record the locations of doors, windows, electrical outlets, furniture, heating vents, and anything else that may interfere with construction or access.
Do not design track that you cannot comfortably reach. A derailment will eventually happen in the least accessible tunnel, because model trains apparently understand comedy. As a general planning rule, keep frequently serviced track within a comfortable arm’s reach or provide access openings.
Create a Phased Budget
Divide the project into stages: base construction, track, electrical work, trains, structures, and scenery. Spend first on dependable track, turnouts, power equipment, and benchwork. Decorative accessories can be added gradually.
A modest layout built with reliable components is more satisfying than an enormous railroad that consumes the household budget and still has one operational siding.
Step 4: Draw a Practical Track Plan
Sketch the available area on graph paper or use model railroad planning software. Mark the outer dimensions first, then add curves, turnouts, sidings, stations, yards, and industries.
Use the actual geometry and minimum curve radius of your chosen track system. A curve that looks elegant in a freehand drawing may be physically impossible when assembled. Paper track templates or full-size printouts can help you confirm that every section fits before construction begins.
Planning guidance and the value of full-size track templates.
A Simple Beginner Track Plan
A useful first layout can include one continuous loop, a passing siding, two industrial spurs, and a small station. The loop provides continuous running, while the sidings create reasons to move and sort freight cars.
Avoid filling every available inch with track. Real railroads do not resemble bowls of steel spaghetti. Leaving open space for roads, buildings, hills, and visual separation will make the finished scene look larger and more believable.
Step 5: Gather Your Tools and Materials
Collect the tools needed for the first construction stage before making sawdust. Common tools include a tape measure, square, level, pencil, drill, screwdrivers, clamps, hobby knife, small files, wire cutters, wire strippers, soldering iron, multimeter, and a model railroad rail cutter.
Wear appropriate eye protection when cutting wood, foam, wire, or rail. Use adhesives, paints, soldering equipment, and heated foam-cutting tools only with suitable ventilation and according to the manufacturer’s instructions.
Keep Rail and Wire Cutters Separate
Dedicated rail cutters are shaped to produce a clean cut on one side of the rail. They should not be used for electrical wire. Likewise, ordinary wire cutters may crush or distort model railroad rail. Labeling the tools can prevent an unfortunate meeting between expensive track and the wrong pair of pliers.
Tool and wiring practices informed by NMRA beginner guidance.
Step 6: Build Strong, Level Benchwork
Benchwork is the supporting structure beneath the railroad. Common options include a simple tabletop, an open-grid frame, lightweight modular sections, and wall-mounted shelf construction.
For a compact first layout, a rectangular lumber frame topped with plywood and rigid foam is straightforward and forgiving. The plywood provides strength, while the foam makes it easier to shape terrain, carve drainage ditches, and place scenery.
Check the frame for square and level before installing track. Uneven benchwork can create unwanted grades, twisted track, uncoupling problems, and locomotives that roll away while you are trying to photograph them.
Plan for Moving and Maintenance
Build the railroad in sections if you rent your home, expect to move, or cannot carry a full-size table through the doorway. Modular construction also allows you to work on one section at a comfortable height before joining it to the rest of the layout.
Beginner benchwork and modular-layout recommendations.
Step 7: Test-Fit the Roadbed and Track
Place the track on the layout without fastening it permanently. Connect the full route, set several buildings in their planned locations, and run your longest locomotive and cars through every curve and turnout.
Watch for sharp bends, awkward S-curves, track that passes too close to the edge, and structures that interfere with longer equipment. Confirm that parallel tracks have enough separation and that cars do not collide when passing.
Test with the Most Demanding Equipment
A short switcher and two freight cars may glide through a tight curve that causes a long passenger car or six-axle diesel to protest dramatically. Test the plan with the longest equipment you expect to operate, not merely the smallest train currently on the table.
Step 8: Install Roadbed and Lay the Track
Roadbed creates a smooth foundation for the track, raises it above the surrounding terrain, and helps reproduce the profile of a real railroad right-of-way. Cork and foam are common choices. Track with an integrated plastic roadbed can simplify construction for beginners.
Transfer the final track centerlines to the layout surface. Glue or fasten the roadbed along those lines, keeping curves smooth and joints even. Once the adhesive dries, lightly sand any raised seams before laying track.
Take Extra Care at Rail Joints
Connect track sections with properly seated rail joiners. Both rails must enter the joiner rather than allowing one rail to ride over it. On flextrack curves, staggered rail joints can produce smoother alignment, but the rail ends may need trimming.
Fasten track gently. Nails driven too tightly can distort the ties and narrow the gauge. Adhesive caulk is another popular option because it holds the track securely while allowing careful removal later.
Track selection, roadbed, and installation principles.
Step 9: Wire the Railroad for Reliable Power
Small, temporary layouts may operate from a single track connection, but permanent railroads benefit from a power bus and multiple feeder wires. A bus consists of heavier wires running beneath the main route. Smaller feeders connect the bus to the rails at regular intervals, reducing dependence on rail joiners for electrical continuity.
Use consistent wire colors throughout the layout. For example, connect every feeder from the front rail to the same bus color and every feeder from the rear rail to the other color. Reversed feeders produce short circuits with remarkable efficiency.
DC Versus DCC
Traditional direct-current control adjusts the voltage in the rails to control a train. Operating multiple trains independently normally requires electrically isolated blocks and additional switches. Digital Command Control sends commands through the rails to decoders installed in individual locomotives, making independent control easier.
For many DCC layouts, manufacturers and hobby organizations recommend a heavier main bus with smaller feeder wires. Exact wire sizes, feeder spacing, circuit protection, and booster requirements depend on layout length and system capacity, so follow the instructions for your specific equipment.
Electrical guidance synthesized from NMRA, NCE, and Digitrax documentation.
Step 10: Test Every Route Before Adding Scenery
Run trains forward and backward through every main line, siding, spur, and turnout. Test at slow speeds, because slow running exposes dirty rail, poor electrical connections, uneven joints, and track defects that higher speeds may temporarily hide.
Use several locomotives and different types of cars. Check coupler height, wheel gauge, turnout alignment, and electrical continuity. Fix every recurring derailment before moving to scenery.
Do Not Landscape Over a Problem
A troublesome rail joint does not improve when covered with ballast, shrubs, and a tiny family enjoying a picnic. Troubleshooting becomes more difficult after scenery is installed, especially inside tunnels and beneath bridges. Reliable operation should come before visual perfection.
Step 11: Shape the Terrain and Install a Backdrop
Once the railroad operates reliably, begin shaping the surrounding landscape. Popular terrain methods include stacked rigid foam, cardboard strips covered with plaster cloth, wire screen, lightweight shell construction, and carved foam risers.
Use hills, trees, buildings, and cuts to divide the railroad into separate scenes. A carefully placed ridge can prevent viewers from seeing the same train on opposite sides of a small loop, making the route appear longer.
Paint the Backdrop Early
Install and paint the backdrop before adding delicate foreground scenery. A simple sky with a hazy horizon can create convincing depth without requiring the artistic skills of a museum muralist. Muted colors usually work better than intensely bright blues and greens.
Terrain and scenery methods from established modeling guides.
Step 12: Add Ballast, Ground Cover, and Structures
Paint the base surface an earth color before applying scenery. Bare white foam has an impressive ability to remain visible through even the smallest accidental gap.
Spread model railroad ballast between and beside the ties, keeping loose grains away from turnout points and moving mechanisms. Mist the area with a wetting agent, then apply diluted scenery adhesive carefully. After it dries completely, vacuum away loose particles and clean the railheads.
Build the Scene in Layers
Begin with basic earth textures, followed by fine ground foam, static grass, bushes, trees, roads, fences, utility poles, signs, and figures. Mix several textures and shades instead of using one uniform green material across the entire layout.
Place structures according to the story of the railroad. Industries should have logical rail access. Stations need passenger access. Warehouses benefit from loading docks. A tiny cow standing on the depot roof, while memorable, may require an unusually detailed backstory.
Scenery and structure guidance.
Step 13: Operate, Maintain, and Expand the Layout
A model railroad becomes more engaging when trains have a purpose. Create a simple operating session in which a local freight leaves the yard, delivers cars to industries, collects outbound cars, and returns home. Passenger trains can follow a timetable, while through freights circle the main line.
Keep rails and locomotive wheels clean, inspect rolling stock periodically, and repair small problems before they multiply. Store tools and spare parts in labeled containers. Record electrical circuits and turnout locations in a diagram so future troubleshooting does not resemble an archaeological expedition.
Expand One Useful Feature at a Time
Add a new industry, staging track, locomotive facility, lighting circuit, sound module, or scenic section only when the existing railroad operates well. Model railroads are rarely truly finished, but each stage should feel complete enough to enjoy.
Maintenance and long-term development principles.
Common Model Railroad Mistakes to Avoid
- Starting too large: An unfinished empire is less enjoyable than a completed compact railroad.
- Using curves that are too tight: Long locomotives and passenger cars may derail, overhang excessively, or look unrealistic.
- Skipping the test-running stage: Every route should operate reliably before ballast and scenery are added.
- Depending entirely on rail joiners for power: Feeder wires improve electrical reliability on permanent layouts.
- Building unreachable track: Hidden areas require access for cleaning, rerailing, and repairs.
- Adding too much track: Open scenic space helps individual scenes feel larger and more realistic.
- Mixing incompatible components: Confirm that track, wheel standards, couplers, control systems, and decoder equipment work together.
Practical Experience: Lessons Learned While Building a Model Railroad
The first lesson from hands-on model railroad construction is that track planning on paper and track planning in the real world are distant relatives. A drawing may show a beautiful yard, station, engine terminal, mountain, river, downtown district, and six-track bridge. When full-size track is placed on the table, that grand terminal may turn out to occupy nearly the entire county. Testing the design with real track or paper templates prevents expensive surprises.
The second lesson is that smooth track matters more than elaborate scenery. Beginners naturally focus on mountains, tunnels, trees, and glowing buildings because those elements make a layout look finished. However, trains spend their time touching the rails, not admiring the forest. A plain plywood layout with flawless track is fun to operate. A beautiful layout with constant derailments becomes an exceptionally detailed source of irritation.
Another useful experience is learning to work in small sections. Trying to build all the benchwork, install every track, complete the wiring, and finish the scenery across an entire layout can become overwhelming. Completing one town or industrial area at a time provides visible progress. It also allows new techniques to be tested without placing the whole railroad at risk. A small scenery mistake can be corrected. Discovering that the adhesive dissolves foam after covering a 12-foot wall is a more ambitious learning opportunity.
Labeling wires is equally important. During initial construction, the purpose of every red, black, yellow, and blue wire seems unforgettable. Six months later, the underside of the layout resembles a bowl of electronic noodles. Labels, terminal strips, circuit diagrams, and consistent wire colors make repairs faster and reduce accidental short circuits.
It is also wise to leave structures removable. Buildings often need lighting repairs, interior improvements, or relocation when the track plan evolves. Installing them with removable pins, concealed magnets, or a small amount of repositionable adhesive provides flexibility. The same principle applies to tunnel portals and removable scenery panels above hidden track.
Realistic scenery usually comes from observation rather than expensive products. Study photographs of the region being modeled. Notice how vegetation gathers along fences, how gravel changes color near tracks, how weeds grow around abandoned equipment, and how buildings rarely sit perfectly square to every road. Small irregularities make a miniature scene believable.
Operational experience also changes layout design. A siding that appeared unnecessary may become the most enjoyable part of a switching session. A large yard may prove less useful than two well-placed industrial spurs. Running trains before permanently completing the scenery reveals which areas deserve expansion and which features merely looked impressive in the original sketch.
Finally, the best model railroad is not necessarily the biggest, most expensive, or most historically exact. It is the railroad that you can operate, maintain, and continue improving without turning the hobby into unpaid overtime. Build at a comfortable pace. Celebrate the first successful circuit, the first working turnout, and the first finished scene. Those small victories are what keep the miniature railroad moving forward.
Conclusion
Learning how to build a model railroad is easier when the project is divided into manageable stages. Choose a suitable scale, create a realistic track plan, build level benchwork, install dependable track, wire it carefully, and test everything before adding scenery. Once the trains run reliably, you can turn the mechanical layout into a miniature world filled with industries, towns, mountains, people, and stories.
Start with a railroad small enough to complete but flexible enough to expand. The first layout will teach you more than months of collecting supplies and redesigning imaginary rail empires. Besides, trains are considerably more entertaining when they are moving.
SEO Information
Note: Electrical requirements, curve limits, adhesives, and installation procedures vary by manufacturer. Follow the instructions supplied with your track, power system, tools, and scenery products.