

Few home-improvement moments are more satisfying than sshed by a zebra with a roller. Dark bands, shiny overlaps, fuzzy ridges, thin patches, and visible roller tracks can turn an exciting room makeover into a frustrating game of “Will another coat fix this?”
The good news is that roller marks and paint streaks are rarely caused by bad luck. They usually result from an incorrect roller cover, uneven paint loading, excessive pressure, poor surface preparation, rapid drying, or failure to maintain a wet edge. Once you understand how paint behaves between the tray and the wall, achieving a smooth, uniform finish becomes much easier. e explains how to avoid roller marks when painting walls, choose the right tools, control your technique, correct existing streaks, and finish each wall with the consistency of an experienced painter.
What Do Roller Marks and Paint Streaks Look Like?
Several paint defects are casually described as roller marks, but identifying the specific problem helps you choose the right solution.
Lap marks
Lap marks are darker, lighter, or shinier bands where wet paint overlaps paint that has already begun drying. They are especially noticeable with deep colors, satin finishes, semi-gloss paint, and walls illuminated from the side.
Roller-edge ridges
These raised lines form when paint accumulates along one end of the roller cover. Painters sometimes call them “fat edges.” They are commonly caused by overloading the roller, tilting the frame, or pressing too hard.
Uneven stipple
Stipple is the subtle texture naturally left by a roller. A small, consistent stipple is normal. The problem begins when one area has a fine texture while another resembles an orange peel. An unsuitable nap, inconsistent pressure, or repeatedly rolling partially dried paint can cause this uneven appearance. eaks and holidays
Thin streaks appear when the roller does not carry enough paint to cover the surface uniformly. Completely missed areas are sometimes called holidaysalthough discovering one after cleaning every tool feels nothing like a vacation.
Why Roller Marks Appear on Painted Walls
Most visible lines can be traced to one or more of the following causes:
- Using a roller nap that is too thick or too thin for the wall texture
- Buying a low-quality cover that sheds fibers or releases paint unevenly
- Starting with a dry, poorly conditioned roller
- Applying too little or too much paint
- Pressing hard to squeeze the final drops from the roller
- Allowing one section to dry before overlapping it
- Rolling back over paint after it has started setting
- Painting in hot, dry, windy, or heavily ventilated conditions
- Skipping primer on porous drywall, repairs, or uneven surfaces
- Stopping in the middle of a wall instead of at a corner or doorway
Professional-looking results depend less on rolling faster than on keeping paint application predictable. The roller should remain evenly loaded, the pressure should remain light and consistent, and each new section should blend into paint that is still wet. he Right Roller Cover
The roller cover is where many otherwise promising paint jobs go sideways. Nap refers to the length of the fibers on the cover. Longer fibers hold more paint and reach into textured surfaces, while shorter fibers create a smoother finish.
| Wall Surface | Typical Roller Nap | Best Use |
|---|---|---|
| Very smooth drywall, doors, or cabinets | 1/4 inch to 3/8 inch | Fine, low-texture finish |
| Standard smooth or lightly textured walls | 3/8 inch | Most interior wall projects |
| Light orange-peel or moderate texture | 1/2 inch | Reaching shallow surface variations |
| Heavy texture, masonry, or stucco | 3/4 inch or longer | Deep recesses and rough surfaces |
A thick 3/4-inch cover on smooth drywall may leave an unnecessarily heavy orange-peel texture. Conversely, a very short nap may skim over the high points of a textured wall while leaving tiny unpainted pockets. For most smooth interior walls, manufacturers and painting specialists commonly recommend a quality 3/8-inch woven or microfiber cover. Always check the paint manufacturer’s label because specialty coatings may require a different applicator. et the cheapest roller choose your wall texture
High-quality woven or microfiber covers generally hold paint more evenly, resist matting, and shed fewer fibers. Bargain covers can flatten during use, release paint unpredictably, and leave lint embedded in the finish. Saving two dollars on a roller is less exciting when you later spend an afternoon sanding tiny hairs out of a twelve-foot wall.
Prepare the Roller Before Painting
Remove loose lint from a new roller by wrapping painter’s tape around it and pulling the tape away. For water-based paint, lightly dampen the cover with clean water and remove all excess moisture. The cover should be barely damp, not dripping. For oil-based coatings, follow the product instructions regarding the appropriate conditioning solvent.
Next, load the roller thoroughly. Roll it into the paint, move it across the tray’s textured ramp or a bucket grid, and repeat until the fibers are evenly saturated. A properly loaded roller should look full and fluffy without dripping from the ends. Some manufacturers recommend allowing the cover several minutes to become fully conditioned with paint before beginning the main wall. the Wall for an Even Finish
Paint cannot disguise every flaw. In fact, satin and semi-gloss finishes often make bumps, sanding scratches, patched holes, and uneven textures more obvious.
Clean the surface
Remove dust, cobwebs, grease, fingerprints, and residue before painting. Kitchen walls and areas around light switches may need more than a ceremonial swipe with a dry rag. After washing, rinse away cleaning residue and allow the wall to dry completely. Dirt and soap can interfere with adhesion and create inconsistent paint application. nd sand defects
Fill nail holes, dents, and cracks with an appropriate patching compound. Once dry, sand the repairs until their edges blend into the surrounding wall. Run a work light across the surface at a low angle; shadows will reveal ridges that overhead lighting politely ignored.
Prime porous or uneven areas
Bare drywall, joint compound, large patches, stains, and highly porous surfaces may absorb paint at different rates. Primer creates a more uniform base and prevents the finish coat from drying too quickly in selected areas. Spot-priming can occasionally create a visible difference in sheen, so priming the entire wall may be preferable when repairs are widespread. Combine Paint for Consistent Color
Stir the paint thoroughly before use and occasionally during the project. Pigments and other ingredients can settle in the can, particularly when paint has been stored for a while.
When a room requires multiple cans of the same color, combine them in a larger bucket before painting. This process, commonly called boxing paint, reduces the chance that minor batch variations will appear as color or sheen changes across the wall. Do not thin paint unless the product instructions specifically allow it. Adding water because the paint “feels a little thick” can alter coverage, flow, and film formation. he Wet-Edge Painting Technique
Maintaining a wet edge is the most important technique for preventing lap marks. It means applying each fresh section before the edge of the previous section begins to dry.
Work on one wall at a time
Complete an entire wall before stopping. If you must take a break, stop at a natural boundary such as a corner, window, doorway, or architectural break. Restarting in the middle of a dry wall almost invites a visible overlap. anageable sections
Do not brush every edge in the room and then begin rolling an hour later. Brush a border along part or all of one wall, then roll while the brushed paint is still workable. This helps the rolled and brushed areas blend instead of drying as two separate textures. m unpainted wall back into wet paint
Place a loaded roller on the unpainted area several inches away from the wet edge. Spread the paint, then roll back into the previously painted section. This approach prevents a heavy roller load from being deposited directly on the overlap and helps the two areas merge smoothly. Correct Rolling Pattern
Starting near the top of the wall, roll a large “W” or “M” across a manageable section approximately two to four feet wide. Without immediately reloading, fill the open spaces using overlapping strokes. The purpose is not to leave decorative alphabet art on the wall; it is to distribute the initial load across a broad area before smoothing it.
Continue working downward and sideways while the edges remain wet. Overlap each pass slightly, but do not repeatedly scrub the same area. When the roller begins making a sticky ripping sound, stops releasing paint evenly, or requires more pressure, reload it. ith a light layoff pass
After distributing the paint across a section, make one light finishing pass from top to bottom. Keep the roller nearly vertical and use minimal pressure. Finish adjacent sections in the same direction so the stipple and light reflection remain consistent.
Lift the roller gently from the wall at the end of each pass rather than stopping abruptly and pulling it straight away. A soft lift helps prevent end marks and thick deposits. t, Consistent Pressure
The roller covernot your upper-body strengthshould do the painting. Excessive pressure squeezes paint toward the ends of the cover, flattens the fibers, creates ridges, and changes the texture of the finish.
An extension pole can improve consistency even on walls you can comfortably reach. Holding the pole with both hands encourages longer strokes, reduces wrist pressure, and makes it easier to keep the roller frame parallel to the wall. It also saves your back, which may not improve the paint film but will improve your opinion of the project.
When coverage becomes weak, reload instead of pressing harder. Lowe’s specifically advises against squeezing a roller against the wall to extract more paint, while Behr notes that excessive pressure can create heavy roller edges and spatter. erworking Paint
Fresh paint remains workable only for a limited period. As water or solvent evaporates, the coating begins to set and develop its final film. Rolling over partially set paint can pull at the surface, change the stipple, and leave dull or shiny streaks.
Correct obvious drips, ridges, and missed spots immediately while the section is wet. Once the paint starts becoming tacky, leave it alone. Allow it to dry fully and correct the area during the next coat. The enthusiastic “one last pass” is responsible for many marks that were not there thirty seconds earlier. Temperature, Airflow, and Drying Time
Paint that dries too quickly gives you less time to blend neighboring sections. Avoid painting a wall heated by direct sunlight or positioned beneath a strong fan, open window, heater, or air-conditioning vent. Very warm temperatures and low humidity can shorten the workable time of water-based coatings.
Use the temperature and humidity range printed on the paint label. Do not automatically add a paint conditioner or extender. These products can improve flow and extend open time in appropriate situations, but they should be compatible with the coating and used according to their instructions. o Proper Coats Instead of One Punishing Coat
Trying to force complete coverage from one coat often leads to overloading, excessive pressure, repeated rolling, and uneven film thickness. Two controlled coats generally produce a more consistent appearance than one heroic coat thick enough to qualify as wall frosting.
Allow the first coat to dry for the full recoat period listed by the manufacturer. Paint may feel dry to the touch before it is ready for another coat. Applying paint too soon can soften or disturb the first layer. Dark color changes, bright reds and yellows, new drywall, textured surfaces, and high-sheen finishes are particularly likely to benefit from primer or multiple finish coats. ix Roller Marks After the Paint Dries
Do not judge the wall while the paint is still drying. Wet areas naturally look darker or glossier, and some apparent streaks disappear as the coating cures. Wait at least for the stated dry time, then examine the wall in normal daylight and with side lighting.
For light streaks or uneven coverage
Apply another full coat to the wall using the correct roller, adequate paint, a wet edge, and consistent finishing strokes. Repainting an entire wall generally blends better than touching up several scattered areas, especially when using satin or glossier finishes.
For raised ridges or heavy stipple
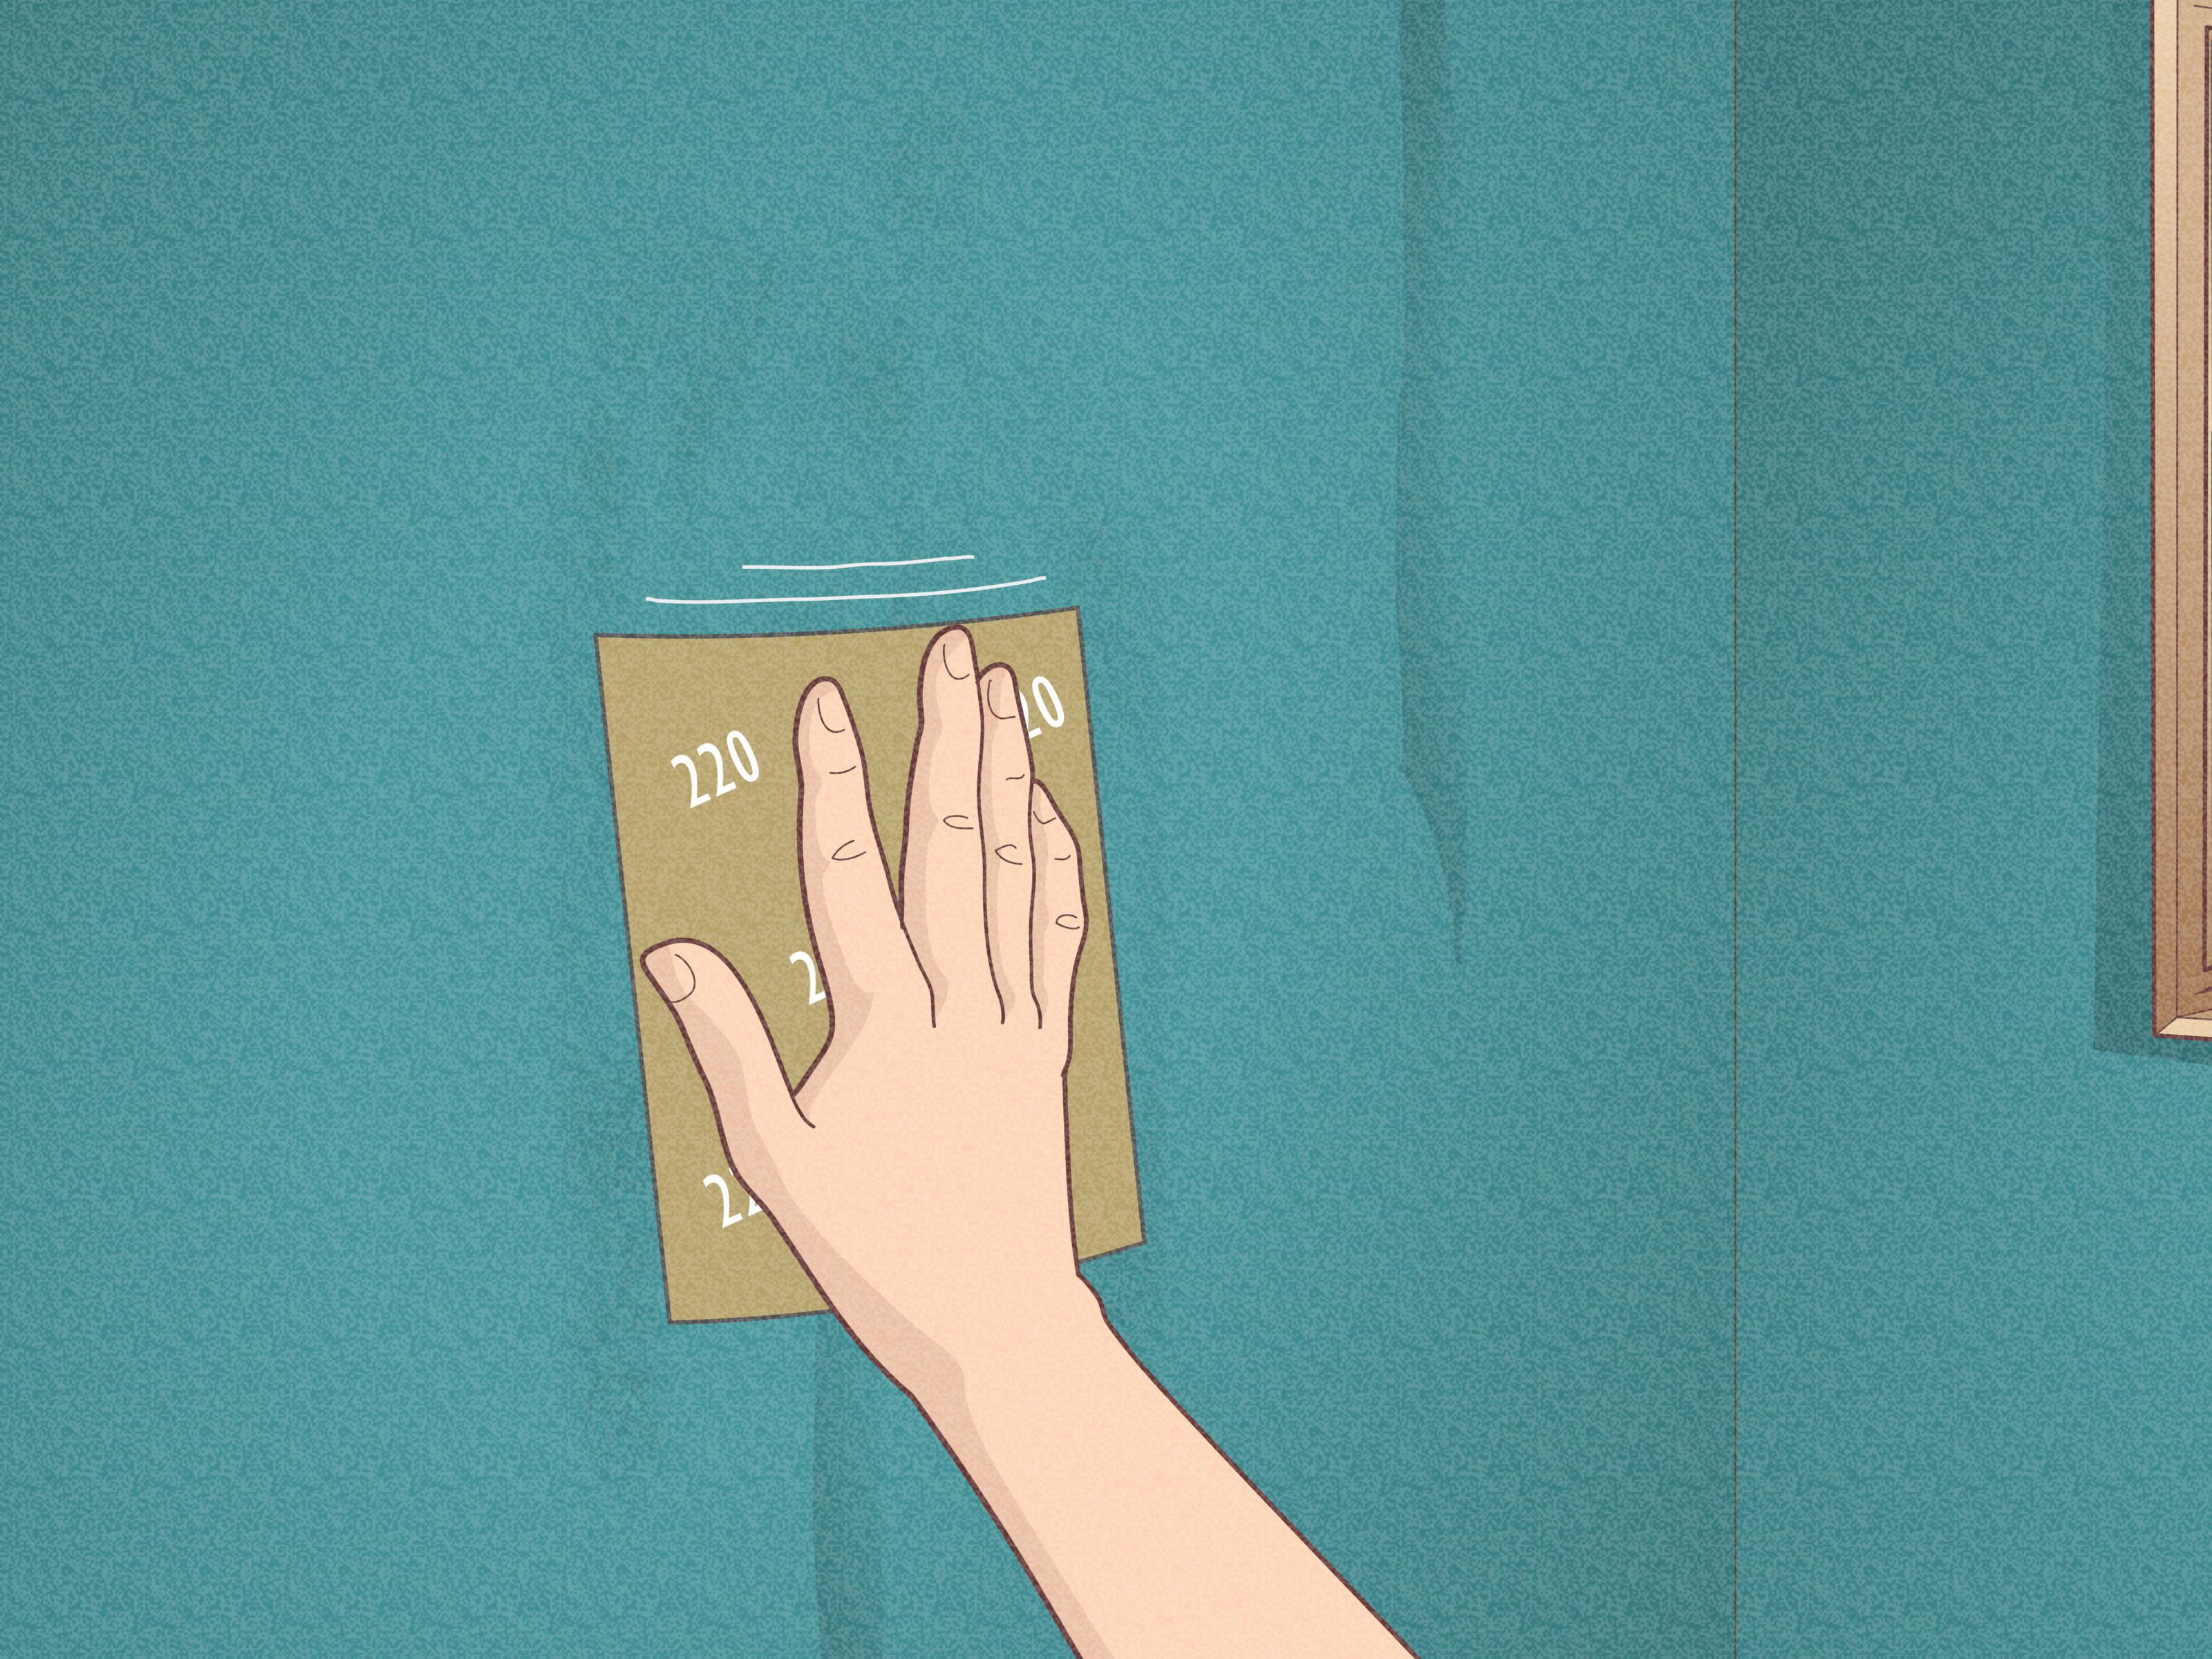
Allow the coating to dry completely. Lightly sand the raised areas with fine-grit sandpaper or a sanding sponge until the surface feels smooth. Remove every trace of dust, prime any exposed substrate if necessary, and repaint the wall. Follow applicable lead-safe practices when disturbing paint in older homes. ngle roller-edge line
If the line is shallow, a light sanding followed by a carefully applied full coat may be enough. Avoid painting only a narrow stripe over the defect because the new stripe may create two additional lap marksan impressive but unhelpful multiplication trick.
Quick Checklist for Streak-Free Walls
- Clean, repair, sand, and prime the wall as needed.
- Choose the correct roller nap for the surface texture.
- Use a lint-free, high-quality woven or microfiber cover.
- Lightly condition the roller when recommended.
- Load the entire cover evenly and roll off excess paint.
- Cut in and roll one wall while the edges are still wet.
- Work in manageable sections using a W or M pattern.
- Blend each new section back into the wet edge.
- Reload instead of forcing paint from a dry roller.
- Use light, consistent pressure and long strokes.
- Finish each section with gentle top-to-bottom passes.
- Stop at corners, windows, or doors rather than mid-wall.
- Do not roll over paint that has started becoming tacky.
- Allow each coat to dry fully before recoating.
Experience-Based Lessons: What Real Painting Projects Teach You
Painting instructions often sound wonderfully simple: load roller, paint wall, admire wall. Actual rooms add obstacles such as awkward corners, thirsty patches, poor lighting, textured repairs, curious pets, and the sudden realization that the paint tray is now on the opposite side of the room.
The first section predicts the rest of the wall
Before racing across the room, use the first small section to evaluate the roller and your technique. Check whether the cover is releasing paint uniformly, whether the nap suits the wall, and whether your finishing strokes leave a consistent texture. Correcting the process after three feet is easy. Correcting it after three walls involves more paint, more sanding, and considerably less cheerful background music.
Side lighting is brutally useful
A wall may look perfect when viewed straight on but reveal ridges when sunlight passes across it. Position a portable work light near the wall so the beam travels sideways across the surface. This exposes heavy edges, missed patches, lint, drips, and inconsistent stipple while the paint is still workable.
However, side lighting can also make wet paint look worse than it really is. Use it to identify physical ridges and obvious thin spots, but do not repeatedly roll every temporary difference in sheen. Give the coating time to level and dry.
A dry roller changes your behavior
When a roller runs low on paint, painters unconsciously push harder, roll faster, and make shorter strokes. Those three reactions create exactly the finish they are trying to prevent. Establish a steady loading rhythm instead. Cover a predictable section, reload while the roller still contains some paint, and keep the fibers full rather than flattened.
Cutting in too far ahead creates picture framing
A common experience is cutting in the whole room first because the brush work feels slower and more annoying. By the time rolling begins, the border is dry. The rolled paint then dries with a slightly different film thickness or texture, leaving a visible frame around the wall.
A more reliable workflow is to cut in one wallor a manageable portion of a large walland begin rolling immediately. Keep the brushed border wide enough for safe roller clearance but thin and feathered enough to blend with the rolled coating.
Extension poles improve ordinary walls, not only tall ones
Many DIY painters treat an extension pole as a ceiling tool. In practice, it is equally useful on an eight-foot wall. The pole helps maintain even pressure from top to bottom and reduces the tendency to press harder at shoulder height. It also allows continuous strokes that produce a more uniform roller texture.
The second coat is often where the wall becomes beautiful
First coats can look discouraging, especially over repaired drywall or a contrasting color. Thin areas and uneven absorption may remain visible even when the application technique is sound. Trying to make the first coat perfect by repeatedly rolling it usually creates more texture problems.
Experienced painters allow the first coat to perform its real job: establishing a consistent base. After it dries, they lightly remove any debris or ridges and apply a controlled second coat. The improvement is often dramatic because the surface now absorbs paint more uniformly.
Knowing when to stop is a genuine painting skill
The most valuable experience may be learning to leave drying paint alone. If a minor streak appears after the coating has begun setting, touching it with the roller can turn a small visual concern into a permanent ridge. Mark the location with painter’s tape placed on nearby trim or the floornot on wet paintand inspect it after drying. Many apparent defects disappear. Those that remain can be corrected cleanly during the next coat.
Conclusion
A streak-free wall depends on a chain of small, disciplined choices. Prepare the surface, match the roller nap to the texture, load the cover evenly, maintain a wet edge, and use light finishing strokes in a consistent direction. Work one wall at a time, reload before the roller becomes dry, and resist the urge to disturb paint that has started setting.
When roller marks do appear, wait until the paint dries before deciding how serious they are. Light coverage problems usually need another even coat, while raised ridges may require gentle sanding and repainting. With the right tools and a controlled rhythm, you can produce smooth walls without needing professional equipmentor inventing creative new vocabulary halfway through the room.
Note: Roller nap recommendations, drying times, application temperatures, preparation procedures, and compatible additives vary by product. Always follow the instructions on the paint can and the manufacturer’s current technical data sheet. This article synthesizes practical guidance from Benjamin Moore, Sherwin-Williams, Behr, PPG Paints, Valspar, Glidden, Dunn-Edwards, Ace Hardware, The Home Depot, Lowe’s, This Old House, and Bob Vila.
“meta_title”: “Avoid Roller Marks & Streaks When Painting Walls”,
“meta_description”: “Learn how to avoid roller marks, lap lines, and paint streaks with expert tips for smoother, more professional-looking walls.”,
“sapo”: “Roller marks can make a freshly painted room look uneven, striped, or strangely shinybut they are preventable. This in-depth guide explains why paint streaks form and how to stop them by choosing the correct roller nap, preparing walls properly, loading paint evenly, maintaining a wet edge, and using controlled finishing strokes. You will also learn how temperature, airflow, primer, paint quality, drying time, and excessive pressure affect the final texture. Already dealing with ridges or lap marks? Practical repair steps show you when another coat is enough and when sanding is necessary. Follow these expert techniques to achieve smooth, consistent walls without turning your weekend project into a month-long renovation.”,
“keywords”: [
“how to avoid roller marks”,
“paint streaks on walls”,
“how to paint walls smoothly”,
“prevent lap marks”,
“best roller nap for walls”,
“roller painting techniques”,
“fix roller marks”
]
}