Building a koi fish pond sounds peaceful, doesn’t it? You imagine jewel-colored koi gliding through clear water, a gentle waterfall humming in the background, and maybe a chair nearby where you can sip coffee while pretending you are not checking water levels for the third time that morning. The good news: a backyard koi pond can absolutely become that calm little paradise. The slightly less glamorous news: koi are not decorations with fins. They are living, growing, oxygen-loving fish that need space, clean water, filtration, and a pond built with more planning than “dig hole, add water, hope for magic.”
This step-by-step guide explains how to build a koi pond the right way, from choosing the location and sizing the pond to installing a liner, pump, skimmer, biological filter, waterfall, and safe edging. Whether you are planning a small backyard koi pond or a larger garden pond, the goal is the same: create a stable, healthy aquatic environment that looks beautiful and does not turn into green soup by July.
Below, you will learn the essential steps, materials, practical examples, and real-world lessons that make koi pond construction smoother. Your shovel is about to become your best friend. Possibly your least favorite best friend, but still.
Why a Koi Pond Needs Special Planning
A koi pond is different from a simple decorative water feature. Koi can grow large, often reaching 2 feet or more when cared for properly. That means they need more water volume, stronger filtration, better oxygenation, and deeper swimming areas than a tiny ornamental pond can provide.
A healthy koi pond should be designed around four priorities: water volume, depth, filtration, and maintenance access. If one of those is ignored, the pond may still look pretty for a weekend, but the fish will eventually file a complaint with management. Unfortunately, management is you.
Step 1: Choose the Best Location for Your Koi Pond
The first step in building a koi fish pond is choosing the right location. Look for a level area that is visible from your patio, deck, kitchen window, or favorite outdoor sitting spot. A pond you can see is a pond you will enjoy and maintain. A pond hidden behind the shed may become a mosquito resort with landscaping aspirations.
What Makes a Good Pond Location?
Choose a spot with partial sun, ideally 4 to 6 hours of sunlight per day. Too much direct sun can warm the water and encourage algae growth, while full shade may limit aquatic plant health and make the pond feel less lively. Keep the pond away from large trees if possible. A little shade is nice; a daily dump truck of leaves is not.
Avoid low areas where stormwater runoff collects. Runoff can carry fertilizer, lawn chemicals, soil, oil, and other pollutants into the pond. Even if the water looks harmless, it can cause algae blooms, poor water quality, and stress for koi. Build the pond slightly above the surrounding grade or use a raised edge to keep dirty runoff out.
Check Utilities and Local Rules
Before digging, contact your local utility marking service. Underground electric, gas, irrigation, and internet lines are not “fun surprises.” Also check local building rules, HOA guidelines, and permit requirements, especially if the pond is large, deep, near wetlands, or connected to drainage areas. Some regions have safety rules for water features, fencing, setbacks, or electrical work.
Step 2: Decide the Pond Size and Depth
When it comes to koi pond design, bigger is usually easier to manage. More water volume creates a more stable environment because temperature, pH, and waste levels change more slowly. Small ponds can work, but they demand tighter management and lighter fish stocking.
A practical backyard koi pond often starts around 1,000 gallons, but larger is better if you plan to keep several koi long term. As a general rule, allow plenty of water per fish and remember that small koi do not stay small. Buying baby koi without planning for adult koi is like adopting puppies and being shocked when they become dogs with opinions.
Recommended Koi Pond Depth
For most koi ponds, aim for at least 3 feet deep, with 4 feet or more being better in many climates. Depth helps protect koi from rapid temperature swings, gives them room to swim, and makes the pond less attractive to predators. In colder regions, a deeper section can help fish overwinter safely. In hot climates, deeper water gives koi a cooler retreat when summer starts acting dramatic.
Avoid designing the whole pond as a shallow bowl. Shallow edges warm quickly, grow algae more easily, and may allow predators to wade in for an unwanted seafood buffet. If you want shelves for plants, keep them limited and place them where they will not collect debris or give raccoons a convenient dining platform.
Step 3: Sketch the Pond Design
Before you dig, sketch your koi pond layout. It does not need to be a masterpiece. A simple drawing showing pond shape, waterfall location, skimmer placement, filter area, electrical access, and viewing areas is enough.
Natural curves often blend well into gardens, while rectangular or formal ponds can look clean and modern. The best shape is one that supports good water circulation. Avoid awkward dead zones where leaves, fish waste, and debris can settle. Your pump and return flow should help move water toward the skimmer and filtration system.
Key Design Features to Include
- A deep swimming zone for koi
- A skimmer to remove floating debris
- A bottom drain or low-point cleanout if the design allows
- A mechanical filter for solids
- A biological filter for ammonia and nitrite conversion
- A waterfall, stream, or aerator for oxygen
- Safe edging that keeps runoff out
- Easy access for maintenance
Think like a pond owner, not just a pond admirer. Ask yourself: Where will I stand to clean the skimmer? Can I reach the pump? Is there a place to hide the filter? Will the waterfall splash water out during windy weather? Practical design now prevents future conversations that begin with, “Why did I do this to myself?”
Step 4: Gather Tools and Materials
Once the plan is ready, gather your pond-building supplies. Having materials on-site before digging prevents half-finished chaos and emergency store trips while covered in mud.
Basic Tools
- Garden hose or marking paint
- Shovel, spade, and digging bar
- Wheelbarrow
- Level
- Tape measure
- Rake
- Utility knife
- Work gloves
Core Pond Materials
- EPDM pond liner, commonly 45-mil thickness
- Protective underlayment
- Pond pump sized for your water volume and head height
- Mechanical filter or skimmer
- Biological filter
- PVC pipe or flexible pond tubing
- Waterfall box or return outlet
- Rocks, gravel, and edging materials
- Dechlorinator for tap water
- Water test kit for ammonia, nitrite, nitrate, pH, and KH
- Aerator, especially for warm climates or heavily stocked ponds
Do not save money by skipping underlayment. Pond liner is tough, but tree roots, sharp stones, and tiny ground movements can be sneakier than expected. Underlayment is cheap insurance compared with draining the pond later to find one tiny puncture laughing at you.
Step 5: Mark the Pond Shape and Elevation
Lay a garden hose on the ground to outline the pond shape. Step back and view it from different angles. Look from the patio, kitchen window, and walking paths. Adjust the shape until it feels natural and fits the yard.
Next, check the elevation. The pond edge should be level all the way around, or water will reveal the mistake immediately. Water is honest like that. Use a long board and level, laser level, or string level to check the perimeter. Build up low areas before liner installation.
Step 6: Dig the Pond
Now comes the part where the dream becomes a workout program. Start digging from the outside edge inward. Create the overall pond shape first, then carve deeper zones. If you plan plant shelves, make them wide enough to hold baskets securely but not so wide that debris settles everywhere.
For koi, focus on depth and water volume. A common design includes a shallow edge for rockwork, a mid-level shelf only where needed, and a deeper central area. Keep pond walls slightly sloped for stability unless you are using reinforced construction methods.
Digging Tips
- Remove sharp rocks, roots, and construction debris.
- Keep the top edge level as you dig.
- Create a low point for debris collection or a bottom drain if included.
- Compact loose soil before adding underlayment.
- Save some soil for building a waterfall mound or raised berm.
If your soil is sandy, rocky, or unstable, consider professional help. A collapsing pond wall is not charmingly rustic; it is a repair bill with muddy shoes.
Step 7: Install Underlayment and Pond Liner
After digging, smooth the pond basin and add a layer of underlayment. Underlayment protects the liner from punctures and helps cushion it against soil movement. Overlap pieces generously and cover every surface where the liner will rest.
Next, unfold the EPDM liner and place it loosely into the pond. Let it drape naturally into corners and curves. Avoid pulling it tight. As the pond fills, the water pressure will help the liner settle into place.
How to Size the Pond Liner
Use this simple formula for liner length and width:
Liner length = pond length + twice the maximum depth + 2 feet of overlap
Liner width = pond width + twice the maximum depth + 2 feet of overlap
For example, if your pond is 12 feet long, 8 feet wide, and 4 feet deep, the liner should be at least 22 feet long and 18 feet wide. Extra liner is easier to trim than liner that is 6 inches too short and ruins your afternoon.
Step 8: Install the Pump, Skimmer, and Filtration
Filtration is the heart of a koi pond. Koi produce waste, uneaten food decays, leaves fall in, and bacteria need a place to process ammonia and nitrite. A good koi pond filtration system usually includes mechanical filtration and biological filtration.
Mechanical Filtration
Mechanical filtration removes visible debris such as leaves, fish waste, and suspended particles. A skimmer catches floating debris before it sinks. Other mechanical filters may include filter pads, brushes, sieve filters, or settling chambers.
Biological Filtration
Biological filtration supports beneficial bacteria that convert toxic ammonia into nitrite and then into nitrate. This natural process, called the nitrogen cycle, is essential for healthy koi. A biological filter may use media such as bio-balls, moving bed media, mats, or porous rock designed for bacterial colonization.
Size the pump and filters according to pond volume, fish load, and waterfall height. Many koi ponds benefit from turning over the pond water about once every hour, though exact needs vary by design. Heavily stocked ponds require stronger filtration and aeration.
Step 9: Add Waterfall, Aeration, and Circulation
A waterfall is not just pretty. It helps return filtered water to the pond, creates movement, and improves oxygen exchange. Koi need dissolved oxygen, especially during warm weather when water holds less oxygen. Adding an aerator or air stones can provide extra protection during summer heat, nighttime oxygen drops, and periods of heavy feeding.
Place the waterfall or return outlet opposite the skimmer when possible. This encourages water to move across the pond instead of spinning lazily in one corner. Good circulation helps push debris toward the skimmer and reduces stagnant areas.
Step 10: Add Rocks, Edging, and Safety Features
Rocks and edging give the koi pond a finished, natural look. Use larger stones around the edge to hide liner and anchor it in place. Avoid sharp rocks directly against the liner unless you add extra protective underlayment. Place rocks securely so they cannot slide into the pond.
The pond edge should be raised enough to keep lawn runoff out. If children visit the property, consider fencing, gates, covers, alarms, or other safety measures based on local requirements. A koi pond is beautiful, but it is still a body of water and should be treated with respect.
Step 11: Fill the Pond and Dechlorinate the Water
Start filling the pond slowly. As water enters, gently smooth liner folds and allow the liner to settle. Do not trim excess liner until the pond is full and the edges are finalized. The liner may shift more than expected as water weight presses it into place.
If using municipal water, add a dechlorinator before introducing fish. Chlorine and chloramine can harm koi and beneficial bacteria. After filling, run the pump, waterfall, and filtration system for several days while checking for leaks, settling, and proper water movement.
Step 12: Cycle the Pond Before Adding Koi
Patience is one of the most important tools in koi pond construction. A new pond needs time to establish beneficial bacteria. This process is called cycling. During cycling, ammonia and nitrite levels can rise before the biological filter matures.
Use a water test kit to monitor ammonia, nitrite, nitrate, pH, and alkalinity. Do not add a full koi collection immediately. Start with a small number of fish only after water conditions are stable. Adding too many koi too quickly can overwhelm the filter and create dangerous water quality problems.
Step 13: Introduce Koi Slowly
When your pond is ready, introduce koi gradually. Float the transport bag in the pond to equalize temperature, then slowly mix small amounts of pond water into the bag before releasing the fish. This helps reduce stress from sudden changes in temperature or water chemistry.
Buy koi from reputable sellers, inspect them for signs of illness, and quarantine new fish when possible before adding them to an established pond. Quarantine may sound overly cautious until one sick fish turns your peaceful pond into a veterinary mystery novel.
Step 14: Maintain Your Koi Pond
A koi pond is not a “set it and forget it” feature. Fortunately, maintenance becomes manageable when the pond is designed well. The main routine is simple: remove debris, test water, clean mechanical filters, monitor fish behavior, and avoid overfeeding.
Weekly Maintenance Checklist
- Check skimmer basket and remove leaves.
- Test ammonia, nitrite, nitrate, and pH.
- Observe koi for unusual behavior.
- Inspect waterfall and pump flow.
- Top off water if needed and dechlorinate new tap water.
- Rinse mechanical filter pads in pond water, not chlorinated tap water.
Seasonal Maintenance Tips
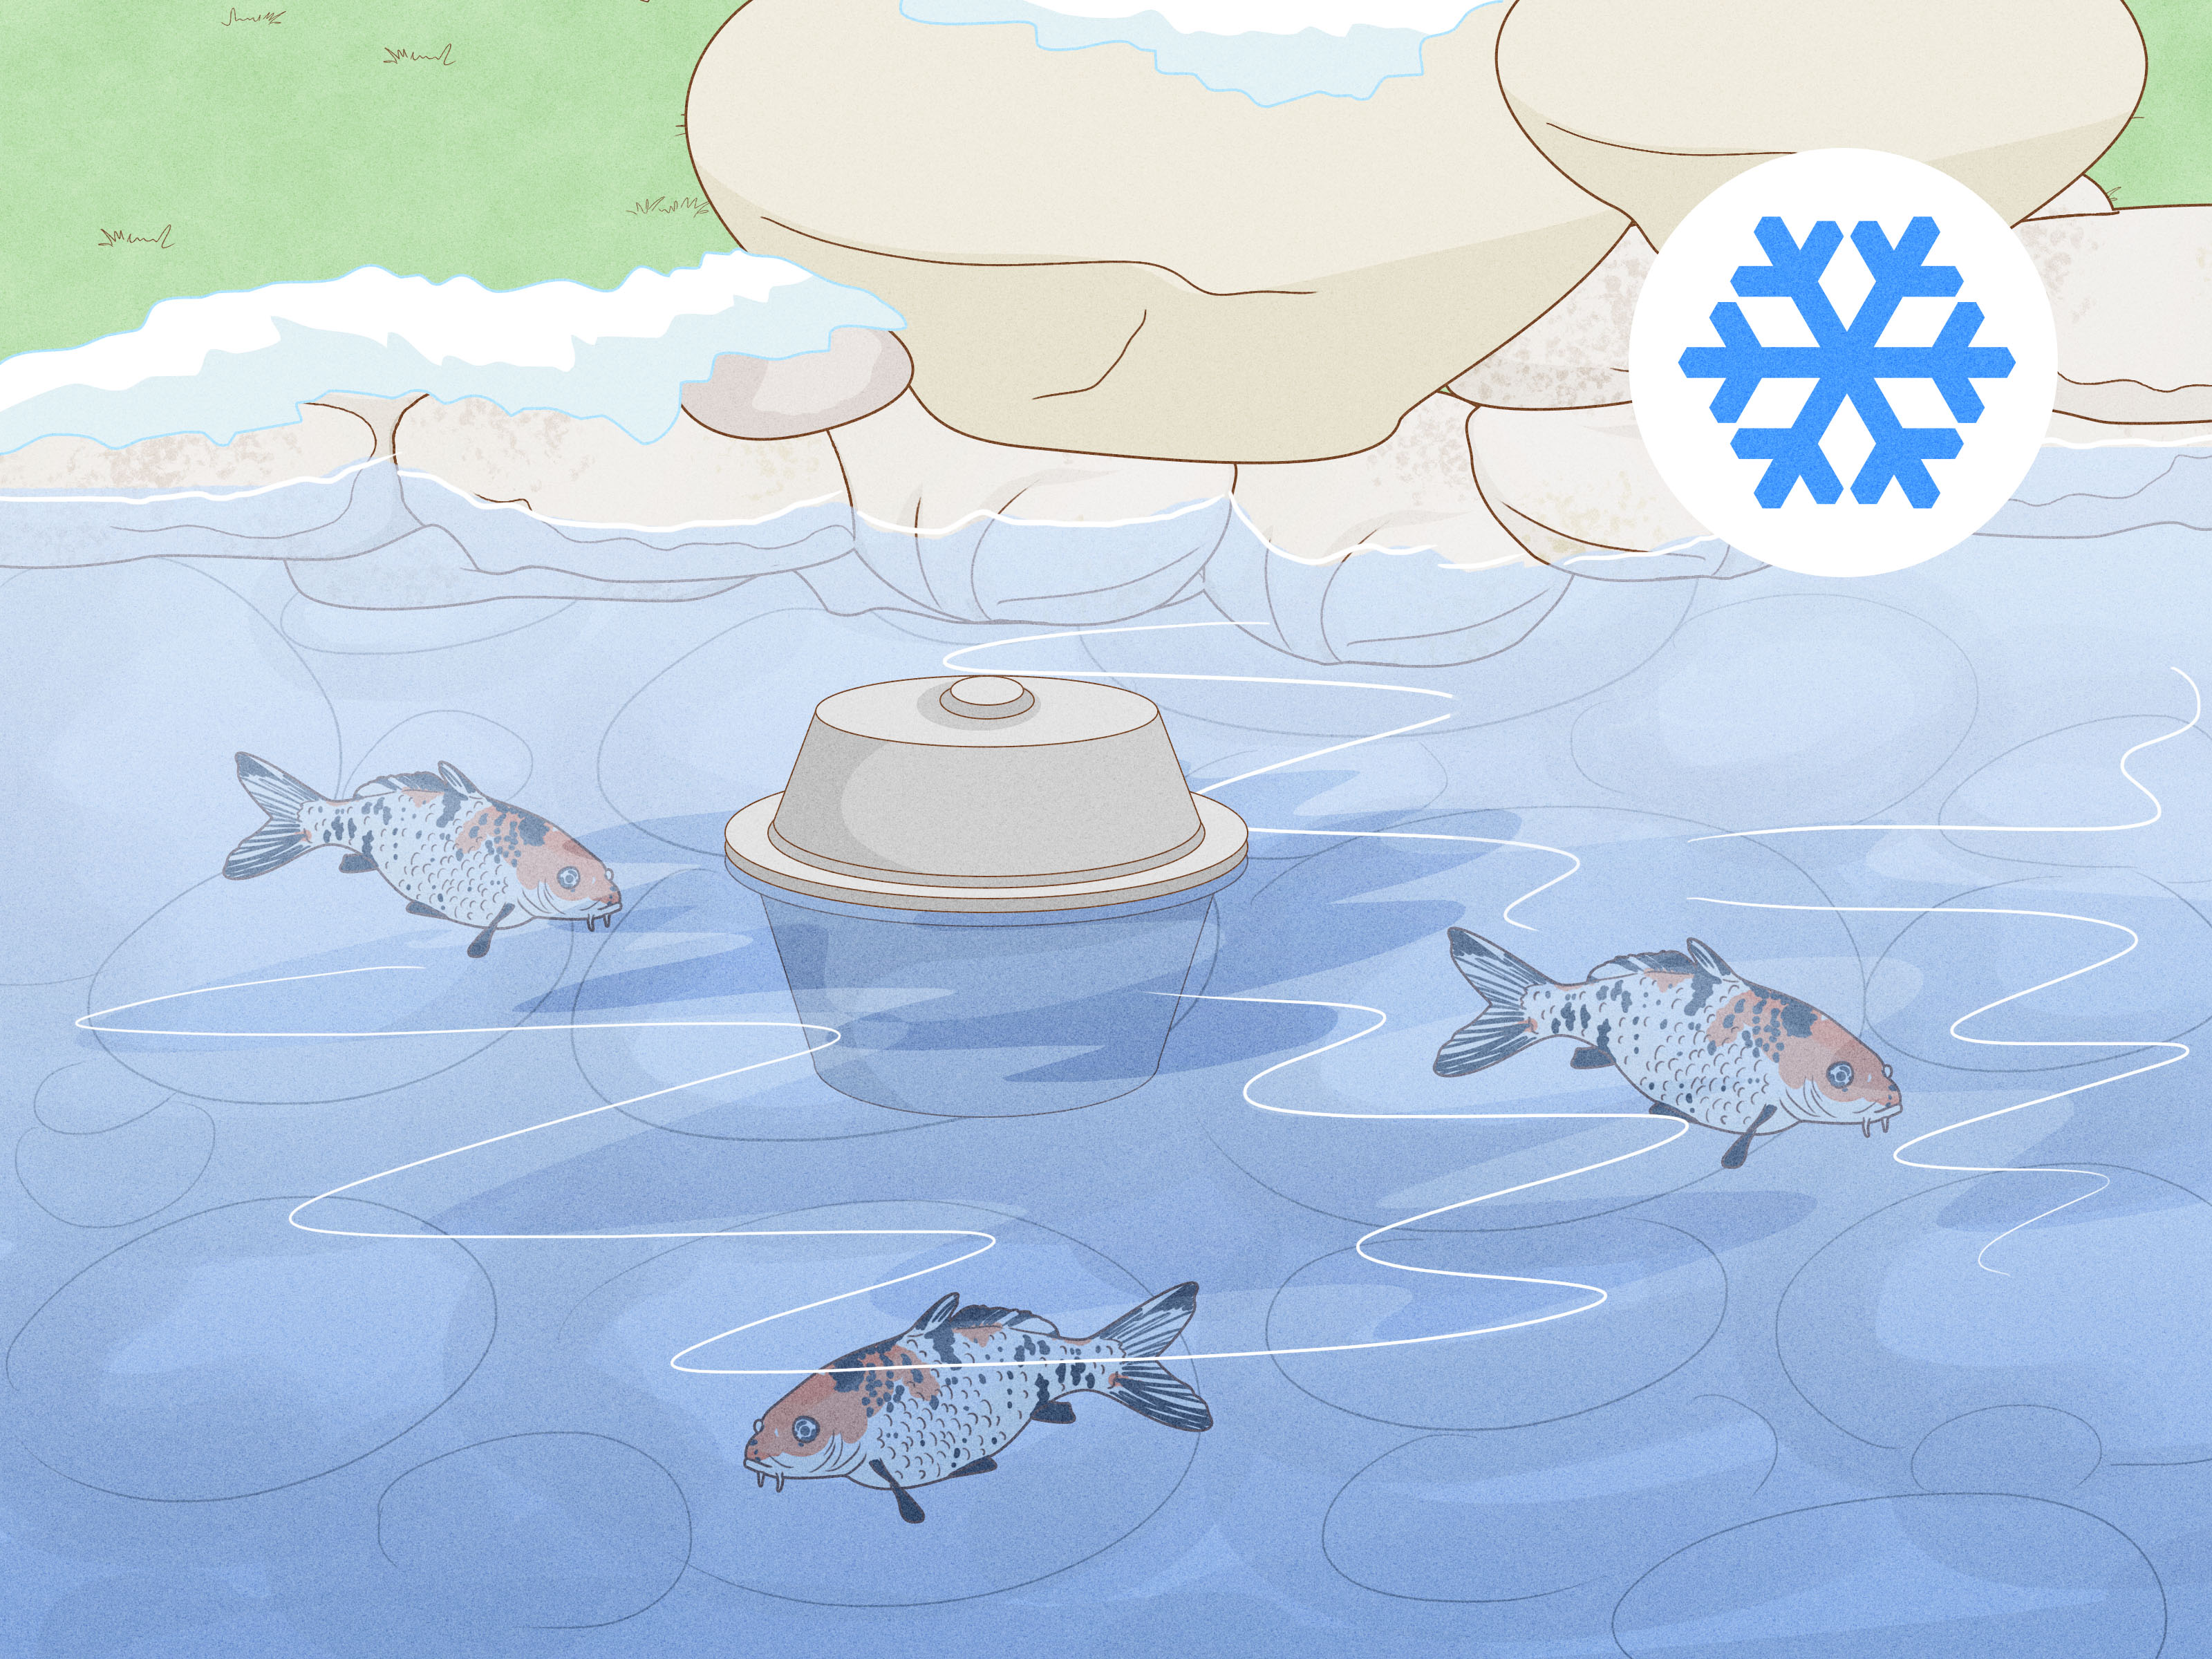
In spring, restart equipment, check for winter damage, and begin feeding lightly as water temperatures rise. In summer, watch oxygen levels, algae growth, and evaporation. In fall, net leaves before they sink. In winter, keep a small opening in the ice if your pond freezes, but do not smash the ice because shock waves can stress fish.
Common Koi Pond Mistakes to Avoid
The most common koi pond mistake is building too small. The second is underestimating filtration. The third is pretending leaves will somehow not fall into water. They will. Leaves are professionals.
- Building too shallow: Shallow ponds heat quickly and offer less predator protection.
- Skipping biological filtration: Clear water is not always healthy water; ammonia and nitrite can be invisible.
- Overstocking: Too many koi create waste faster than filters can process it.
- Overfeeding: Uneaten food pollutes water and fuels algae.
- Ignoring runoff: Fertilizer, pesticides, and soil can damage water quality.
- Trimming liner too early: Always fill the pond first, then trim.
- Poor access: Filters and pumps need room for cleaning and repairs.
Practical Experiences: Lessons From Real Koi Pond Projects
One of the biggest lessons in building a koi fish pond is that the pond you draw on paper always looks easier than the pond you dig in real soil. Paper has no rocks, roots, buried bricks, clay pockets, sprinkler lines, or mysterious objects left by previous homeowners. When planning your timeline, assume excavation will take longer than expected. If it does not, celebrate. If it does, at least you were emotionally prepared.
A common experience among first-time pond builders is realizing too late that maintenance access matters as much as beauty. A waterfall tucked behind shrubs may look natural, but if you have to crawl through wet mulch every time the filter needs attention, that charm disappears fast. Leave stepping areas, flat stones, or a small service path near the skimmer, pump vault, and filter. Future you will be grateful, and future you may be holding a dirty filter pad.
Another practical lesson is to buy more liner and underlayment than the bare calculation suggests. Curves, shelves, folds, and elevation changes use material quickly. A little extra overlap around the edge gives you flexibility when setting rocks and adjusting final grades. Cutting the liner only after the pond is full is one of those simple rules that prevents expensive regret.
Water clarity also teaches patience. Many new pond owners expect crystal-clear water immediately, but a new pond is biologically young. The filter needs time to develop beneficial bacteria, and the water may go through cloudy or green phases. Resist the urge to dump in random treatments every time the pond changes color. Test the water first. Healthy pond keeping is more chemistry class than magic potion cabinet.
Fish stocking is another area where experience matters. A few small koi may look lonely in a large pond at first, but that space is an investment in their adult size and long-term health. Overstocking looks exciting for about a month, then filtration struggles, water quality drops, and maintenance becomes a part-time job. It is better to have fewer healthy koi in clean water than a crowded pond where every fish is silently judging your life choices.
Many builders also learn that oxygen is not optional. A waterfall helps, but in hot weather or heavily stocked ponds, supplemental aeration can be a lifesaver. Air pumps are not glamorous, but koi do not care about glamour. They care about oxygen, stable water, and food arriving on schedule like room service.
Finally, design your pond for the yard you actually have, not the fantasy estate in your imagination. If leaves are a major issue, install a skimmer and plan for seasonal netting. If raccoons visit your neighborhood, avoid shallow shelves that make hunting easy. If you travel often, keep stocking low and automate what you can. The best koi pond is not the most complicated one; it is the one you can maintain consistently without needing a vacation from your water feature.
Conclusion
Building a koi fish pond is part landscaping project, part plumbing puzzle, part biology lesson, and part relationship with a hole in the ground that slowly becomes your favorite place in the yard. The key is to plan for the fish first and the decoration second. Choose a good location, build enough depth and volume, protect the liner, install strong mechanical and biological filtration, add reliable aeration, and introduce koi only after the pond has stabilized.
A well-built koi pond rewards patience. It gives you moving color, peaceful sound, and a living focal point that changes with the seasons. Build it thoughtfully, maintain it regularly, and your koi pond can become more than a backyard feature. It can become the place everyone wanders toward without quite knowing why.