

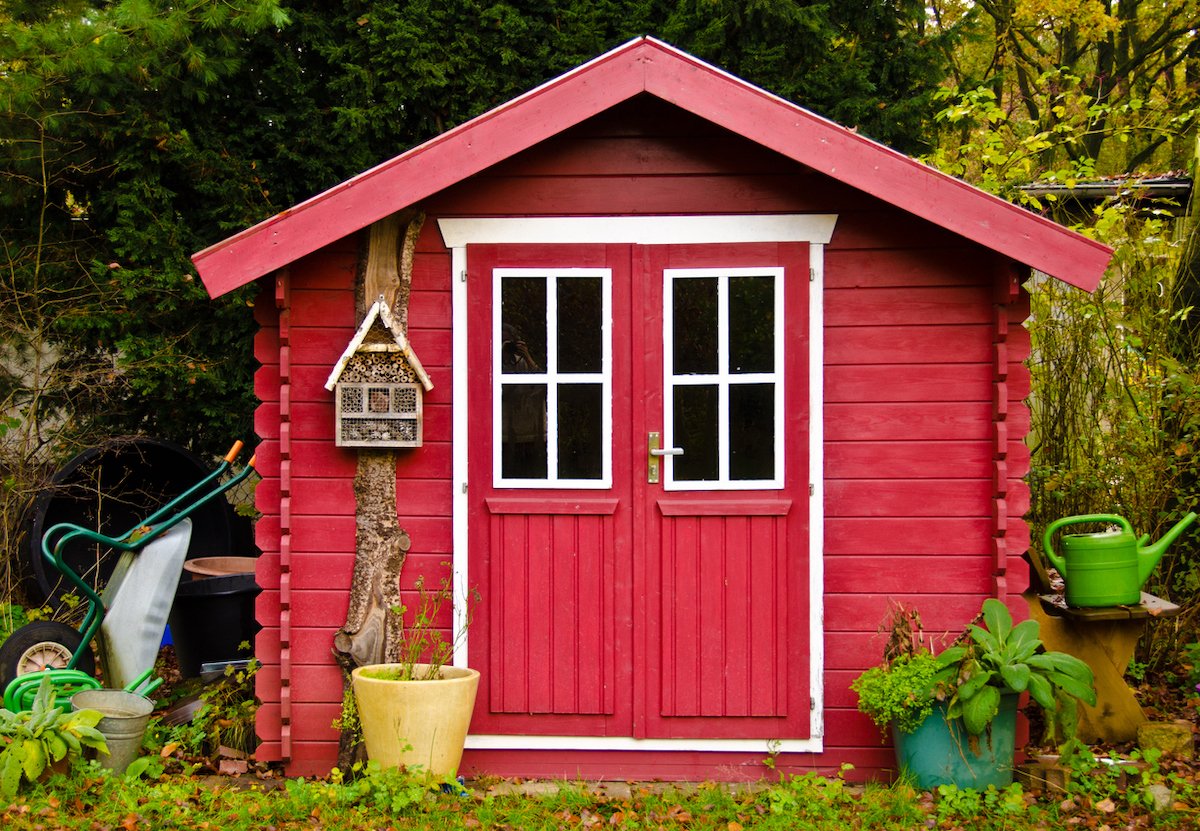
A backyard shed often begins with one innocent thought: “I need somewhere to put the lawn mower.” Three weekends later, you may be discussing roof pitch, drainage, and structural connectors like a tiny-house contractor. Fortunately, learning how to build a shed is manageable when you follow a proven plan and complete the work in the correct order.
This guide uses a basic wood-framed storage shed as the model. Exact footing depth, lumber sizes, fastener schedules, roof design, and anchoring requirements depend on local frost, snow, wind, seismic, and soil conditions. Always follow approved plans, local building rules, and the instructions supplied with each construction product.
1. Decide What Your Backyard Shed Will Do
Start by listing everything you expect to store. A shed for garden tools and holiday decorations requires less floor capacity and doorway width than one holding a riding mower, workbench, or heavy woodworking equipment.
Measure your largest machine, including the clearance needed to roll it through the door. Plan space for shelves and a central walking aisle, then allow some extra capacity. Sheds have a mysterious ability to fill themselves with objects nobody remembers buying.
Choose a Practical Shed Size
An 8-by-10-foot shed can accommodate bicycles, lawn tools, storage bins, and a push mower. A 10-by-12-foot design provides more room for a workbench and wall-mounted storage. Check how your jurisdiction calculates floor area because roof overhangs, exterior dimensions, or foundation measurements may be treated differently.
Some small detached sheds may be exempt from a building permit, but zoning approval, property setbacks, height limits, easements, homeowners association rules, and lot-coverage restrictions may still apply. Contact both the local building department and planning or zoning office before ordering materials.
Select the Roof and Door Style
A gable roof drains in two directions and creates useful overhead space. A lean-to roof is simpler but must be positioned so runoff does not create drainage problems. Double doors are useful for mowers and wide equipment, while a prehung exterior door is usually easier to seal for a workshop or hobby shed.
2. Choose the Right Location
Look for high, well-drained ground that is reasonably level. Avoid low areas where water collects, the bottom of a slope, and locations beneath damaged or unstable tree limbs. Leave enough clearance around the structure for construction, painting, airflow, and future repairs.
Confirm property lines and setbacks before staking the footprint. Contact 811 before excavating so participating utilities can mark underground lines. Privately installed irrigation, lighting, or utility lines may require a separate locating service.
3. Use a Proven Shed Plan
A dependable shed plan should identify the foundation system, floor joists, wall framing, headers, roof members, sheathing, connectors, anchorage, and fastening patterns. Do not remove a framing member merely because it looks unnecessary. The least exciting board in the building may be the one preventing your roof from developing a personality.
Order materials by construction phase: foundation, floor, walls, roof, weather-resistant shell, doors, trim, and interior storage. Use pressure-treated or ground-contact-rated lumber where specified. Exterior fasteners and metal hardware must be compatible with treated wood. Structural connectors require the nails or approved connector screws specified by their manufacturernot drywall screws rescued from the bottom of a toolbox.
Essential Tools
- Tape measure, chalk line, framing square, speed square, and long level
- Circular saw or miter saw, drill, impact driver, and suitable bits
- Hammer or framing nailer, clamps, ladders, shovels, rake, and tamper
- Stakes, mason line, and batter boards
- Eye, hearing, hand, respiratory, and foot protection
4. Build a Foundation That Will Not Move
The foundation affects nearly everything above it. Uneven settlement can make doors bind, walls lean, siding separate, and roof lines sag. Common choices include a compacted gravel pad with treated skids, concrete piers extending below the frost line, or a concrete slab. The correct option depends on soil, drainage, climate, shed size, and local requirements.
Compacted Gravel Pad
Mark an area slightly larger than the shed, remove sod and organic topsoil, add geotextile fabric where appropriate, and place crushed stone in compacted layers. Check the pad with a long level in multiple directions. Loose gravel dumped in one thick layer may settle unevenly.
Square the layout by using the 3-4-5 triangle method and confirming that the two full diagonals are equal. Extend the gravel beyond the walls where the plan recommends it so water can drain away from the structure.
Concrete Piers or Footings
In freezing climates, footings may need to extend below the local frost depth. Their diameter, spacing, reinforcement, and connection to the shed must follow the approved plan. Ask the building department when an inspection is required; some footings must be inspected before concrete is poured.
Concrete Slab
A concrete slab provides a durable floor for heavy rolling equipment. However, excavation, drainage, reinforcement, vapor control, anchorage, finishing, and curing must all be correct. Hiring a concrete contractor can be a sensible choice, especially for a large shed or difficult site.
5. Frame and Sheath the Floor
Build the floor frame according to the plan, keeping joists straight and crowns oriented consistently. Measure both diagonals and adjust the frame until they match. Brace the frame temporarily so it remains square while you fasten and anchor it.
Install exterior-rated structural floor panels in the correct orientation. Stagger and support joints as specified. APA guidance commonly recommends leaving a 1/8-inch gap between plywood or OSB panels to allow for moisture-related expansion and reduce the risk of buckling.
6. Frame and Raise the Walls
Frame each wall flat on the completed floor. Mark stud positions on the top and bottom plates together so the layout remains consistent. Construct door and window openings with the king studs, jack studs, headers, and sills shown on the plan.
Raise the walls with at least one helper, brace them temporarily, and check that they are plumb. Fasten adjoining corners and install the required top-plate connections. Recheck the door opening before moving on. Correcting a framing error now is much easier than trimming a rectangular door to fit a diamond-shaped opening.
7. Construct the Roof Safely
The roof may use rafters, prefabricated trusses, or another approved system. Pitch, spacing, member sizes, ties, overhangs, and bracing must match local snow and wind loads.
Install temporary bracing before releasing a rafter or truss. Use hurricane ties and other uplift connectors where specified, along with the approved fasteners for those products. Apply roof sheathing with the required panel spacing and nailing pattern. Avoid roof work during rain, high winds, or icy conditions.
8. Make the Shed Weather-Tight
Complete the roof as soon as practical. Install underlayment, drip edge, flashing, shingles, or metal roofing in the sequence required by the manufacturer and local code. GAF recommends non-corroding metal drip edge at roof eaves and rakes and provides product-specific requirements for shingle overhang and fastening.
Apply the wall weather barrier, then integrate door and window flashing so each upper layer overlaps the layer below. This directs water outward rather than trapping it behind the siding. Maintain the required clearance between siding and soil, roofing, patios, or landscaping.
9. Add Doors, Windows, Ventilation, and Paint
Install the door plumb, level, and square. Test the swing before attaching the final trim. A mower shed may need a reinforced, slip-resistant ramp, while a workshop may benefit from a weather-sealed exterior door and operable window.
Use gable vents, soffit and ridge ventilation, a cupola, or an operable window to reduce trapped heat and moisture. Plan lighting before covering the framing. Permanent electrical wiring should follow applicable electrical codes and generally should be installed by a qualified professional.
Prime exposed wood where required, seal vulnerable joints with compatible exterior caulk, and apply an exterior coating designed for the siding. Proper cleaning, preparation, priming, and thin finish coats improve adhesion and weather resistance.
10. Organize the Interior
Attach shelves, hooks, cabinets, and pegboard to studs or solid blocking. Keep heavy items low, frequently used tools between waist and eye level, and lightweight seasonal gear overhead. Door-mounted hooks, adjustable shelving, labeled bins, and rolling carts can dramatically increase usable storage without blocking the main aisle.
Common Shed-Building Mistakes
- Skipping local approvals: Permit exemptions do not automatically eliminate zoning or setback rules.
- Building on loose soil: A moving foundation eventually creates crooked walls and sticky doors.
- Ignoring square: An out-of-square floor transfers errors to every later stage.
- Using untreated wood near the ground: Moisture and splashback accelerate decay.
- Using incorrect fasteners: Structural hardware requires approved nails or screws.
- Making the doorway too narrow: Design it around the largest equipment you plan to store.
- Delaying the roof: Weatherproofing should come before decorative trim.
- Forgetting ventilation: Trapped humidity encourages rust, mildew, and material damage.
Professional and DIY building resources repeatedly emphasize permits, drainage, foundation quality, treated materials, ventilation, and realistic scheduling because these problems are difficult and expensive to correct later.
Recommended Construction Order
- Define the shed’s purpose, size, access, and storage layout.
- Check zoning, permit, HOA, easement, and setback requirements.
- Obtain an appropriate plan and prepare a material list.
- Mark utilities and construct the specified foundation.
- Frame, square, sheath, and anchor the floor.
- Frame, raise, brace, and connect the walls.
- Install rafters or trusses, roof bracing, and sheathing.
- Complete roofing, flashing, weather barrier, siding, and trim.
- Install doors, windows, vents, paint, locks, shelves, and lighting.
- Correct drainage issues and complete required inspections.
Experience-Based Lessons From Backyard Shed Projects
One of the most valuable lessons from real-world DIY shed projects is that accuracy compounds. When the foundation is level and the floor is square, the walls rise more easily, roof panels align, siding lands where expected, and doors behave like doors. When the base is wrong, every stage becomes a custom repair. Builders often waste hours adjusting walls when the original problem is a floor frame whose diagonals never matched.
Another lesson is to plan around the weather rather than optimism. Complete the foundation first, cut and organize wall components when practical, and reserve a dependable dry period for raising the walls and closing the roof. Tarps are useful temporary protection, but they are not a roofing system. A loose tarp can collect rainwater, rub against new framing, or fly across the yard like a very large and poorly trained kite. Have roofing underlayment, drip edge, fasteners, and temporary coverings onsite before installing the roof deck.
Material handling also takes more effort than most first-time builders expect. Structural panels are heavy, awkward, and extremely interested in catching the wind. Arrange delivery close to the building site, stack lumber and panels flat on supports, and cover them without trapping moisture underneath. Recruit help for raising walls and working on the roof. A helper can hold framing plumb, check measurements from the opposite side, or mentionideally before fasteningthat a wall is being raised backward.
Experienced builders verify doors and windows against the actual products rather than relying only on a website description. The rough opening must account for manufacturer instructions, shims, thresholds, flashing, and trim. Before wall coverings hide the framing, install blocking for shelves, cabinets, hose reels, tool racks, or future lights. Photograph every wall so you can later locate studs, blocking, and wiring routes without creating a collection of exploratory screw holes.
Water management deserves more attention than decoration. A shed can tolerate slightly imperfect trim, but it will not enjoy roof leaks, soil touching the siding, or runoff flowing through the doorway. Slope the surrounding ground away from the structure, maintain siding clearance, seal exposed end grain, and use roof overhangs, flashing, and drip edges correctly. Observe the shed during the first heavy rain. That storm is the building’s final examination, and water is an unforgiving instructor.
Finally, organize the shed around real movement. Maintain a clear central aisle and place long-handled tools where they can be removed without unloading bicycles, bins, and a wheelbarrow. Use shallower shelves near the doorway to prevent shoulder collisions. Reserve one wall for future storage because your needs will change. A shed succeeds when retrieving a tool is easy enough that you are willing to return it afterward. The greatest reward is not merely extra square footage; it is the rare household pleasure of knowing exactly where the hedge trimmer is.
Conclusion
Building a shed in your backyard is a realistic advanced DIY project when you treat it as a series of connected systems: placement, drainage, foundation, floor, walls, roof, weatherproofing, access, and storage. Begin with an appropriate plan, construct a foundation that will remain stable, check square and level repeatedly, and protect the structure from weather as soon as possible.
A fancy door cannot rescue a weak foundation, but a straightforward shed that is properly supported, securely anchored, carefully flashed, and thoughtfully organized can provide reliable storage and workspace for many years.
Note: This original article synthesizes guidance from 10 reputable U.S.-based building-code, utility-safety, engineered-wood, roofing, hardware, home-improvement, and organization resources. Construction conditions vary, so confirm structural specifications with local officials, approved plans, and product manufacturers before beginning work.