

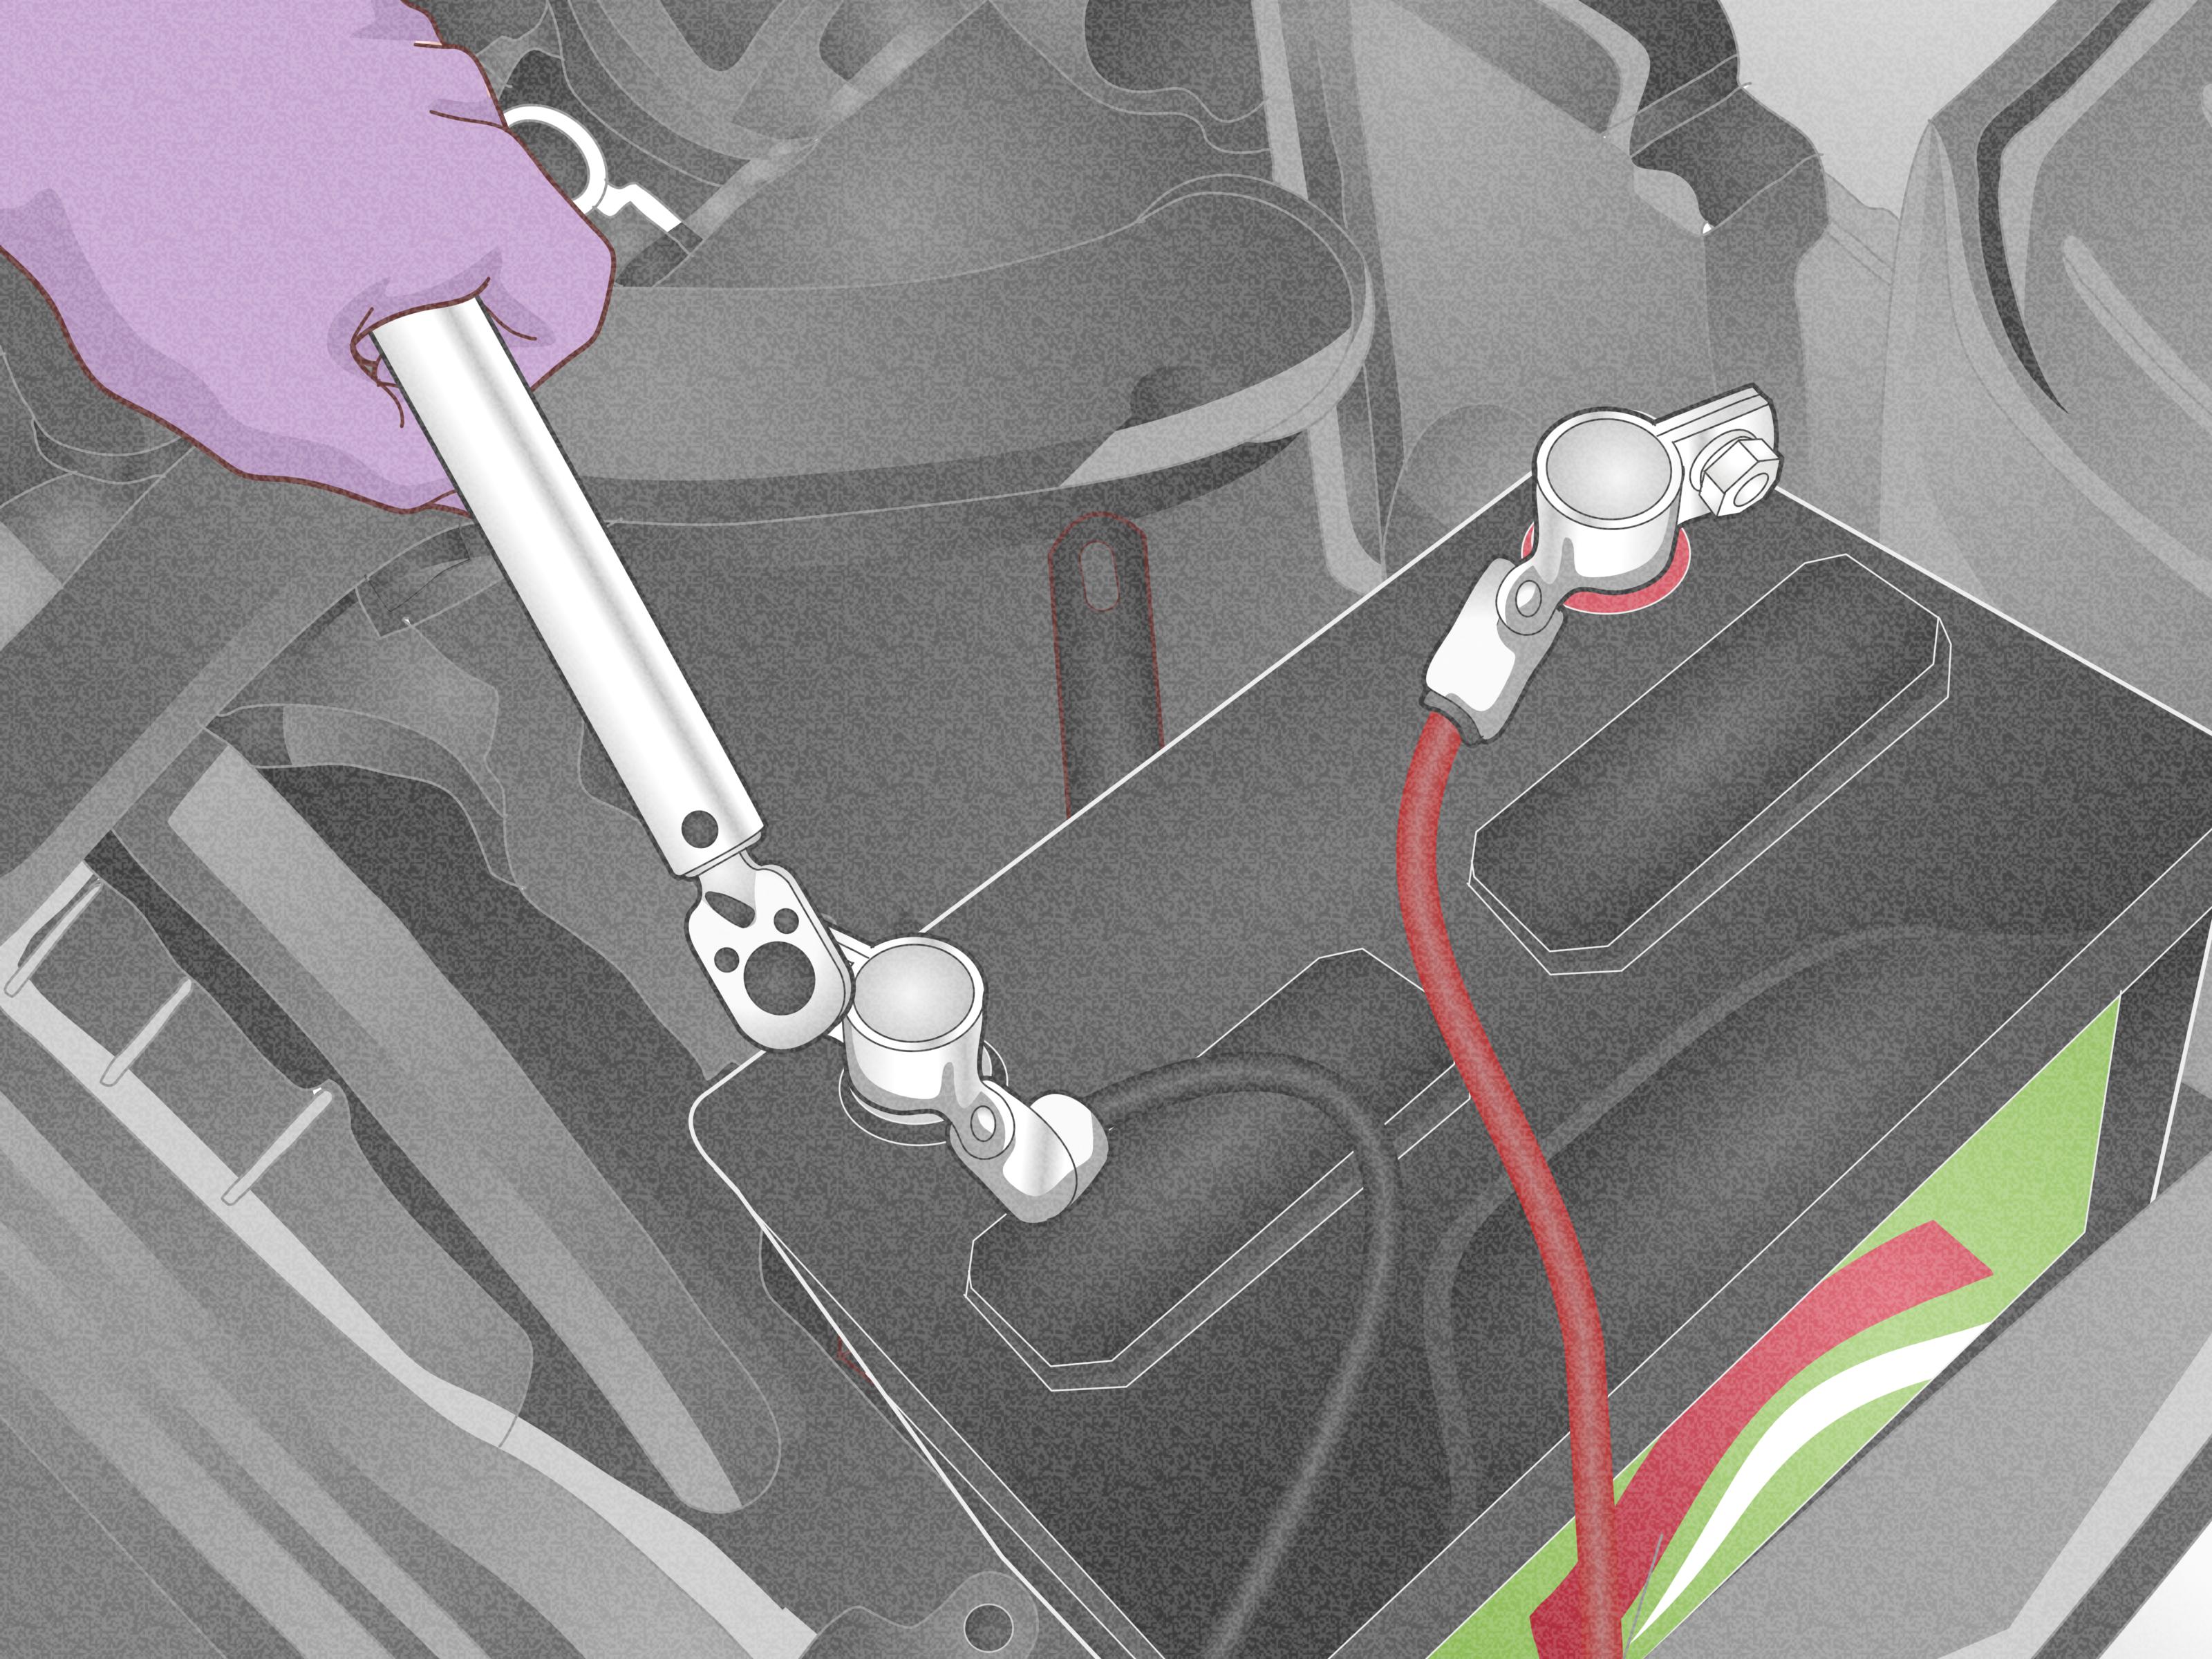
A dead car battery has a special talent for announcing itself at the worst possible moment. Turn the key, press the start button, and instead of a healthy engine, you get a lonely clickor the electrical equivalent of complete silence. Fortunately, learning how to hook up a battery charger can turn that driveway disaster into a manageable afternoon project.
The basic idea sounds simple: attach two clamps, plug in the charger, and let electricity do its thing. However, batteries can release flammable hydrogen gas, contain corrosive acid, and produce enough current to cause sparks or damage sensitive vehicle electronics. The order of connection matters, the charger settings matter, and the type of battery matters. This is one situation where improvisation should remain safely locked in the glove compartment.
What You Need Before Charging a Battery
Gathering the right equipment before opening the hood prevents the classic DIY shuffle in which you discover your safety glasses are in the basement while your wrench is mysteriously living in a kitchen drawer.
- A battery charger compatible with the battery’s voltage and chemistry
- Safety glasses or chemical-splash goggles
- Acid-resistant or sturdy work gloves
- The vehicle owner’s manual
- The battery charger’s instruction manual
- A flashlight for identifying terminals and charging points
- A wire brush or battery-terminal cleaning tool, if corrosion is present
- A properly grounded electrical outlet within safe reach
Work in a dry, well-ventilated location away from cigarettes, flames, heaters, grinding tools, and anything else capable of making a spark. Lead-acid batteries may release hydrogen during charging, particularly when overcharged or heated. Eye protection, adequate ventilation, and careful spark prevention are therefore practical necessities rather than dramatic accessories.
Identify the Battery Before Connecting the Charger
Do not assume every battery hiding under a hood is an ordinary flooded lead-acid model. Modern vehicles may use absorbed glass mat batteries, enhanced flooded batteries, gel batteries, or lithium iron phosphate batteries. Each chemistry can require a different charging program.
Check the Battery Voltage
Most passenger vehicles use a 12-volt battery. Some motorcycles, tractors, antique vehicles, and small machines may use a 6-volt battery. Large trucks and specialty equipment may have 24-volt systems or multiple connected batteries.
Match the charger voltage to the battery voltage. Connecting a charger in 12-volt mode to a 6-volt battery can damage the battery and create a serious hazard. Automatic voltage detection is helpful, but it is not a substitute for reading the label.
Check the Battery Chemistry
Look for markings such as “flooded,” “wet cell,” “AGM,” “EFB,” “gel,” or “LiFePO4.” Select the corresponding mode on the charger. AGM batteries often need carefully controlled charging, while lithium batteries require a charger specifically designed for their chemistry and internal protection system.
Never select a lithium mode for a lead-acid battery or a lead-acid mode for a lithium battery unless the charger and battery manufacturers expressly allow it. Some chargers use a combined setting, while others treat AGM, gel, and lithium batteries separately. The labels may look like alphabet soup, but guessing is not the recommended decoding method.
Find the Recommended Charging Points
Many newer vehicles have designated under-hood charging posts even when the battery is located in the trunk, beneath a seat, or behind an interior panel. These posts may also help the vehicle’s battery-management system detect and measure the incoming charge correctly.
Consult the owner’s manual before attaching clamps directly to a hard-to-reach battery. Hybrid vehicles deserve particular attention because their small 12-volt battery is separate from the high-voltage hybrid battery.
Inspect the Battery for Damage
Do not charge a battery that is cracked, leaking, visibly swollen, severely overheated, or giving off a strong unusual odor. Do not charge a frozen battery. Charging a damaged or frozen battery can cause rupture, leakage, fire, or explosion.
If the case looks normal, inspect the terminals. Light corrosion can interfere with the charger’s connection and produce inaccurate readings. With the vehicle off and the charger disconnected, clean accessible corrosion using an approved terminal-cleaning product or the procedure recommended by the vehicle manufacturer.
Never lean directly over the battery while making connections. Remove rings, watches, bracelets, and other conductive jewelry. A dropped wrench touching a positive terminal and grounded metal can turn into a remarkably effectiveand remarkably unwantedheating element.
How to Hook Up a Battery Charger Step by Step
Step 1: Turn Everything Off
Park the vehicle on a stable surface, engage the parking brake, and place the transmission in Park or Neutral as directed by the owner’s manual. Turn off the ignition, headlights, climate controls, audio system, interior lights, and accessories.
Confirm that the battery charger is switched off and unplugged from the wall. The charger should not be receiving AC power while you attach the clamps unless its manufacturer specifically provides a different procedure.
Step 2: Confirm the Vehicle’s Ground Configuration
Nearly all modern passenger vehicles use a negative-ground electrical system. In these vehicles, the battery’s negative terminal is electrically connected to the chassis. A small number of antique and specialty vehicles use positive ground, so checking the owner’s manual remains important.
The following steps assume a typical negative-ground vehicle. For a positive-ground system, follow the charger’s instructions rather than simply reversing clamps based on intuition.
Step 3: Connect the Red Clamp
Attach the red positive charger clamp to the positive battery terminal or designated positive charging post. The terminal is normally marked with a plus sign, “POS,” or “P.” It may have a red protective cover, although terminal color alone should never be your only clue.
Rock the clamp gently to confirm that its metal jaws have firm contact with clean metal. It should not be balanced on a plastic cover, clinging to corrosion, or hanging on with the determination of a cat avoiding bath time.
Step 4: Connect the Black Clamp
For a battery installed in a negative-ground vehicle, many charger manufacturers direct users to connect the black negative clamp to a solid, unpainted chassis or engine grounding point away from the battery, fuel lines, carburetor, and moving parts. Some vehicles provide a dedicated negative charging stud.
This remote connection helps keep any final connection spark away from the battery. It can also be important on vehicles equipped with a battery-monitoring sensor. However, some smart-charger and vehicle instructions permit or require connection directly to the battery’s negative terminal. Use the location specified by your vehicle and charger manuals.
If the battery has been removed from the vehicle and is being charged on a suitable nonconductive surface, connect the charger’s black clamp to the battery’s negative terminal as instructed by the charger manufacturer.
For a common negative-ground vehicle, the usual connection order is therefore red to positive first, followed by black to the approved chassis ground. Manufacturer manuals consistently emphasize making these DC connections before applying AC power.
Step 5: Select the Correct Charging Mode
Before plugging in the charger, verify its settings:
- Correct battery voltage
- Correct battery chemistry
- Appropriate charging current
- Normal charge, repair, reconditioning, or maintenance mode
Do not casually select a repair, boost, desulfation, or reconditioning mode. These programs may use charging patterns or voltages that are inappropriate while the battery remains connected to certain vehicles. Use them only when the charger, battery, and vehicle instructions permit it.
A low-amperage setting generally charges more slowly and may be suitable for small batteries, maintenance charging, or a gentler overnight recharge. A higher setting works faster but must remain within the limits specified for the battery and vehicle. Automatic smart chargers adjust their output during different charging stages and are usually the most convenient choice for occasional home use.
Step 6: Plug In and Start the Charger
Once both clamps are secure and the settings are correct, plug the charger’s AC cord into a properly grounded outlet. Turn the charger on if it has a separate power switch.
Check the display or indicator lights. A reverse-polarity warning normally means the clamps are connected incorrectly. Turn the charger off, unplug it, and correct the connections. Do not repeatedly bypass warnings or activate a charger’s force mode merely because the battery is not immediately detected.
Step 7: Monitor the Charging Process
Remain nearby during the initial charging period and periodically inspect the setup. The charger and battery may become mildly warm, but charging should be stopped if the battery becomes excessively hot, swells, leaks, hisses aggressively, smokes, or produces a strong odor.
Keep cables clear of fans, belts, pulleys, hood hinges, and hot exhaust components. Remember that an electric cooling fan can sometimes start unexpectedly on modern vehicles, even when the gasoline engine is not running.
Step 8: Allow the Charger to Finish
A smart charger may display a percentage, change an indicator from “charging” to “charged,” or automatically enter float-maintenance mode. A manual charger requires closer supervision and should not be left connected after the recommended charging time.
Charging time depends on battery capacity, remaining state of charge, charger output, temperature, battery condition, and energy lost during the process. For example, a healthy 60-amp-hour battery at roughly half charge has a theoretical deficit of about 30 amp-hours. A 5-amp charger might require more than six hours after normal charging losses and the slower final stage are considered. This is an estimate, not a timer setting carved in stone.
How to Disconnect a Battery Charger
Disconnecting in the proper order helps prevent sparks and accidental short circuits.
- Turn the charger off.
- Unplug the charger from the AC outlet.
- Remove the black clamp from the chassis ground or negative terminal.
- Remove the red clamp from the positive terminal.
- Replace any protective terminal covers.
- Store the charger with its clamps separated.
If you disconnected the vehicle’s battery cables before charging, reconnect them only according to the owner’s manual. On a conventional negative-ground vehicle, the battery cable is generally reconnected positive first and negative last. Some vehicles may lose clock settings, window calibration, security information, or electronic memory when battery power is interrupted.
Should You Disconnect the Battery Before Charging It?
Not always. Many modern automatic chargers are designed to charge a battery while it remains installed and connected. Vehicles may even provide dedicated charging posts for that purpose.
However, certain automakers, battery manufacturers, and charger instructions recommend disconnecting the negative vehicle cable in specific situations. This may protect sensitive electronics or prevent the vehicle’s electrical loads from interfering with the charging process.
Disconnecting the battery can also create inconveniences. The vehicle may lose saved radio stations, clock settings, seat positions, emissions-monitoring data, or anti-theft codes. The correct answer is therefore found in the manual for the actual vehiclenot in a universal rule shouted confidently across the internet.
Common Battery-Charging Mistakes
Connecting the Clamps Backward
Reversing polarity can damage an unprotected charger, blow vehicle fuses, harm electronic modules, or create dangerous sparks. Modern chargers often include reverse-polarity protection, but safety circuitry should be treated as a backup, not as permission to stop reading plus and minus symbols.
Plugging In the Charger Too Early
Applying AC power before making the DC connections can increase the chance of sparking near the battery. Unless the charger manual says otherwise, connect the clamps first and plug in the charger afterward.
Using the Wrong Battery Mode
An AGM setting is not automatically appropriate for a gel battery, and a lithium setting is not a turbo button for lead-acid batteries. Incorrect charging voltage can shorten battery life, prevent a full charge, or cause overheating.
Charging a Battery That Should Be Replaced
A charger can restore energy to a discharged battery, but it cannot reliably repair broken internal connections, badly damaged plates, a shorted cell, or a case that resembles an inflatable pool toy. A battery that repeatedly goes dead may need replacement or may be suffering from a parasitic electrical drain or faulty charging system.
Using a Charger as a Jump Starter
A standard battery charger restores energy gradually. It may not deliver the high current needed to crank an engine. Use an approved engine-start setting or a dedicated jump starter when immediate starting power is required.
Leaving a Manual Charger Unattended
Older manual chargers may continue supplying current after the battery is full. Prolonged overcharging can heat the battery, consume electrolyte, increase gas production, and shorten its service life. Only leave a charger connected for long-term storage when it is an automatic maintainer approved for that purpose. Smart maintainers monitor voltage and switch between charging and maintenance stages rather than continuously forcing maximum output.
Battery Charger, Maintainer, or Jump Starter?
These tools are related, but they perform different jobs.
- Battery charger: Replenishes a partially or deeply discharged battery over several hours.
- Battery maintainer: Monitors a stored battery and supplies small amounts of energy when needed.
- Trickle charger: Traditionally supplies a low continuous current; modern automatic maintainers are usually safer for extended connection.
- Jump starter: Provides a short burst of high current to start an engine immediately.
For a weekend vehicle, motorcycle, boat, lawn tractor, or seasonal car, an automatic maintainer may prevent the battery from becoming deeply discharged during storage. Permanent fused ring-terminal leads can make repeated connection easier, provided they are installed according to the charger and vehicle instructions.
Frequently Asked Questions
Can I charge a car battery overnight?
You can generally charge overnight with a compatible automatic smart charger that enters maintenance or float mode after the battery is full. Do not leave an older manual charger operating unattended unless its instructions explicitly permit it.
Can I start the car while the charger is connected?
Only when the charger has a dedicated engine-start function and its manual permits the procedure. Starting a vehicle with an ordinary low-amperage charger attached can overload or damage the charger.
Why does my charger say the battery is full so quickly?
The battery may already be charged, the clamps may have poor contact, or a deteriorated battery may reach charging voltage without storing much usable energy. Disconnect the charger safely, allow the battery to rest, and test it with an appropriate battery tester or have it professionally inspected.
Why will my smart charger not detect the battery?
The battery voltage may be below the charger’s detection threshold, the clamps may be connected poorly, or the battery may have an internal fault. Some chargers provide a manual force mode, but it should be used only after confirming the correct battery type, polarity, condition, and manufacturer procedure.
Will charging fix a vehicle that keeps going dead?
Charging may get the vehicle running again, but recurring discharge can indicate an aging battery, an alternator problem, loose connections, a module that remains awake, an interior light left on, or another parasitic drain. Diagnose the cause instead of assigning the charger a permanent night-shift job.
Practical Experiences and Lessons From Charging Batteries
People who regularly maintain cars, motorcycles, boats, and lawn equipment tend to learn the same lesson: the actual charging process is usually easy, but preparation determines whether the job is smooth or frustrating.
One common experience begins with a charger that immediately reports an error. The natural reaction is to blame the charger. In many cases, however, the real problem is a clamp sitting on corrosion instead of clean terminal metal. Removing the charger from power, repositioning the clamp, and making a solid connection often solves the mystery. A clamp can look attached while conducting about as effectively as a clothespin clipped to the hood.
Another lesson involves battery location. Owners sometimes spend several minutes removing trunk panels or engine-compartment covers before discovering that the manufacturer provided convenient remote charging posts. Checking the owner’s manual first can save time, prevent broken plastic clips, and ensure that charging current passes through the vehicle’s battery-monitoring sensor as intended.
Experienced users also learn not to confuse voltage with battery health. A worn battery may show an apparently respectable voltage after charging and still fail as soon as the starter demands substantial current. Voltage indicates part of the story; a proper load or conductance test reveals whether the battery can perform under pressure. It is rather like someone claiming to be fully awake before their first cup of coffeethe statement may not survive testing.
Seasonal equipment provides another useful example. A lawn tractor parked all winter may have a deeply discharged battery in spring. Repeatedly reviving it with a high charging rate often produces disappointing results. Connecting a compatible automatic maintainer during storage is usually easier and kinder to the battery. The same approach works well for motorcycles, classic cars, recreational vehicles, and boats that remain parked for weeks or months.
Cable management sounds trivial until a charger lead falls near a cooling fan or hot exhaust component. A safe setup routes cords away from moving parts, sharp edges, puddles, foot traffic, and the path of the closing hood. Users who charge frequently often create a dedicated area with good ventilation, reliable lighting, and an accessible grounded outlet. Organization removes several opportunities for small mistakes to become expensive ones.
Another practical habit is to examine the charger display shortly after starting. Confirm that it recognizes the expected voltage and battery type, and verify that no polarity or connection warning appears. Walking away immediately can leave the battery uncharged for eight hours because one clamp was not making contact. Returning the next morning to discover a blinking error light is a particularly uninspiring way to begin the day.
Temperature also affects real-world charging. A battery that has been sitting in severe cold may charge more slowly, while one exposed to high heat may already be stressed. A frozen, swollen, leaking, or unusually hot battery should not be charged. Moving a questionable battery into a garage and immediately connecting a powerful charger is not a clever shortcut; professional inspection is the safer response.
Finally, the most valuable experience is learning when to stop troubleshooting. A battery that repeatedly refuses to hold a charge, becomes hot, emits an unusual odor, or shows physical damage has moved beyond routine DIY maintenance. Likewise, a vehicle that continually drains healthy batteries needs electrical diagnosis. Battery chargers are excellent tools, but they cannot negotiate with a failed cell, repair a bad alternator, or persuade a malfunctioning control module to go to sleep.
Conclusion
Learning how to hook up a battery charger safely comes down to three priorities: identify the battery correctly, make the connections in the proper order, and follow the instructions written for your specific charger and vehicle.
With the charger unplugged, connect the red clamp to the approved positive terminal. On a typical negative-ground vehicle, connect the black clamp to the designated chassis or engine ground specified by the manufacturer. Select the correct voltage, chemistry, and charge rate before applying power. When charging is complete, turn off and unplug the charger before removing the black clamp and then the red clamp.
A careful five-minute setup can prevent damaged electronics, ruined batteries, sparks, and surprise visits from the neighborhood fire department. Read the labels, respect the connection order, and let the charger work at the pace the battery actually needs.
Research note: The safety and technical guidance in this article was synthesized from information published by AAA, Interstate Batteries, OSHA, NHTSA, Consumer Reports, CTEK, NOCO, Schumacher Electric, OPTIMA Batteries, Toyota Owners, Chevrolet Vehicle Support, and the U.S. Department of Energy.