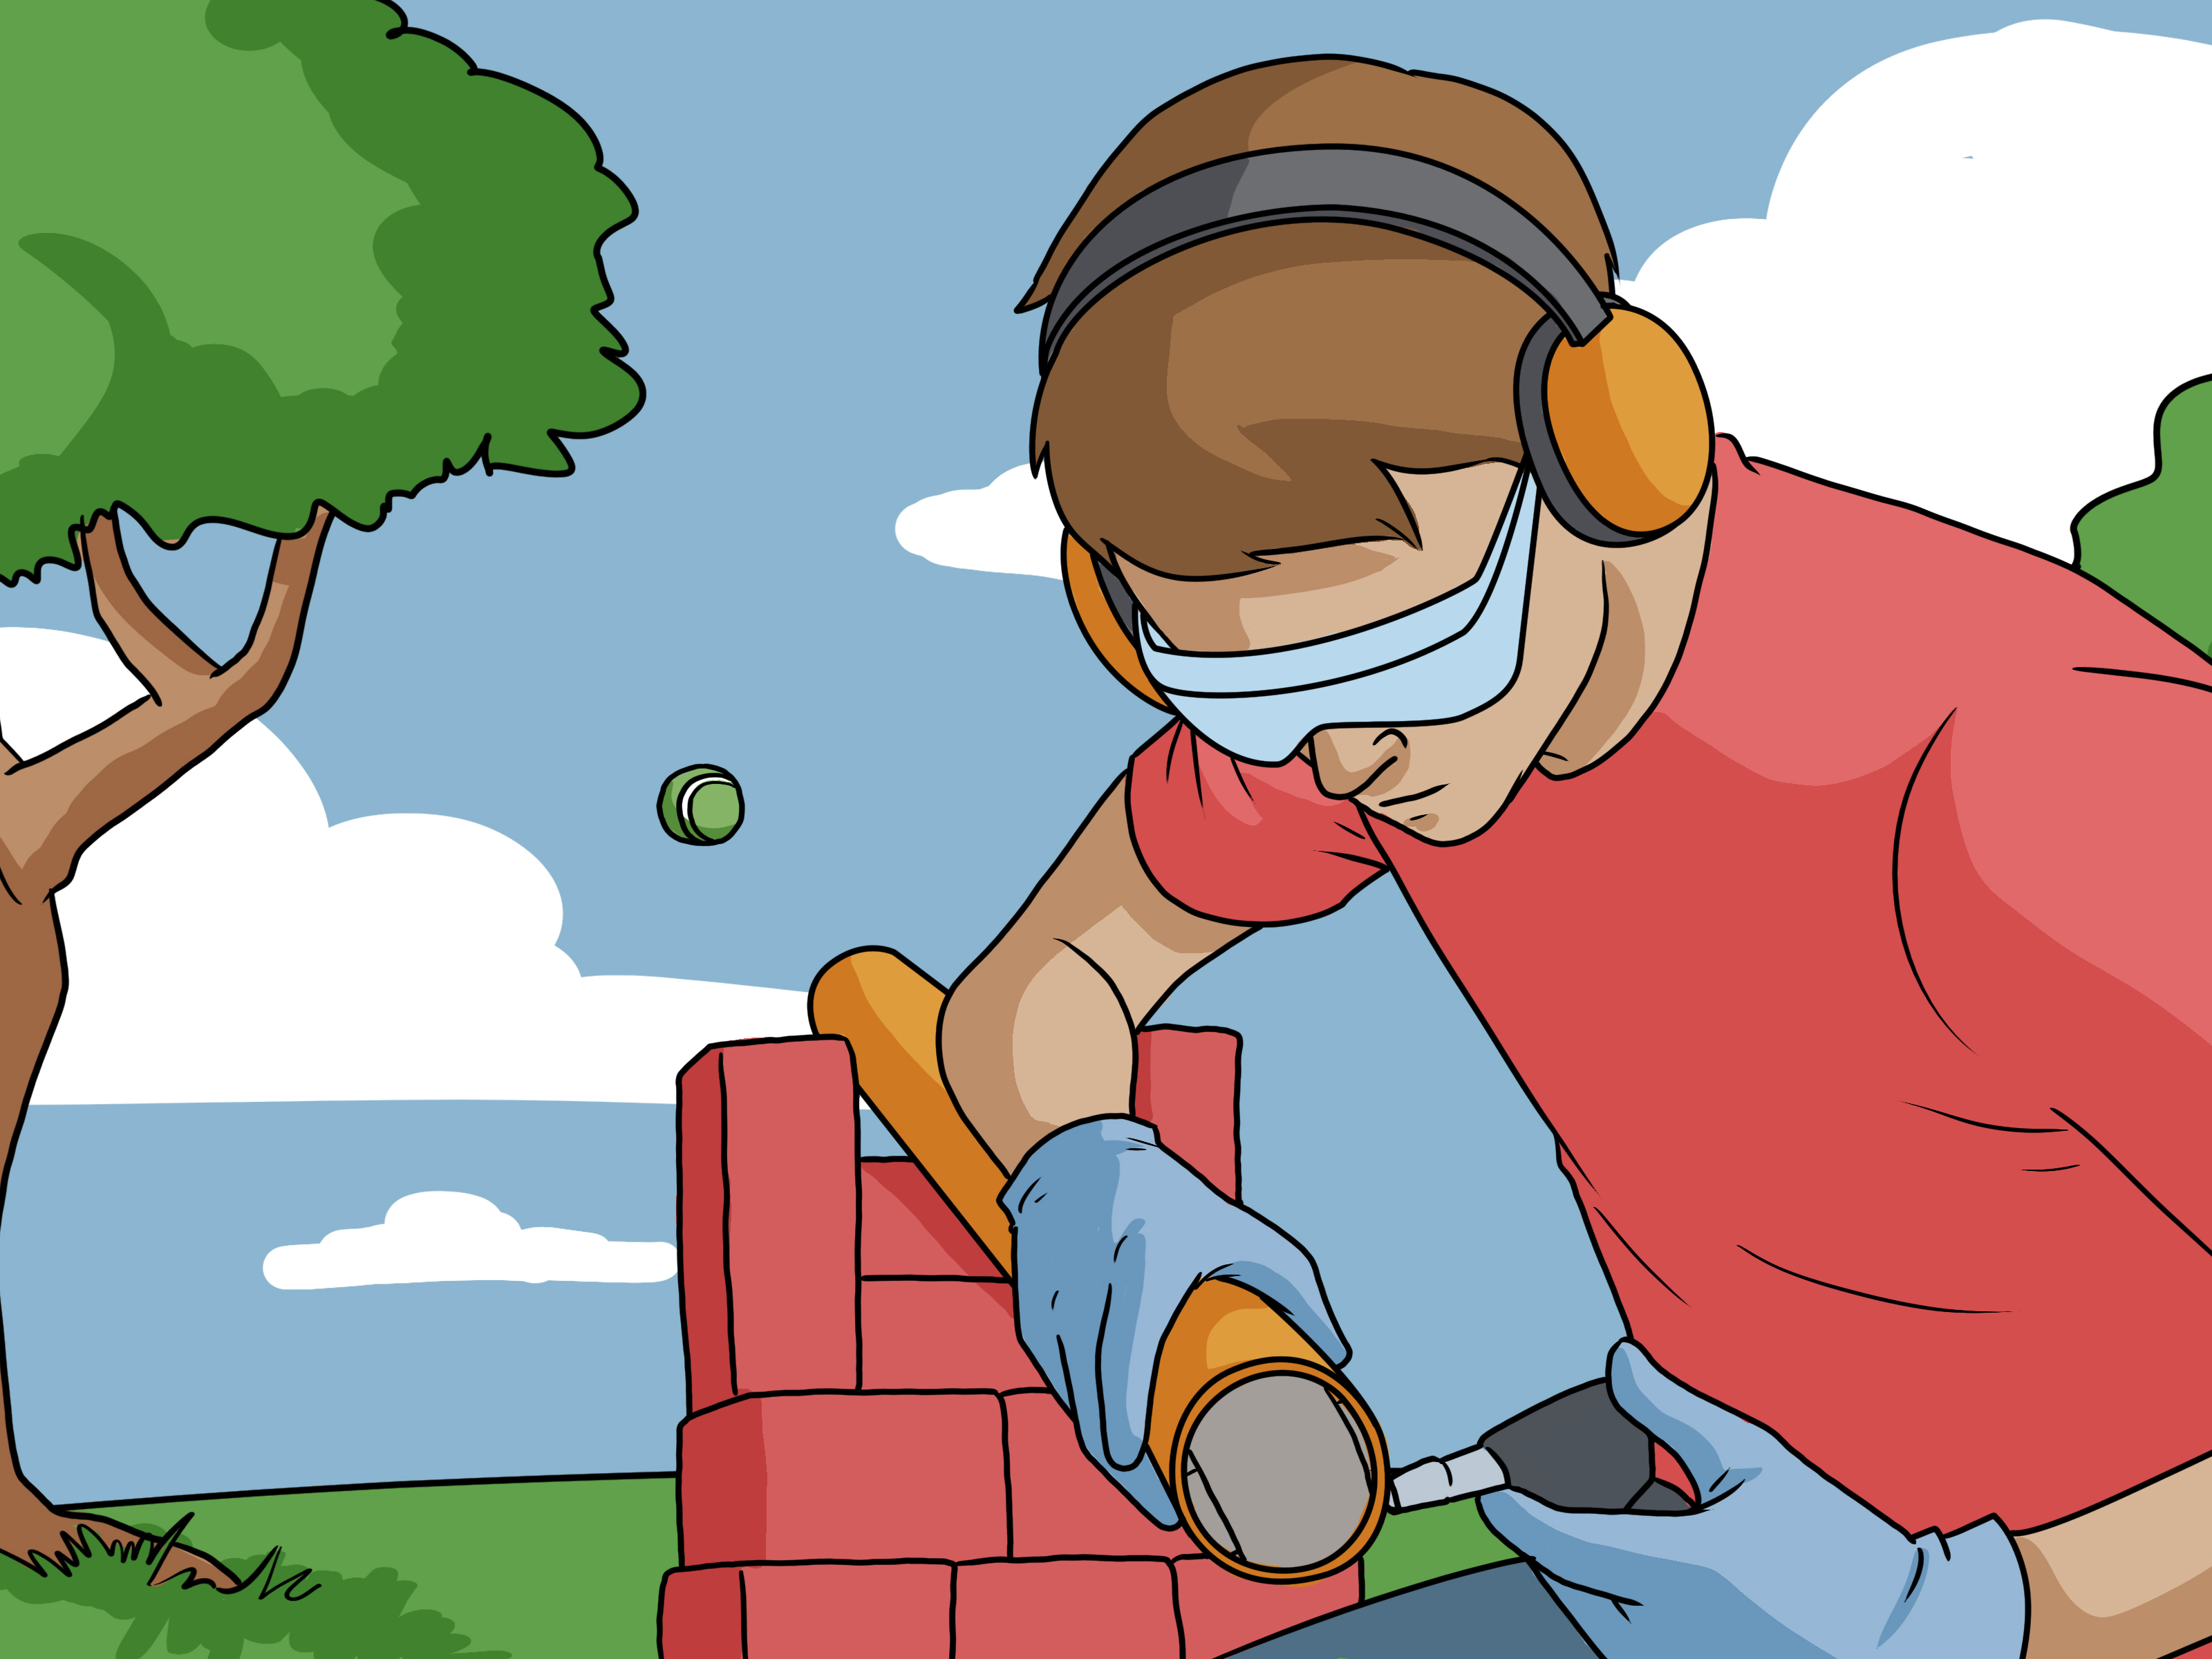
Important safety note: This article does not explain how to build a tennis ball mortar, combustion launcher, pressure launcher, or any homemade projectile device. A tennis ball may look harmless, but launching one from a homemade tube can create serious risks, including eye injuries, burns, impact injuries, fires, and damage to property. Instead, this guide shows you how to turn the idea into a safe, educational, and web-friendly STEM project about motion, energy, and responsible experimentation.
Let’s be honest: the phrase “tennis ball mortar” sounds like something invented by a bored backyard engineer five minutes before the neighbors call someone’s parents. It has the drama of a science fair, the confidence of a garage experiment, and the safety profile of “maybe don’t.” The good news is that you can still explore the interesting science behind the ideatrajectory, force, air resistance, stored energy, and angleswithout building a dangerous launcher.
In this safe version, you’ll learn how to create a harmless tennis ball physics activity, design a classroom-style demonstration, and understand why homemade launchers are a bad idea. Think of it as keeping the “wow” factor while removing the “why is there a hole in the shed?” factor.
What Is a Tennis Ball Mortar?
A tennis ball mortar is commonly understood as a homemade device intended to launch tennis balls into the air. Some versions rely on combustion, pressure, or improvised materials. That is exactly where the danger begins. Homemade projectile devices can fail unpredictably, send objects in unintended directions, or expose people nearby to heat, debris, or impact hazards.
The safer approach is to study the same physics principles without making a launcher. Tennis balls are great teaching tools because they are lightweight, familiar, and easy to track visually. You can use them for lessons on gravity, parabolic motion, bounce height, spin, energy transfer, and predictionall without creating anything that launches with dangerous force.
How to Make a Safe Tennis Ball Mortar-Style STEM Lesson: 12 Steps
Step 1: Change the Goal From “Launch” to “Learn”
The first and most important step is reframing the project. Instead of asking, “How do I make a tennis ball fly far?” ask, “What forces affect a tennis ball in motion?” That single change turns a risky backyard build into a legitimate physics activity. The goal is not distance or power; the goal is observation, measurement, and understanding.
This also makes the project more useful for students, parents, teachers, and hobbyists. A safe science activity can be repeated, measured, improved, and discussed. A dangerous launcher usually ends with someone saying, “Nobody tell Mom.”
Step 2: Learn the Basic Physics First
A tennis ball in motion is affected by several forces. Gravity pulls it downward. The initial push determines its starting speed. Air resistance slows it down. Spin can change how it travels through the air. When the ball lands, energy transfers into the ground, sound, heat, and bounce.
You do not need advanced math to make this interesting. Try asking simple questions: Does a ball thrown upward stay in the air longer than one tossed forward? Does backspin change the bounce? Does a wet tennis ball behave differently from a dry one? These questions are safer, smarter, and surprisingly fun.
Step 3: Use Hand Tosses Instead of Mechanical Launching
For a safe activity, use gentle hand tosses. One person can toss a tennis ball underhand while another records the distance, bounce height, or flight time. Keep the tosses low and controlled. Mark a start line, choose a soft open area, and make sure no one stands in the landing zone.
This setup still lets you explore projectile motion without building anything hazardous. You can compare different throwing angles, surfaces, and ball conditions. It is simple, repeatable, and does not require improvised equipment.
Step 4: Choose a Safe Testing Area
A safe tennis ball experiment needs space. A gym, empty field, driveway, or backyard can work if there are no cars, windows, pets, or people in the test area. Avoid streets, rooftops, balconies, crowded parks, and indoor spaces with breakable objects.
The best testing zone has a clear launch line, a measuring area, and a safe boundary. If younger kids are involved, assign one person to watch the area and stop the activity if anyone walks too close.
Step 5: Wear Basic Eye Protection
Even gentle tennis ball experiments can surprise you. Balls bounce, curve, and ricochet. Safety glasses are a smart choice, especially if multiple people are participating. They are inexpensive, easy to use, and much less annoying than explaining why your “simple experiment” ended with an ice pack.
Eye safety matters because fast-moving objects can cause harm even when they are not sharp. The safer habit is simple: protect your eyes whenever objects are moving unpredictably.
Step 6: Measure Distance With Tape or Markers
To make the activity feel like a real experiment, measure results. Use chalk, cones, masking tape, or small markers to record where the ball lands. Measure the distance from the starting line to the first landing point, not where the ball eventually stops rolling.
Create a simple chart with columns for angle, surface, ball condition, and distance. After several trials, patterns will appear. You may notice that a medium throwing angle travels farther than a very low or very high toss. That observation leads naturally into projectile motion.
Step 7: Compare Different Angles
Angle is one of the easiest variables to test. Try gentle tosses at low, medium, and high angles. Keep the throwing effort as consistent as possible. Then compare how far the ball travels and how long it stays in the air.
In many basic projectile experiments, an angle around the middle range tends to produce better distance than a toss that is nearly flat or nearly straight upward. The exact result depends on the person tossing, wind, spin, and surface. That uncertainty is not a problem; it is the science.
Step 8: Test Bounce on Different Surfaces
Tennis balls behave differently on grass, concrete, carpet, dirt, and gym floors. A hard surface usually returns more bounce energy than a soft surface. Grass absorbs more energy, so the ball often bounces lower and stops sooner.
This is a great way to teach energy transfer. When the ball hits the ground, some energy helps it bounce back up, while some energy is absorbed by the surface or lost as sound and heat. You do not need a lab coat to understand it, though wearing one may increase your “serious scientist” rating by at least 37 percent.
Step 9: Study Spin Without Forcing Speed
Spin changes how a tennis ball moves and bounces. A ball with topspin may dip faster and bounce forward. A ball with backspin may float slightly longer and bounce differently. You can observe this with gentle hand tosses or by rolling the ball across a flat surface.
The key is control. Do not try to throw harder and harder. Instead, focus on comparing smooth tosses with different types of spin. Record what you see. Good science is not about maximum chaos; it is about noticing details.
Step 10: Use Video for Slow-Motion Observation
A smartphone camera can turn a simple tennis ball activity into a surprisingly useful analysis tool. Record the toss from the side, then review the video in slow motion. Watch the path of the ball, the peak height, the landing point, and the bounce.
Video helps students see things they miss in real time. The flight path becomes clearer, and the bounce looks more dramatic. For a web article, photos or simple diagrams can also improve readability and help readers understand the experiment quickly.
Step 11: Discuss Why Homemade Launchers Are Unsafe
This step is essential. Homemade launchers can fail in ways that are hard to predict. Improvised materials may crack, burst, ignite, or send objects in unintended directions. Even a tennis ball can cause injury when launched with enough speed. The danger is not just the ball; it is the uncontrolled energy behind it.
Public safety organizations repeatedly warn that injuries involving fireworks, combustion, and projectile-like devices often affect hands, faces, eyes, and young people. That is why responsible science education avoids instructions for homemade mortars and instead teaches controlled, low-energy demonstrations.
Step 12: Turn the Activity Into a Finished STEM Project
To complete the project, organize your results into a short report. Include your question, prediction, method, results, and conclusion. For example: “Which surface gives a tennis ball the highest bounce?” Then show your measurements and explain what happened.
This final step turns casual play into real learning. It also makes the activity appropriate for classrooms, homeschool lessons, science clubs, and blog readers who want something useful rather than reckless. The result is a safe project with genuine educational value.
Safe Alternatives to a Tennis Ball Mortar
If the original idea was to create something exciting, there are better options. Try a tennis ball bounce-height challenge, a spin experiment, a ramp-and-roll activity, or a slow-motion sports science video. You can also compare new and old tennis balls to see how wear affects bounce.
Another fun option is a “design the best target game” challenge. Place buckets or hoops at different distances and toss tennis balls underhand. Assign points based on accuracy rather than force. This keeps the competitive energy without turning the backyard into a questionable engineering zone.
Common Mistakes to Avoid
Mistake 1: Treating a Tennis Ball as Harmless at Any Speed
A tennis ball is soft compared with a rock, but speed changes everything. A fast-moving ball can still hurt someone, especially if it hits the face or eyes. Keep activities slow, controlled, and supervised.
Mistake 2: Copying Unsafe Online Builds
Online projects are not automatically safe just because they look simple. Many risky builds skip important context, legal issues, and injury risks. If a project involves combustion, pressure, launching objects, or improvised tubes, it is not a good DIY activity.
Mistake 3: Testing Near People or Property
Even safe tennis ball experiments need a clear area. Windows, cars, pets, and bystanders do not belong in the landing zone. A small mistake can become expensive very quickly.
Mistake 4: Forgetting to Record Results
If you want the activity to be educational, collect data. Measurements, notes, and videos help turn “we threw a ball around” into “we tested a physics question.” The second version sounds much better on a science project board.
Experience Notes: What You Learn From Safe Tennis Ball Experiments
The most interesting thing about safe tennis ball experiments is how quickly they teach respect for motion. A tennis ball is familiar. Most people have thrown one, bounced one, or watched a dog sprint after one like it owes rent. Because it feels ordinary, it is easy to underestimate how much physics is packed into that fuzzy little sphere.
When you start measuring tosses, you notice that consistency is hard. Two throws that feel identical may land in different places. A tiny change in wrist angle can add spin. A small breeze can shift the ball’s path. Grass can ruin a bounce that looked perfect in the air. These little surprises are exactly what make the activity valuable.
Another lesson is that more force does not always create better results. In accuracy games, a gentle controlled toss often beats a hard throw. In bounce tests, the surface may matter more than the height of the drop. In spin experiments, technique matters more than strength. This is a useful lesson for sports, science, and life in general: power without control is mostly just noise with consequences.
Safe experiments also make group learning easier. One person can toss, another can measure, another can record video, and another can write down results. Everyone has a role. The activity becomes collaborative instead of chaotic. That matters, especially when younger students are involved, because a clear structure keeps excitement from turning into unsafe behavior.
Teachers and parents can use tennis ball activities to introduce scientific thinking without expensive equipment. Ask students to predict what will happen, test it, and then compare the results with the prediction. If the result is unexpected, that is not failure. That is the good part. Science gets interesting when reality refuses to follow the script.
The biggest experience-based takeaway is simple: safe does not mean boring. A well-designed tennis ball experiment can produce competition, laughter, surprising results, and real learning. You can test angles, surfaces, spin, bounce, timing, and accuracy. You can make graphs, record slow-motion clips, and improve the design of the activity over multiple rounds.
What you should not do is build a homemade mortar or launcher. The risk is not worth the momentary thrill. A tennis ball science project should end with better understanding, not broken glass, burns, injuries, or an awkward conversation with emergency services. Keep the energy low, the thinking sharp, and the ball under control.
Conclusion
So, how do you make a tennis ball mortar? The responsible answer is: you do not. Homemade projectile devices are unsafe, unpredictable, and unnecessary for learning the science behind motion. What you can make instead is a safe tennis ball STEM activity that teaches trajectory, bounce, spin, energy transfer, and measurement in a controlled way.
By shifting the project from launching to learning, you keep the fun while removing the serious risks. A tennis ball, a clear space, simple measurements, and a curious mind are enough to create a useful experiment. No combustion, no pressure, no improvised launcher, no backyard disaster montage required.