Making an origami dinosaur sounds like the kind of project that begins with confidence, continues with mild paper-related panic, and ends with you proudly holding up a tiny prehistoric creature that may or may not look like it skipped leg day. The good news? You do not need to be an origami master, a paleontologist, or the owner of museum-grade patience to fold a fun paper dinosaur. You only need a square sheet of paper, a flat surface, and the willingness to crease boldly.
This guide focuses on a beginner-friendly origami dinosaur inspired by classic long-neck dinosaur shapes, such as a brachiosaurus or apatosaurus. It is easier than a detailed origami T. rex, but still recognizable enough that nobody will confuse it with a paper goose having a difficult morning. Along the way, you will learn useful origami basics, including valley folds, mountain folds, squash folds, reverse folds, and how to shape the neck, tail, body, and legs.
Whether you are planning a classroom craft, a rainy-day activity, a dinosaur birthday party, or a relaxing paper-folding session at your desk, this step-by-step tutorial will help you make an origami dinosaur that stands, poses, and brings a little Jurassic charm to your table.
What Is an Origami Dinosaur?
An origami dinosaur is a folded paper model shaped to resemble a prehistoric animal. Depending on the design, it can look like a T. rex, stegosaurus, triceratops, pteranodon, velociraptor, or long-neck sauropod. Some dinosaur origami models are highly advanced and use dozens of precise folds. Others are simple enough for beginners and children with a little adult guidance.
For this tutorial, we will make a simple long-neck dinosaur because it gives you the most dinosaur drama for the least paper stress. The long neck and tail are easy to recognize, the body is stable, and the legs can be adjusted so the model stands upright. It is a great first origami dinosaur before trying more complex models with claws, teeth, horns, or tiny paper arms that make a T. rex look personally offended.
Materials You Need
Basic Supplies
- One square sheet of origami paper, ideally 6 x 6 inches or 15 x 15 cm
- A flat table or desk
- Optional: a bone folder, ruler edge, or your fingernail for sharper creases
- Optional: marker or pen for eyes and spots
- Optional: a second sheet for practice
Origami paper works best because it is thin, flexible, and already cut into a perfect square. Regular printer paper can work if you cut it into a square, but it is thicker and less forgiving. Construction paper is colorful, but it can become bulky when folded several times. If this is your first attempt, choose thin paper and avoid glossy cardstock unless you enjoy wrestling office supplies.
Best Paper Size for Beginners
A 6-inch square is a good starting size for most folders. If your hands feel cramped or the folds become too tiny, move up to an 8-inch square. Larger paper makes it easier to see the layers, correct mistakes, and practice shaping the neck and tail. Once you understand the pattern, you can try smaller paper for mini dinosaurs or patterned paper for a more decorative look.
Origami Terms to Know Before You Start
Origami instructions are much easier when you understand a few basic terms. You do not need to memorize a whole paper-folding dictionary, but these five folds will appear often in dinosaur models.
Valley Fold
A valley fold is made by folding the paper toward you so the crease dips downward like a valley. If you fold a sheet in half like a greeting card, that is usually a valley fold.
Mountain Fold
A mountain fold is the opposite. The crease rises upward like a ridge or mountain. Many origami models use mountain and valley folds together to create shape, symmetry, and structure.
Squash Fold
A squash fold opens a flap and presses it flat. It sounds dramatic, but it is really just organized flattening. In dinosaur origami, squash folds can help create wider body sections or small legs.
Inside Reverse Fold
An inside reverse fold turns part of the paper inward along existing creases. This is often used to form heads, beaks, necks, and tails. For our dinosaur, it helps shape the neck and head.
Pre-Creasing
Pre-creasing means folding and unfolding the paper before making the final shape. It may feel like extra work, but it gives the paper a memory. Think of it as sending your dinosaur to obedience school before asking it to stand.
How to Make an Origami Dinosaur Step by Step
Follow these steps slowly. The most common beginner mistake is rushing through the early folds and then wondering why the dinosaur looks like a crumpled napkin with ambitions. Strong, accurate creases at the beginning make the final model much cleaner.
Step 1: Start With the Color Side Down
Place your square paper on the table with the color side facing down. If both sides are the same color, choose either side. Rotate the paper so it looks like a diamond, with one corner pointing toward you.
Step 2: Make the First Diagonal Crease
Fold the bottom corner up to meet the top corner. Crease firmly, then unfold. You should now have one diagonal line running from bottom to top.
Step 3: Make the Second Diagonal Crease
Fold the left corner to the right corner. Crease firmly, then unfold again. Your paper should now have an X-shaped crease pattern through the center.
Step 4: Fold the Sides Toward the Center
Keep the paper in a diamond position. Fold the lower left edge toward the center crease. Then fold the lower right edge toward the center crease. The paper should now look like a kite. This kite shape will become the foundation of the dinosaur body.
Step 5: Fold the Top Sides Inward
Now fold the upper left edge toward the center crease. Repeat with the upper right edge. You should have a long, narrow diamond shape. Press all edges carefully so the model stays neat.
Step 6: Fold the Model in Half Lengthwise
Fold the entire model in half along the center line, bringing the left side behind the right side. You should now have a long folded shape with pointed ends. One end will become the neck and head; the other will become the tail.
Step 7: Choose the Neck End
Pick one pointed end to be the neck. Usually, the slightly cleaner or longer point makes a better neck. Hold the body gently with one hand and lift the neck end upward at an angle. Crease it where it meets the body.
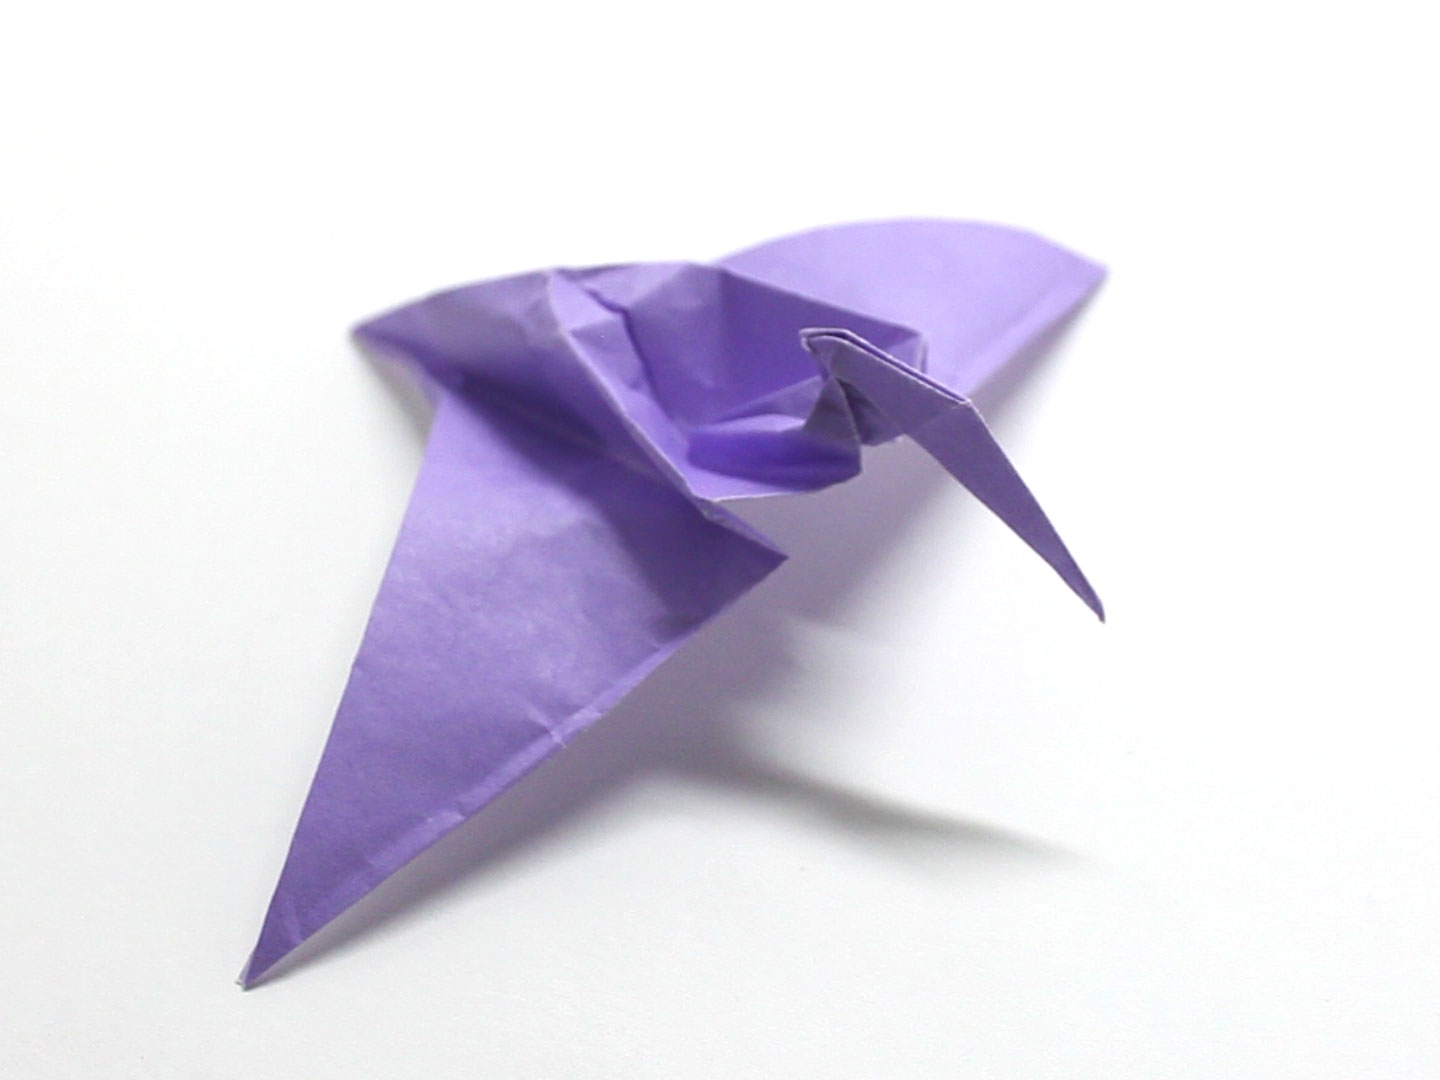
Step 8: Make an Inside Reverse Fold for the Neck
Unfold the neck slightly. Open the layers just enough to push the neck section inward along the crease you made. Close the paper again so the neck rises from the body. This inside reverse fold gives the dinosaur a more natural shape than simply bending the paper upward.
Step 9: Shape the Head
At the tip of the neck, fold a small section downward to create the head. Open the tip slightly and reverse the fold inward. This makes a small, angled head. If you want a friendly dinosaur, keep the head rounded and simple. If you want a dramatic dinosaur, angle the head forward like it just spotted a delicious fern buffet.
Step 10: Shape the Tail
Move to the opposite end of the model. Lift the tail slightly upward or backward, depending on the pose you like. Crease it firmly. If the tail looks too straight, make a small reverse fold near the end to give it a gentle curve.
Step 11: Create the Front Legs
Look at the lower front part of the body. Fold a small flap downward to form one front leg. Repeat on the other side if your model has a matching flap. If the paper is thick, keep these folds small. The goal is not to make perfect dinosaur anatomy; it is to give the model enough balance to stand.
Step 12: Create the Back Legs
Fold down a small section near the rear of the body for the back legs. Adjust the angle until the dinosaur can stand on the table. If it tips forward, lower the tail slightly. If it tips backward, adjust the neck or widen the leg folds.
Step 13: Flatten the Body Gently
Press the body lightly between your fingers. Do not crush it completely. A little volume makes the dinosaur look more alive. If your model opens too much, sharpen the center crease and press the side folds again.
Step 14: Add Personality
Use a marker to add a tiny eye, spots, stripes, or scales. Keep decorations light so the paper does not become wet or warped. One dot for an eye can completely transform your dinosaur from “folded triangle situation” to “adorable prehistoric companion.”
Troubleshooting Common Origami Dinosaur Problems
My Dinosaur Will Not Stand
This usually means the legs are uneven or the tail angle needs adjusting. Widen the feet slightly, press the bottom folds flatter, and lower the tail so it acts like a counterbalance. Long-neck dinosaurs often need the tail to help them stand.
The Neck Looks Too Thick
If the neck looks bulky, your paper may be too thick or the fold may be too low. Try starting the neck fold closer to the front tip. For your next attempt, use thinner origami paper or a larger square.
The Head Keeps Unfolding
Strengthen the head crease by folding it both ways before reversing it inside. This pre-creasing trick helps the paper remember where it should go.
The Paper Tore
Torn paper usually comes from forcing a fold, especially around thick layers. Slow down, open the layers gently, and avoid dragging your fingernail too hard across delicate paper. Origami is firm, not furious.
Easy Ways to Customize Your Origami Dinosaur
Make a T. Rex-Inspired Version
For a T. rex look, shorten the neck, make the head larger, and keep the front legs tiny. The tail should be longer and lifted slightly. You can even angle the head downward to give it that “I own this Cretaceous neighborhood” attitude.
Make a Baby Dinosaur
Use a smaller square of paper and round the head fold. Draw oversized eyes for a cuter effect. Baby dinosaurs are great for cards, party favors, classroom displays, and tiny paper scenes.
Make a Dinosaur Herd
Fold several dinosaurs in different sizes and colors. Green, brown, gray, blue, and orange paper all work well. Arrange them on a shelf, add paper trees, or create a mini Jurassic landscape from recycled cardboard.
Add Spikes or Plates
To turn your dinosaur into a stegosaurus-inspired model, cut small triangles from scrap paper and lightly glue them along the back. Traditional origami usually avoids cutting and gluing, but craft origami allows a little creative mischief.
Why Origami Dinosaurs Are Great for Kids and Beginners
Origami dinosaurs are more than cute paper decorations. They help build patience, hand-eye coordination, sequencing skills, and spatial thinking. Folding paper requires a person to follow steps in order, compare edges, notice symmetry, and correct small mistakes. That makes origami a quiet little workout for the brain and fingers.
For children, dinosaur origami is especially motivating because the final result is a creature they already recognize and enjoy. A plain lesson about diagonal folds may not sound thrilling. But a mission to build a paper dinosaur? Suddenly, the table becomes a laboratory, the paper becomes a fossil, and every crease feels important.
Adults benefit too. Origami can be calming because it asks for focus without screens, noise, or complicated tools. You are simply folding one step at a time. When the dinosaur finally stands, the small success feels surprisingly satisfying.
Tips for Teaching This Origami Dinosaur
Use Bigger Paper for Groups
If you are teaching children or beginners, demonstrate with a large square of paper. Big paper makes every fold easier to see. You can use wrapping paper cut into a square, butcher paper, or large craft paper.
Pause After Every Major Fold
Origami classes go smoother when everyone completes one step before moving on. After each fold, hold up your model and let students compare. This prevents the classic classroom moment where one student is on Step 4, another is somehow on Step 19, and one has made a hat.
Teach the Words “Fold, Crease, Unfold”
Many origami steps are not permanent at first. Students need to understand that folding and unfolding creates guide lines. Once they learn this, they stop worrying that they are undoing their work.
Encourage Imperfect Dinosaurs
No two handmade dinosaurs will look exactly alike. Some will have longer necks, bigger tails, or unusual posture. That is part of the charm. A slightly wobbly dinosaur still counts as a dinosaur. It may simply be walking through dramatic volcanic terrain.
Creative Uses for Origami Dinosaurs
Once you know how to make an origami dinosaur, you can use it in many creative projects. Add one to a birthday card, glue it to a gift tag, place it on a party table, or use it as a bookmark decoration. Teachers can use paper dinosaurs for science units, reading rewards, bulletin boards, or storytelling prompts.
You can also create an origami dinosaur diorama. Fold several dinosaurs, then add paper volcanoes, trees, rocks, and a blue paper lake. Label each dinosaur with a fun name or species. This turns a simple craft into a mini project that combines art, science, and writing.
For a party activity, set up an origami dinosaur station with square paper, markers, and printed step cards. Guests can fold their own dinosaurs and take them home. It is inexpensive, screen-free, and far less chaotic than giving everyone a kazoo.
My Experience Making Origami Dinosaurs
The first time I tried to make an origami dinosaur, I chose a model that was much too advanced. This is a classic beginner mistake. The diagram looked harmless at first, but by Step 12, the paper had developed secret pockets, mysterious arrows, and what appeared to be a personal grudge against me. I kept folding anyway, because optimism is free, and by the end I had created something that looked less like a dinosaur and more like a tired paper shrimp.
That attempt taught me an important lesson: start with a simple dinosaur shape before attempting a detailed T. rex or triceratops. Long-neck dinosaurs are forgiving. If the neck is a little too long, it still looks intentional. If the legs are uneven, the tail can help balance the model. If the head is tiny, you can call it cute. Origami is wonderfully flexible that way.
Another thing I learned is that paper choice matters more than beginners expect. Thick paper makes the model feel strong at first, but it becomes bulky around the body and legs. Thin origami paper folds cleanly and allows the neck and tail to reverse more easily. When I switched from printer paper to proper origami paper, the difference was immediate. The dinosaur stood better, the creases looked sharper, and I no longer felt like I was trying to fold a cereal box into a ballerina.
I also discovered that the best origami dinosaurs have personality. A perfectly folded model is impressive, but a slightly quirky dinosaur is often more memorable. One of my favorite paper dinosaurs had a crooked neck and a tail that curved too high. Instead of fixing it, I drew a tiny smile and decided it was looking at a tree. Suddenly, the mistake became character.
When helping kids make origami dinosaurs, I have noticed that they care less about technical perfection and more about story. One child may decide the dinosaur is a baby. Another may turn it into a dragon. Someone else will add polka dots, eyelashes, lightning bolts, or a superhero cape. That creative freedom is exactly why this project works so well. The folds provide structure, but the final dinosaur belongs to the maker.
The most useful habit I developed is pausing before each major fold to check alignment. Origami rewards patience. When the edges meet cleanly, the next steps become easier. When they do not, tiny errors multiply. Still, even a messy dinosaur can be fun. Paper is cheap, practice is part of the process, and every failed fold teaches your fingers what to do next time.
In the end, making an origami dinosaur is not only about creating a neat paper animal. It is about turning one flat square into something with shape, balance, and attitude. That little transformation feels magical every time. One minute, you have paper. A few folds later, you have a dinosaur standing on your desk like it has survived extinction specifically to supervise your coffee.
Conclusion
Learning how to make an origami dinosaur is a fun, affordable, and surprisingly satisfying craft for beginners, kids, teachers, and dinosaur fans of all ages. With one square sheet of paper, you can practice essential origami techniques while creating a playful prehistoric model. Start with a simple long-neck dinosaur, focus on clean creases, and do not worry if your first attempt has a little extra personality. That is part of the adventure.
Once you master the basic shape, experiment with different sizes, colors, poses, and dinosaur styles. Fold a tiny baby dinosaur, a dramatic T. rex-inspired creature, or an entire paper herd. The more you practice, the more natural the folds will feel. And remember: every great origami folder has, at some point, stared at a confusing piece of paper and wondered whether it was folding them instead.