

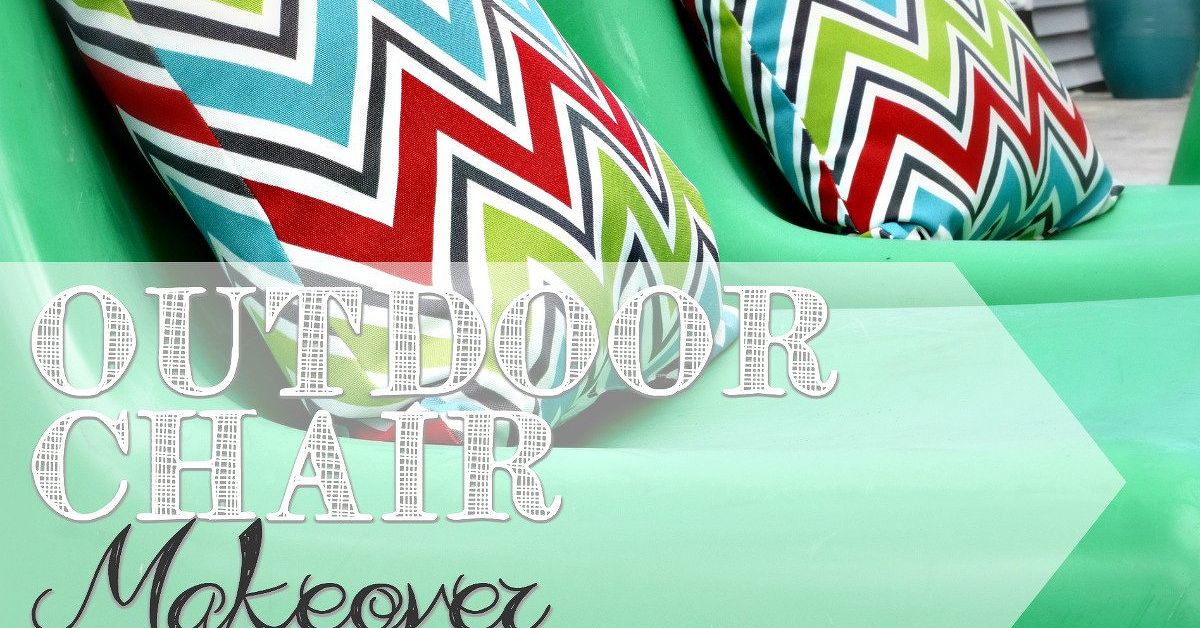
An outdoor chair makeover can turn a faded, rusty, or unfashionable seat into the best-looking piece on your patio. The secret is not artistic genius, a professional workshop, or a suspiciously large collection of power tools. It is choosing the right restoration method for the chair’s materialand resisting the urge to paint first and ask questions later.
Whether you are restoring a wooden Adirondack chair, repainting a metal bistro set, refreshing plastic patio furniture, or rescuing vintage wicker, this guide covers the process from structural inspection to final styling. You will learn how to clean, repair, sand, prime, paint, seal, and accessorize an outdoor chair for a finish that looks polished and survives more than one backyard barbecue.
Should You Restore or Replace the Chair?
A makeover makes sense when the chair has a solid frame but suffers from cosmetic problems such as fading, surface rust, peeling paint, scratched wood, stained cushions, or dated colors. A structurally sound chair can often be refreshed for much less than the price of comparable new outdoor furniture.
Cosmetics cannot rescue a dangerous frame, however. Before buying paint, place the chair on a level surface and apply gentle pressure to the seat, arms, and back. Check for severe wobbling, rotted wood, cracked welds, sharply corroded metal, broken plastic, loose joints, and missing fasteners.
Good candidates for an outdoor chair makeover
- Wooden chairs with weathered color but firm, mostly intact boards
- Steel or wrought-iron chairs with manageable surface rust
- Aluminum frames with scratches, oxidation, or faded coatings
- Plastic chairs that are dull but not brittle or cracked
- Wicker furniture with minor loose strands and a stable frame
- Sling chairs that need replacement fabric rather than frame repair
When replacement is the safer choice
Retire a chair if major structural components are split, rust has eaten through load-bearing metal, plastic snaps under light pressure, or repairs would leave the seat unstable. A chair should support people, not introduce them unexpectedly to the patio floor.
Identify the Chair Material Before Choosing Supplies
The best paint for one chair may be completely wrong for another. Outdoor chairs are commonly made from wood, steel, wrought iron, aluminum, plastic resin, natural wicker, synthetic wicker, or a combination of materials.
Wood
Wood may be painted, stained, or allowed to weather naturally. Cedar, redwood, cypress, teak, eucalyptus, and acacia are common outdoor furniture woods, although their maintenance needs differ. Paint offers strong color coverage, while penetrating exterior stain highlights the grain and is less likely to peel like a thick film finish.
Steel and wrought iron
These materials can rust when their protective coating is damaged. Restoration normally involves removing loose corrosion, applying a compatible rust-inhibiting primer, and finishing with exterior metal paint or enamel.
Aluminum
Aluminum does not develop red iron rust, but it can oxidize and its factory finish can become chalky. It needs thorough cleaning and light scuffing. Depending on the condition and coating system, a bonding or self-etching primer may be appropriate. Follow the paint manufacturer’s instructions rather than assuming every metal primer works on aluminum.
Plastic or resin
Plastic is slick and expands in the sun, so ordinary household paint may peel. Use a coating explicitly labeled for the chair’s type of plastic and for exterior exposure. Testing the product underneath the seat is a wise five-minute experiment that can prevent a weekend-size disappointment.
Wicker
Natural wicker is woven plant material, while synthetic wicker is usually a weather-resistant resin weave. They should not automatically receive the same finish. Natural wicker must be dry, firmly attached, and free of loose fibers before painting. Synthetic wicker may reject paint unless the coating is approved for that material.
Outdoor Chair Makeover Tools and Materials
Your exact shopping list depends on the chair, but most patio furniture restoration projects use a small collection of basic supplies:
- Mild dish soap, clean water, buckets, and lint-free cloths
- A soft brush, sanding sponge, and material-appropriate sandpaper
- A wire brush for sound steel or wrought-iron furniture
- Screwdrivers, wrenches, replacement screws, and exterior-rated fasteners
- Exterior wood glue, exterior filler, or repair epoxy when appropriate
- Primer formulated for wood, metal, plastic, or wicker
- Exterior paint, exterior stain, or direct-to-metal coating
- Quality brushes, a small foam roller, or spray-paint equipment
- Painter’s tape, drop cloths, gloves, and eye protection
- A properly selected respirator or mask for the product and task
Buy compatible products from the same coating system when possible. Primer, paint, and clear coat can react badly when their formulas or recoat windows do not agree. The label is the project’s final authority, even when an online tutorial confidently says, “Trust me.”
How to Complete an Outdoor Chair Makeover
1. Photograph and disassemble the chair
Take several pictures before removing cushions, slings, hardware, or wooden slats. Those photos become surprisingly valuable when four similar brackets are rolling around the workbench. Label pieces, place small hardware in resealable bags, and note which components should not be painted.
2. Clean every surface thoroughly
Paint adheres to the chair, not to the invisible layer of sunscreen, pollen, cooking smoke, mildew, and ancient potato-chip fingerprints sitting on top of it. Begin with mild soap and water. Use a soft brush around joints, decorative scrollwork, and woven areas, then rinse carefully.
Avoid aggressive pressure washing on delicate wood, old finishes, natural wicker, vinyl straps, and loose joints. Excessive pressure can raise wood fibers, force water into the frame, fray fabric, or turn a small paint chip into a large bald spot. Allow the chair to dry completely before sanding or coating it.
3. Make structural and surface repairs
Tighten bolts and replace badly corroded fasteners with exterior-rated equivalents. Reglue loose wooden joints with an adhesive intended for outdoor exposure and clamp them until cured. Fill small defects with a repair material compatible with both the substrate and the final finish.
Replace torn slings or stretched vinyl straps rather than covering them with ordinary paint. When ordering a replacement sling, measure according to the supplier’s instructions; fabric dimensions are often calculated to create tension after installation.
4. Remove loose paint and smooth rough areas
Sound existing paint does not always need to be stripped completely. Remove everything loose, flaking, blistered, or poorly bonded, then feather the edges so they will not show through the new finish.
On wood, sand in the direction of the grain and round sharp splinters without reshaping the chair. On steel, use a wire brush or sanding pad to remove loose rust and deteriorated paint. Lightly scuff glossy plastic or aluminum only when the coating instructions recommend it.
Vacuum or wipe away sanding dust before moving forward. Avoid grinding aggressively around thin metal tubing, woven material, decorative details, or any questionable old coating.
5. Prime the correct areas
Primer improves adhesion, blocks stains, creates a consistent base color, and can slow corrosion. Bare wood generally benefits from an exterior wood primer before painting. Exposed steel should receive a rust-inhibiting metal primer. Plastic requires either a plastic-compatible primer or a coating designed to bond directly without one.
Apply thin, even coverage and pay attention to joints, undersides, feet, and end grain. These easily forgotten places often encounter the most moisture. Let the primer dry for the full interval specified on its label.
6. Apply the finish in light coats
Multiple thin coats usually look better and cure more reliably than one heroic coat. Thick paint can sag, wrinkle, trap solvents, fill woven details, and remain soft where people sit.
When brushing wood, follow the grain and watch for drips beneath the arms and seat rails. A small roller can produce an even finish on broad slats, while a brush reaches joints and edges. Spray paint is useful for curved metal, mesh, and ornate surfaces. Keep the can or sprayer moving, overlap each pass slightly, and begin and end the spray beyond the chair whenever possible.
Work in a sheltered, well-ventilated location with low wind and conditions within the product’s approved temperature and humidity range. Protect vehicles, walls, plants, and neighboring property from overspray. Your sedan does not need a coordinating accent color.
7. Respect drying and curing times
Dry-to-touch, recoat, handling, and full-cure times are different milestones. A finish may feel dry while remaining vulnerable to fingerprints, cushion marks, rain, or sticking. Follow the stated recoat window and allow the completed coating to cure before assembling or using the chair.
8. Reassemble and inspect
Reattach the hardware without overtightening screws into wood or plastic. Add protective feet or glides if needed, then test the chair gradually on a level surface. Confirm that it does not rock, flex unexpectedly, or expose sharp edges.
Material-Specific Makeover Ideas
Painted wooden Adirondack chair
Repair loose boards, smooth splinters, prime bare wood, and apply a durable exterior coating. Deep navy, forest green, warm terracotta, or sunny yellow can turn a single chair into a focal point. For a coordinated collection, use one color family in several shades rather than making every chair identical.
Natural-looking wood refresh
If the grain deserves attention, clean and sand the chair before applying a penetrating exterior stain suited to furniture. Transparent finishes reveal more wood but hide fewer imperfections; semitransparent and solid stains offer progressively more color and coverage. Pay special attention to exposed end grain, which readily absorbs moisture.
Rusty metal bistro chair
Remove loose rust, smooth the transition between bare and painted areas, and use a rust-inhibiting primer and exterior metal topcoat. Satin black produces a classic café look, while coral, cobalt, or mint adds personality. Intricate frames are usually easier to coat with spray paint than with a large brush.
Faded plastic chair
Wash the plastic thoroughly, let it dry, and apply an exterior coating approved for plastic. Do not assume paint will repair brittle resin; cracks and sun-damaged plastic remain structural concerns. A satin or semi-gloss finish is generally easier to wipe clean than a deeply textured surface.
Vintage wicker accent chair
Vacuum the weave, clean gently, repair loose strands, and let natural wicker dry thoroughly. Apply several light coats so the finish reaches different angles without clogging the weave. Keep natural wicker under a covered porch unless it is specifically designed and protected for more demanding exposure.
Refresh the Cushions and Styling
A beautifully painted frame can still look unfinished beneath a defeated cushion. Wash removable covers according to their care labels and inspect foam for odors, mildew, or permanent compression. Replace badly deteriorated inserts and choose solution-dyed or performance outdoor fabric when making new covers.
Outdoor fabric paint can refresh certain weathered cushions, especially compatible polyester materials, but it is not a universal cure. Clean the fabric, test an inconspicuous section, apply light coats, and accept that excessive paint may make the surface stiffer.
Finish the makeover with one or two deliberate accents: a striped lumbar pillow, a small side table, an outdoor rug, or a planter that repeats the chair color. Leaving breathing room around the chair often makes it look more expensive than surrounding it with every decorative object you own.
How to Make the New Finish Last
- Clean spills, bird droppings, sunscreen, and plant debris promptly.
- Touch up chips before moisture reaches exposed steel or wood.
- Keep chairs away from roof drip lines and constantly wet soil.
- Allow furniture to dry before covering it.
- Use breathable covers that do not trap condensation against the frame.
- Store cushions in a dry, ventilated location when they are not needed.
- Tighten loose hardware and inspect joints at the start of each season.
- Reapply wood stain or protective finishes according to their condition and manufacturer guidance.
Maintenance is less dramatic than a full transformation, but it is also considerably easier. Five minutes with touch-up paint today may prevent five hours of rust removal next spring.
Common Outdoor Chair Makeover Mistakes
The most common mistake is rushing preparation. Painting over dirt, oxidation, loose rust, or glossy incompatible material creates a finish that looks wonderful just long enough to be photographed.
Other problems include choosing indoor paint, ignoring cure time, spraying in strong wind, coating damp wood, mixing incompatible products, and painting moving hardware until it sticks. Skipping the underside is another classic shortcut. Water does not limit itself to the attractive, camera-facing half of a chair.
Finally, do not use a makeover to disguise structural damage. Paint can conceal a crack, but it cannot restore the original strength of a broken frame.
Conclusion
A successful outdoor chair makeover begins with inspection and material identification, not with choosing the trendiest color on the shelf. Clean carefully, repair structural problems, remove weak finishes, use compatible exterior products, and allow every coat enough time to cure.
The result can be more personal than new furniture and far more satisfying. Instead of sending a faded chair to the curb, you create a durable patio feature with its own characterand possibly a color bold enough to make the barbecue grill jealous.
Outdoor Chair Makeover Experience: What the Project Really Feels Like
The most revealing outdoor chair makeover I worked through involved a pair of wooden armchairs that initially looked like easy Saturday projects. Their gray surface seemed charmingly weathered, the joints felt reasonably firm, and the online photos made the restoration plan appear almost suspiciously simple. Clean, sand, paint, admirewhat could possibly interfere?
Cleaning provided the first surprise. The chairs were not uniformly gray; they were covered by several seasons of dirt, pollen, and weathered finish. Mild soap, water, and a soft brush uncovered warmer wood beneath the grime. It also revealed two small splits, several loose screws, and enough rough end grain to snag a beach towel from across the patio.
That discovery changed the schedule. Instead of painting immediately, I let the chairs dry, replaced the corroded fasteners, glued one loose joint, and clamped it overnight. The delay felt irritating at the time, but it prevented a freshly painted chair from remaining freshly wobbly.
Sanding was the least glamorous part and the most important. The broad arms became smooth quickly, while the narrow gaps between the back slats seemed designed by someone with a personal grudge against sanding sponges. I stopped trying to remove every trace of the old color and concentrated on eliminating loose finish, splinters, and sharp transitions. That produced a stable surface without unnecessarily grinding away healthy wood.
The first thin coat of exterior paint looked disappointing. The color appeared uneven, several repaired areas remained visible, and I briefly wondered whether “rustic” could be expanded to mean “unfinished.” The second coat answered the question. It leveled the color, softened the visible repairs, and created the smooth satin appearance I had imagined at the beginning.
The most valuable lesson came after painting: patience affects durability as much as technique. The chairs felt dry relatively quickly, but I kept the cushions off and waited for the finish to cure according to the product instructions. That prevented fabric texture from imprinting onto the seats and kept the armrests from collecting fingerprints.
I also learned that styling should happen after the chair earns the right to be decorated. New cushions can distract from poor preparation, but they cannot stop peeling paint or stabilize loose joints. Once the frames were sound and cured, simple striped cushions and a nearby terracotta planter were enough. The chairs did not need ten accessories or an elaborate patio redesign.
A later metal-chair makeover reinforced the same principles. Removing rust and priming bare steel took longer than applying the topcoat, yet the preparation determined whether the finish would last. Light spray passes were far more effective than trying to achieve full coverage immediately. Turning the chair upside down first also made it easier to coat the underside without leaning into wet painta small tactical improvement discovered only after an earlier project introduced my sleeve to bright blue enamel.
These experiences made outdoor furniture restoration feel less like decorating and more like problem-solving. Every chair tells you what it needs through its material, damage, and previous finish. Listen before painting, work methodically, and the makeover becomes both easier and more durable.