

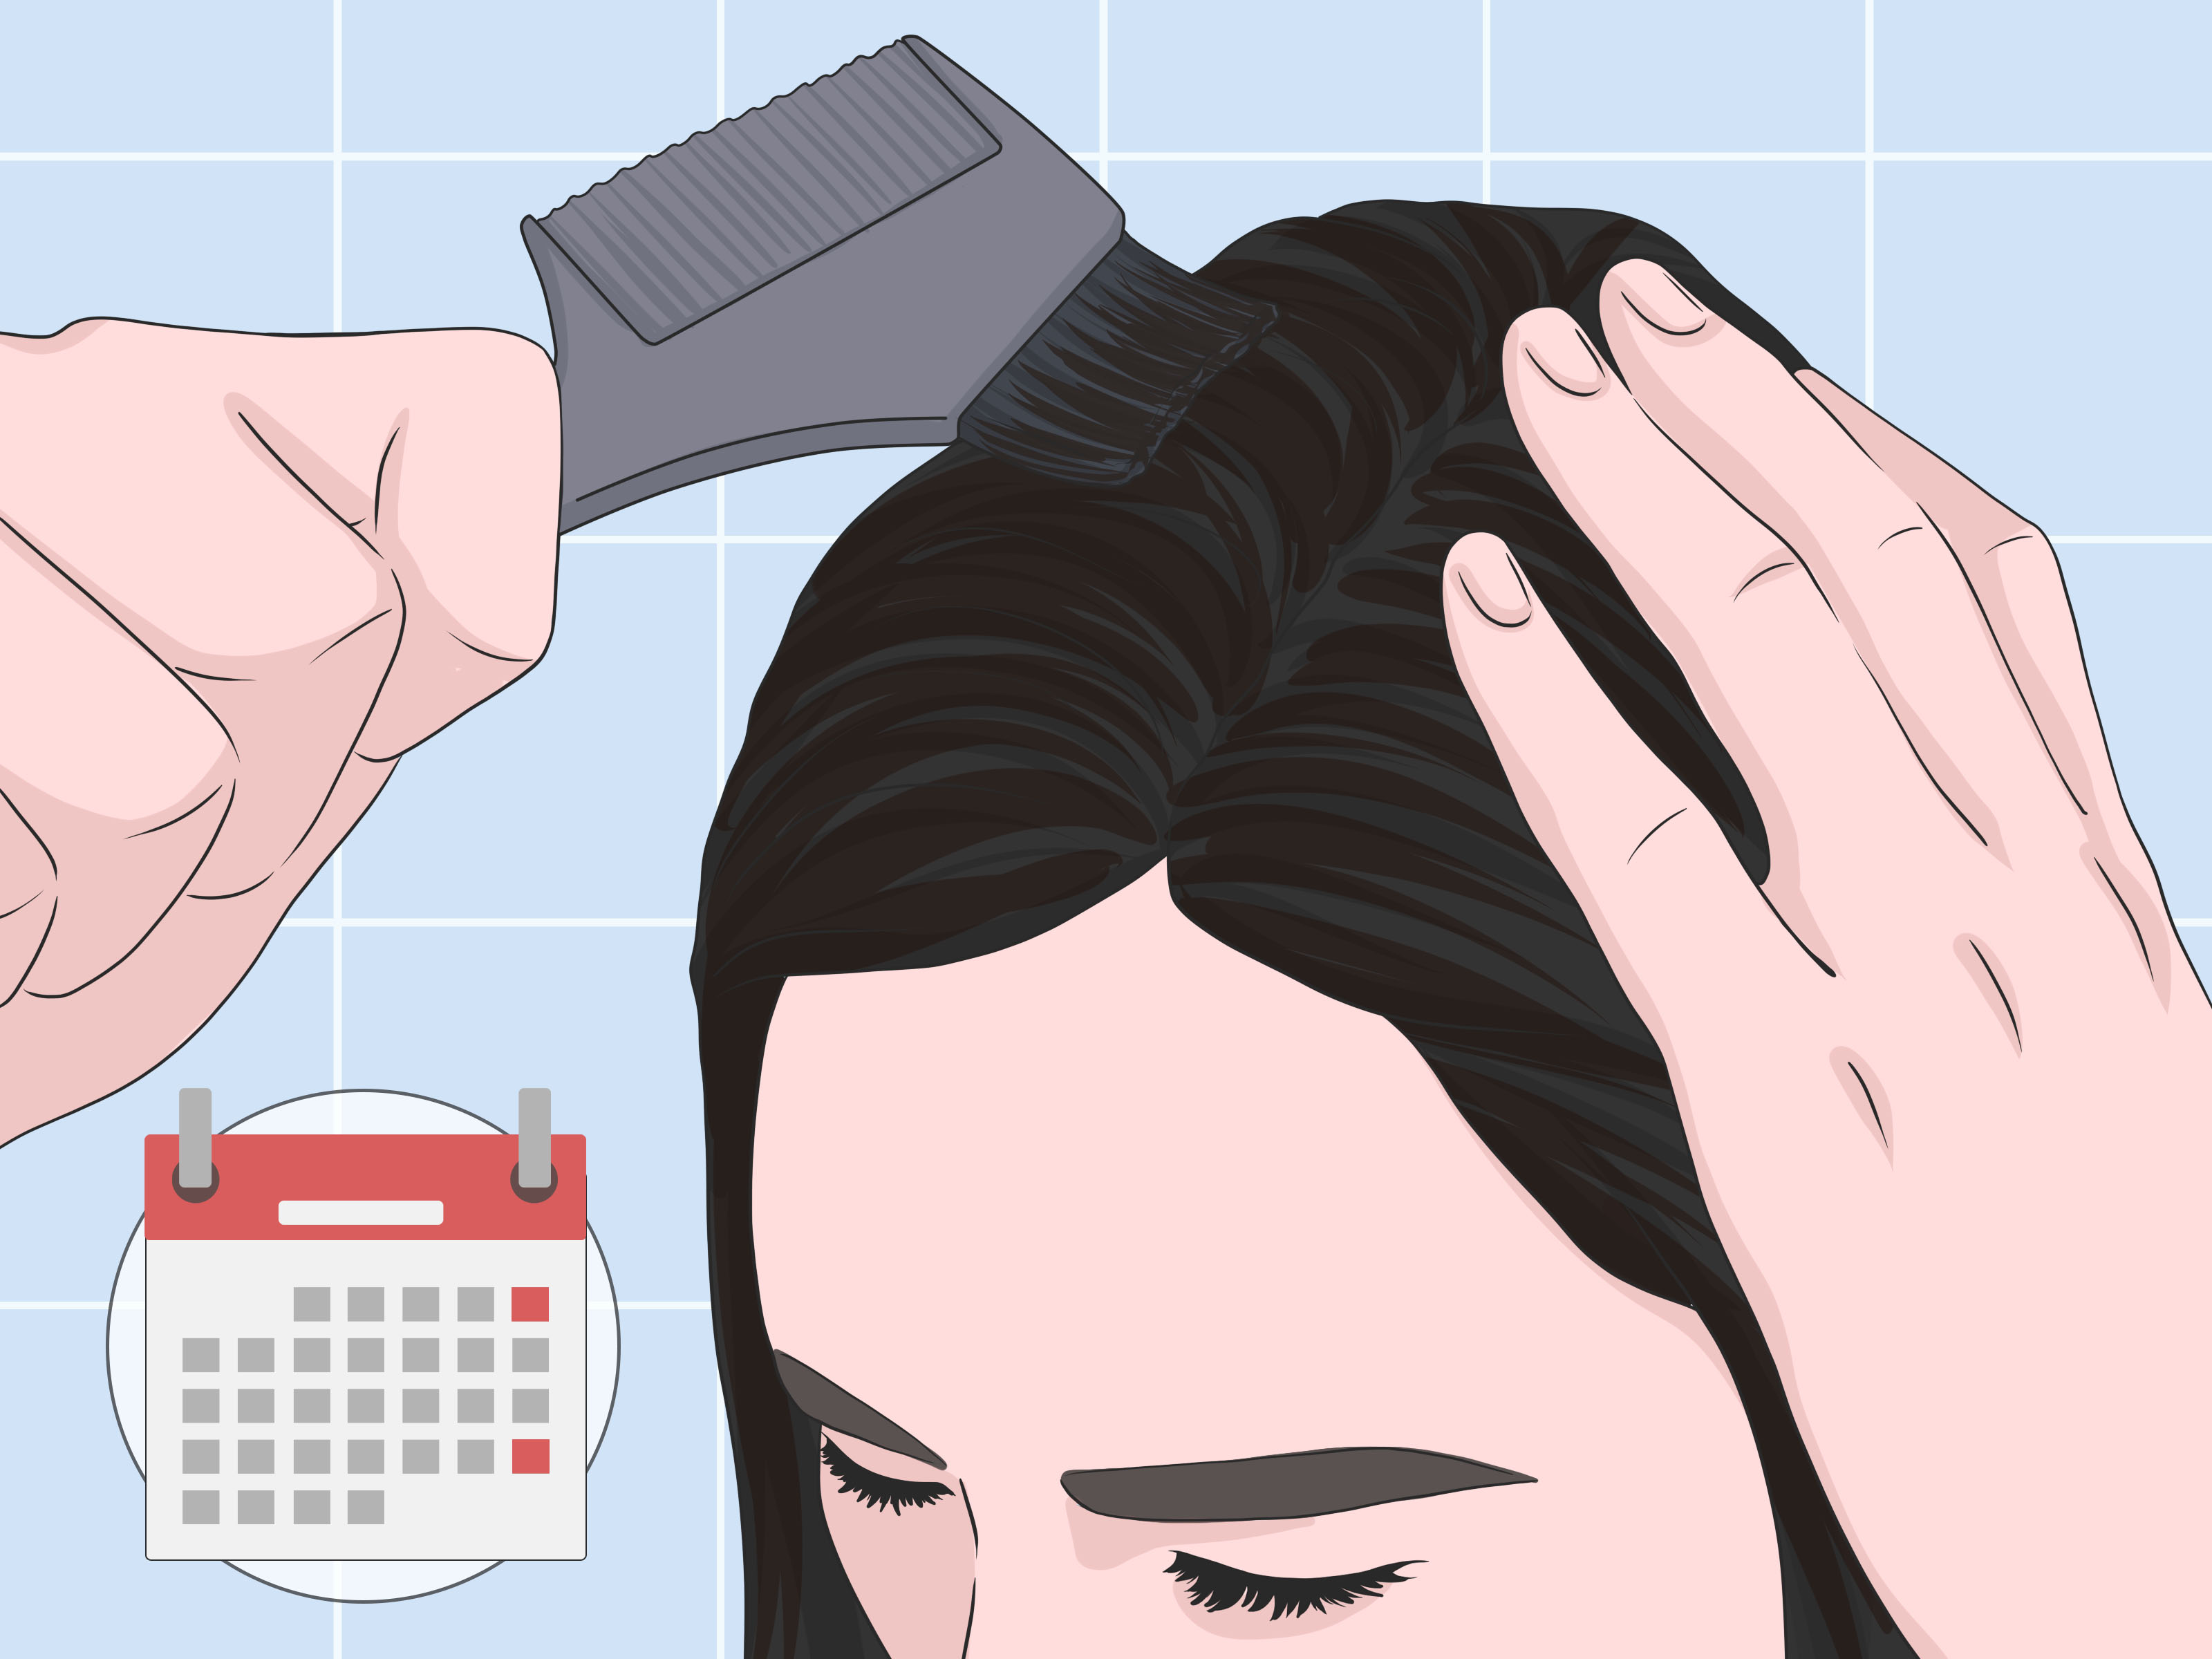
There is something quietly dramatic about black hair. It looks glossy, classic, bold, and just mysterious enough to suggest you know where the good coffee is. But if you want that rich, dark color without reaching for a conventional permanent dye, you need more than a random kitchen experiment and a prayer whispered over a mixing bowl. Natural black hair dye can work beautifully, but it works differently from chemical color.
The most reliable way to dye hair black naturally is usually a two-step henna and indigo process. Henna gives the hair a warm copper-red base, while indigo adds deep blue-black pigment over it. Together, they can create anything from soft brown-black to a cool, inky shade, depending on your natural color, gray percentage, hair porosity, timing, and product quality. Other natural options, such as black tea, coffee, amla, and herbal rinses, can darken or tone hair, but they usually create subtle, temporary results rather than true black coverage.
This guide explains how to dye hair black naturally at home, what to expect, what to avoid, and how to keep the color looking polished instead of patchy. Think of it as your calm, practical roadmapminus the bathroom panic and mysterious green streaks.
What Does “Natural Black Hair Dye” Really Mean?
Natural hair dye usually refers to plant-based colorants that stain or bind to the outer layers of the hair rather than using ammonia, peroxide, or oxidative dye chemistry to permanently alter the hair shaft. These natural pigments do not lighten hair. They cannot turn dark brown hair honey blonde, and they cannot magically erase previous color the way a professional color correction might. Their strength is deepening, staining, toning, blending grays, and adding shine.
For black hair, the most common natural ingredients are:
- Henna: A plant powder from Lawsonia inermis that releases a reddish-orange dye molecule.
- Indigo: A plant powder from Indigofera tinctoria that creates blue-toned pigment and darkens hair when layered over henna.
- Amla: A fruit powder often used to cool down the warmth of henna and support a darker brown-black result.
- Black tea or coffee: Temporary rinses that may slightly darken brown or black hair and soften the look of gray strands.
The key is understanding that “natural” does not automatically mean “risk-free.” Plants can still irritate the scalp or trigger allergies. That is why patch testing and strand testing matter, even when the ingredient list looks like it came from a garden instead of a chemistry lab.
Before You Start: Safety, Strand Tests, and Expectations
Always Do a Patch Test
Before applying henna, indigo, or any herbal hair dye to your whole head, test a small amount on your inner arm or behind your ear. Wait at least 24 to 48 hours and watch for redness, itching, swelling, burning, bumps, or irritation. If your skin reacts, do not use the mixture on your scalp.
This step may feel boring, but it is the adult supervision your future self will thank you for. Hair color regret is annoying. Scalp irritation is worse.
Do a Strand Test First
Cut a few shed hairs from your brush or test a hidden section near the nape of your neck. Apply the exact mixture you plan to use, leave it on for the full processing time, rinse, and check the color after 24 to 48 hours. Natural dyes often continue oxidizing after rinsing, so the color you see immediately is not always the final color.
A strand test helps answer important questions: Will your grays turn orange? Will your ends grab too dark? Will indigo pull green on light or bleached pieces? Will your hair need one round or two? Better to discover these answers on a tiny section than on your entire head five minutes before a family dinner.
Avoid “Black Henna” Products
Be careful with products labeled “black henna.” Pure henna is not black. It stains orange, copper, or reddish brown. To create black results, some products may contain indigo, but others may include synthetic dyes or additives. Look for ingredient labels that clearly list pure henna and pure indigo, without mysterious “color boosters,” metallic salts, or hidden chemical dyes.
If a product promises instant jet-black results in a few minutes, be suspicious. Natural dye is many wonderful things, but it is not usually a five-minute miracle worker.
The Best Natural Method: Henna and Indigo for Black Hair
If your goal is a convincing black or very dark brown-black shade, the two-step henna and indigo method is usually the strongest natural option. It takes more time than a box dye, but it gives better control, especially on gray, white, light brown, or previously lightened hair.
What You Need
- Pure henna powder
- Pure indigo powder
- Warm water
- Non-metal bowl and spoon
- Gloves
- Old towel or dark cape
- Plastic wrap or shower cap
- Sectioning clips
- Petroleum jelly or balm for the hairline
- Old T-shirt you no longer emotionally depend on
Step 1: Apply Henna First
Start with clean hair. Many people prefer freshly washed hair without heavy conditioner, oils, or styling products, because buildup can block the dye from gripping evenly.
Mix henna powder with warm water until it forms a smooth paste similar to thick yogurt. Some users let henna sit for several hours to allow dye release, while others follow the timing recommended by the brand they purchased. Apply the paste from roots to ends, working in sections. Cover your hair with plastic wrap or a shower cap and let it process for about 2 to 4 hours, depending on your hair and desired depth.
Rinse thoroughly with water. You do not need to shampoo immediately. In fact, waiting can help the color settle. At this stage, gray hairs may look copper, orange, or red. Do not panic. This is the base layer, not the final look. Your hair is not making a dramatic lifestyle choice; it is simply preparing for indigo.
Step 2: Apply Indigo Over the Henna
Indigo should usually be mixed right before application because its dye activity does not last as long once mixed. Combine pure indigo powder with warm water until it becomes a creamy paste. Some people add a small pinch of salt to help deepen the stain, especially on resistant gray hair, but keep the formula simple if your scalp is sensitive.
Apply the indigo paste to the hennaed hair, focusing carefully on gray areas, roots, and lighter sections. Cover the hair again and leave it on for about 1 to 3 hours. A shorter time may create dark brown. A longer time may create deeper black. Rinse with cool or lukewarm water until the water runs mostly clear.
After rinsing, your hair may look dark brown, blue-black, or slightly muted at first. Give it 24 to 48 hours. Natural color often deepens after exposure to air. Avoid shampoo during this window if you can, and do not judge the final result while standing under harsh bathroom lighting at midnight. That lighting makes everyone look like they owe sleep money.
One-Step Henna and Indigo Mix for Soft Black or Brown-Black Hair
If you want a gentler, less intense result, you can mix henna and indigo together in one application. This method is easier, but it may not cover stubborn grays as well as the two-step process.
For a dark brown-black tone, try a ratio of one part henna to two or three parts indigo. Mix the henna first according to the product instructions, then add freshly mixed indigo just before applying. Leave the mixture on for about 2 to 3 hours, then rinse thoroughly.
This method is great for brunettes who want richer depth, softer shine, and a natural-looking black-brown finish. It is less ideal for people with a high percentage of white or silver hair because grays often need the separate henna base to avoid turning muddy, blue, or greenish.
Using Amla for a Cooler, Darker Result
Henna naturally leans warm. If your dream black hair is cool espresso rather than warm mahogany, amla powder may help. Amla is often added to henna mixes to reduce bright orange tones and support a darker, ashier finish when followed with indigo.
You can add a spoonful or two of amla powder to the henna paste, depending on hair length and the amount of powder used. It will not turn hair black by itself, but it can make the final henna-indigo result look less red and more neutral. This is especially useful for people whose hair pulls warm very easily.
One warning: too many ingredients can make troubleshooting difficult. If this is your first time using henna and indigo, keep your formula simple. Once you know how your hair reacts, you can experiment with amla or other herbal powders.
Black Tea and Coffee Rinses: Subtle Natural Darkening
Black tea and coffee are popular natural options because they are inexpensive, easy to find, and unlikely to transform your bathroom into an herbal dye laboratory. They can add temporary depth to already dark hair and may slightly blur the appearance of a few gray strands. However, they are not true permanent black hair dye.
How to Use a Black Tea Rinse
Brew 3 to 5 bags of black tea in 2 cups of hot water. Let it steep until very strong, then cool completely. After shampooing, pour the tea through your hair slowly, massage it in, and leave it for 20 to 30 minutes before rinsing with cool water. Repeat weekly if you like the effect.
How to Use Coffee for Darker-Looking Hair
Brew strong coffee and allow it to cool. Apply it to clean, damp hair, cover with a shower cap, and let it sit for 30 to 60 minutes. Rinse well. Coffee may add a soft brown tint or make dark hair look richer, but results are temporary and subtle. It is more of a color refresh than a full dye job.
These rinses are best for people who want a low-commitment experiment. If you need serious gray coverage or true black results, henna and indigo will usually outperform tea and coffee by a landslide.
How Natural Black Dye Works on Different Hair Colors
On Gray or White Hair
Gray and white hair can be resistant because it often has a different texture and less natural pigment. The two-step henna and indigo method is usually best. Henna fills the pale strand with a warm base, and indigo darkens it afterward. Without the henna base, indigo alone may look dull, bluish, or greenish on very light hair.
On Light Brown or Blonde Hair
Use caution. Going from light hair to natural black is a big change, and plant dye can be difficult to remove. Indigo over light hair without henna can create unwanted green or blue tones. Always strand test first, and consider working gradually toward black rather than jumping straight into the deepest shade.
On Dark Brown Hair
Dark brown hair usually takes henna and indigo well. The result may be a richer black-brown with added shine. If your hair is already very dark, the difference may be most visible in sunlight or around lighter ends and grays.
On Previously Dyed or Bleached Hair
Be extra careful. Porous, bleached, highlighted, or chemically treated hair can grab plant dye unevenly. Indigo can also complicate future lightening services. If you think you may want blonde highlights soon, natural black dye may not be the best move. A professional colorist should know if you have used henna or indigo before any future chemical treatment.
Aftercare: How to Keep Naturally Dyed Black Hair Rich
Natural black hair dye needs gentle maintenance. Wait 24 to 48 hours before shampooing after a henna-indigo treatment if possible. This gives the color time to oxidize and settle. When you do wash, use a gentle shampoo and avoid harsh clarifying formulas unless you are intentionally trying to fade buildup.
Wash with cool or lukewarm water, condition regularly, and protect your hair from too much sun exposure. UV rays can fade color and make dyed hair look dry. If your ends are porous, use a light leave-in conditioner or oil on the ends only. Heavy oils before dyeing can block pigment, but aftercare oils can help with shine and softness once the color has fully settled.
For gray roots, you may not need to redo your entire head every time. Many people refresh only the roots with henna and indigo, then do a full-head gloss every few months. This keeps the color rich without overloading the lengths.
Common Mistakes to Avoid
Using Indigo Alone on Light or Gray Hair
Indigo alone can look blue, green, or smoky on pale strands. If you want black, use henna first.
Shampooing Too Soon
Shampooing immediately after rinsing may reduce the depth of the final color. Rinse with water, wait, and let the shade develop.
Skipping the Strand Test
Natural dye is still dye. A strand test prevents surprises, especially on gray, bleached, highlighted, or porous hair.
Buying Mystery Powders
Choose reputable brands with clear ingredient labels. Pure henna should list Lawsonia inermis. Pure indigo should list Indigofera tinctoria. Avoid products with vague “herbal color blend” labels unless the full ingredient list is transparent.
Expecting Salon-Level Predictability
Plant dye is beautiful, but it has a personality. Results depend on your hair history, texture, natural color, water minerals, timing, and application technique. Approach it with patience, not panic.
Real-World Experiences: What People Usually Learn After Trying Natural Black Hair Dye
The first experience many people have with natural black hair dye is surprisenot always at the color, but at the process. Henna and indigo are not quick little beauty snacks. They are more like a weekend project wearing gloves. The paste smells earthy, looks like something a houseplant might enjoy, and has a talent for landing on bathroom counters you were absolutely sure you covered. The good news is that once you understand the rhythm, the process becomes much less intimidating.
One common experience is that the first application looks lighter than expected. Someone with gray roots may rinse the henna stage and think, “Oh no, my hair is orange.” Then the indigo goes on, the hair darkens, and by the next day the color settles into a much deeper black-brown. This waiting period matters. Natural dye can look unfinished right after rinsing, especially under bright indoor light. Many people like the result more on day two than on day one.
Another frequent lesson is that gray temples are stubborn little rebels. The hair around the hairline can be more resistant, finer, oilier from skincare products, or simply harder to saturate. For better coverage, clean the hairline well before dyeing, apply paste generously, and press small pieces of cotton or plastic wrap over the area to keep it moist. Dry paste stops working as effectively, so moisture and full contact are important.
People with curly, coily, or thick hair often discover that sectioning is everything. Trying to slap paste onto loose hair usually leads to uneven coverage and tired arms. Smaller sections, patient application, and a thick-but-spreadable paste make the job easier. Some users also notice that henna can make hair feel stronger or slightly coated at first. A deep conditioner after the color has oxidized can help restore softness and movement.
There is also the “future color plans” lesson. Henna and indigo can be long-lasting, and indigo-treated hair may react unpredictably if later bleached. People who love changing their hair every season may find natural black dye too permanent for their personality. But people who want a consistent dark shade often appreciate the staying power.
The best experience usually comes from realistic expectations. Natural black hair dye is not a one-size-fits-all trick. It is a buildable system. Start with a strand test, keep notes on ratios and timing, protect your bathroom, and give the color time to develop. Once you find the formula your hair likes, the payoff can be gorgeous: deep color, impressive shine, and the satisfaction of knowing exactly what you put on your head.
Conclusion
Dyeing hair black naturally is absolutely possible, but the best results come from patience, testing, and choosing the right plant-based method. Henna and indigo are the most dependable combination for natural black or black-brown hair, especially when used in a two-step process. Black tea and coffee can help refresh or subtly darken hair, but they are better for temporary toning than full coverage. Amla can soften henna’s warmth and help create a cooler finish, while careful aftercare keeps the color glossy and rich.
The golden rule is simple: respect the process. Patch test, strand test, use pure powders, avoid suspicious “black henna,” and do not rush the color before it has had time to oxidize. Natural dye may be a little messy, but when it works, it gives hair a deep, elegant finish with a shine that looks expensiveeven if your mixing bowl says otherwise.
Note: This article is for informational beauty and hair-care guidance only. If you have a history of allergies, scalp irritation, eczema, chemical sensitivity, or previous reactions to hair dye, consult a dermatologist or qualified professional before using any natural or conventional dye.