

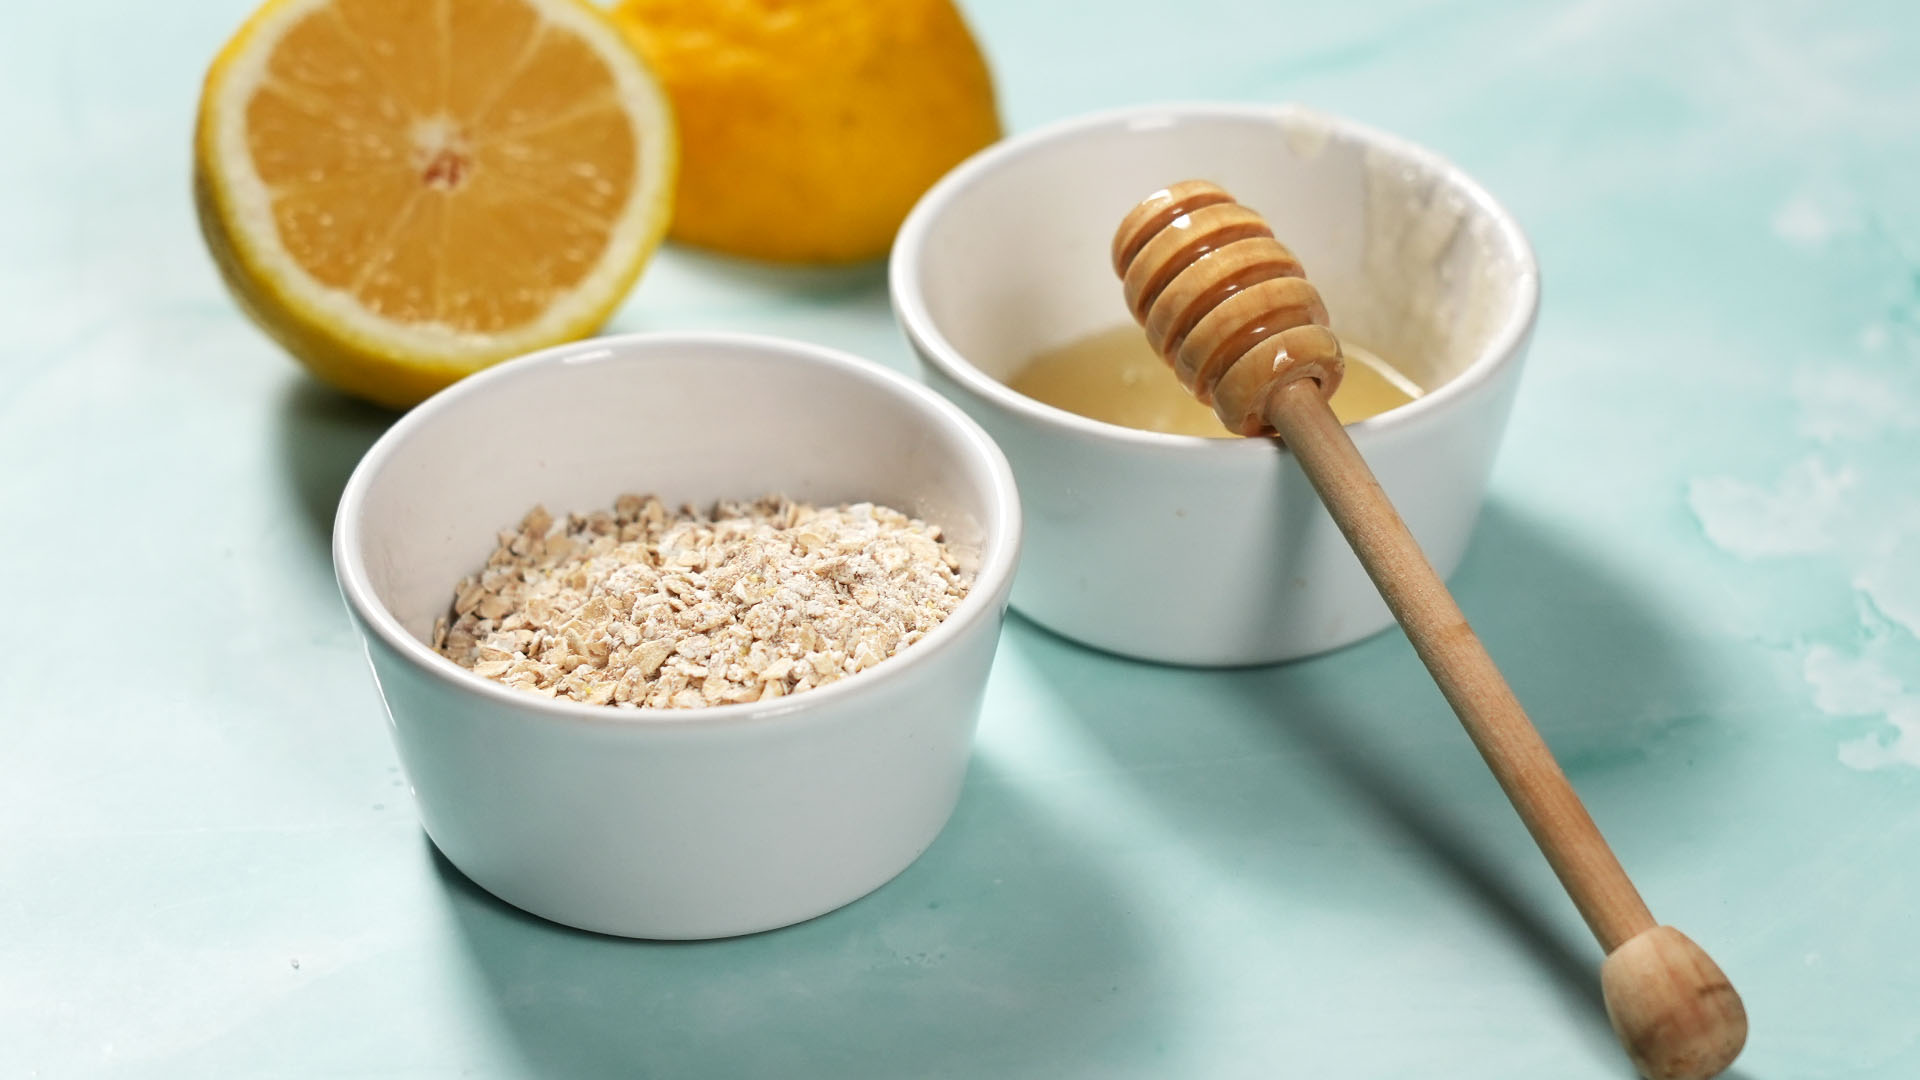
Note: A honey and sugar face scrub is a physical exfoliant, and facial skin can be surprisingly easy to irritate. The recipe below uses a small amount of very fine sugar, minimal pressure, med, or highly reactive. A homemade scrub is cosmetic care, not a treatment for acne, eczema, rosacea, infections, or wounds.
Some beauty projects require a laboratory, a chemistry degree, and enough glass bottles to make your bathroom look like a Victorian pharmacy. A honey and sugar face scrub is not one of them. At its simplest, this DIY exfoliant combines honey with fine sugar to create a sticky, grainy mixture that can physically loosen surface flakes when used very gently.
The important words are very gently. Sugar crystals are physical exfoliants, and enthusiastic scrubbing can turn a relaxing skin care moment into an evening spent asking, “Why is my face angry with me?” Dermatology guidance consistently warns that over-exfoliating and vigorous rubbing may cause redness, dryness, or irritation. Some dermatologists specifically advise avoiding sugar scrubs on delicate facial skin, particularly when the skin is sensitive.
So, this guide takes a cautious approach. You will learn how to make a honey and sugar face scrub in 13 steps, how to reduce its abrasiveness, how often to use it, and when a gentler commercial or chemical exfoliant may be a better choice.
What Does a Honey and Sugar Face Scrub Do?
A sugar scrub works through physical exfoliation. The small particles move across the outer surface of the skin and can help lift loose, dead skin cells. After rinsing, skin may temporarily feel smoother and look a little less dull.
Honey plays a different role. It gives the scrub a thick, spreadable texture and helps partially coat the sugar particles. Honey has a long history of topical use, and scientific literature has examined its antimicrobial, anti-inflammatory, and wound-related properties. However, much of the serious clinical evidence involves carefully selected or medical-grade honey. A spoonful of grocery-store honey mixed beside your toothbrush should not be treated as an acne medication, antibiotic, or wound dressing.
For an ordinary DIY facial scrub, think of honey primarily as the sticky base that makes the mixture easier to spread. The goal is cosmetic exfoliation, not performing dermatological miracles before breakfast.
Ingredients and Tools You Will Need
For one facial application, keep the recipe tiny. Fresh, single-use batches are practical because homemade mixtures do not contain a professionally designed preservative system.
- 1 teaspoon plain honey
- 1/2 teaspoon very fine or superfine sugar
- 1 small clean bowl
- 1 clean teaspoon
- A clean headband or hair tie
- A soft, clean towel
- Your regular fragrance-free moisturizer
- Broad-spectrum sunscreen for daytime use
Important: Do not add lemon juice, baking soda, toothpaste, undiluted essential oils, or rubbing alcohol. A DIY recipe does not become more effective simply because your kitchen cabinet voted unanimously to join the party. Extra ingredients can increase the chance of irritation.
How to Make a Honey and Sugar Face Scrub in 13 Steps
Step 1: Decide Whether Your Skin Is a Good Candidate
Before reaching for the sugar bowl, look closely at your skin. A physical facial scrub is best approached cautiously even when your skin is generally healthy.
Do not scrub over open cuts, picked pimples, raw patches, a fresh sunburn, or an active rash. People with eczema, rosacea, highly sensitive skin, or a history of irritation from exfoliants may find that sugar is simply too abrasive. Active inflammatory acne can also become more irritated with aggressive rubbing.
If you are currently using retinoids, prescription acne products, exfoliating acids, or other treatments that leave your face dry or sensitive, piling a scrub on top may be exfoliation overkill. Your skin does not award bonus points for suffering.
Step 2: Clean Your Bowl, Spoon, and Hands
Wash your hands thoroughly. Use a clean, dry bowl and spoon. This sounds spectacularly boring, but clean tools matter when you are making something that will be rubbed directly onto your face.
Avoid dipping wet fingers repeatedly into a jar of homemade scrub. Introducing water and microorganisms can make an unpreserved mixture less suitable for storage. This is one reason the recipe makes a single application rather than a decorative gallon of “artisanal facial frosting.”
Step 3: Choose the Finest Sugar Available
Measure 1/2 teaspoon of very fine sugar. Superfine sugar is preferable to large, coarse crystals because the goal is to minimize roughness.
Brown sugar is often recommended in homemade beauty recipes because it can feel softer, but crystal size and pressure still matter. Do not assume any sugar is automatically gentle simply because it looks rustic in a glass jar.
Avoid coarse sanding sugar, decorative sugar crystals, or other large granules. Save those for cookies, where aggression is generally less of a dermatological concern.
Step 4: Patch Test the Ingredients First
Natural ingredients can still cause reactions. If honey or a homemade skin mixture is new to you, test it on a small area before covering your face.
For careful testing of a new skin care product, dermatologists commonly recommend repeated use on a small test area for several days and watching for redness, itching, swelling, or other reactions. A quick five-minute test can miss delayed contact reactions.
If you know you are allergic to honey, bee-related products, or an ingredient in the recipe, do not use the scrub. Stop immediately if the mixture causes significant burning, swelling, hives, or persistent irritation.
Step 5: Cleanse Your Face Gently
Remove makeup and sunscreen with your usual gentle facial cleanser. Use lukewarm water rather than hot water.
Hot water can contribute to dryness and may be uncomfortable for easily irritated skin. You also do not need a washcloth, cleansing brush, or scrubby sponge at this point. Your fingertips are enough.
Pat away excess water, leaving your face slightly damp. Starting with clean skin prevents you from grinding makeup, sunscreen residue, and the day’s general urban mystery into your pores.
Step 6: Measure One Teaspoon of Honey
Add 1 teaspoon of plain honey to your clean bowl. You do not need an enormous quantity. A thin layer is easier to control, easier to rinse, and far less likely to migrate into your hairline.
Runny honey makes a looser scrub, while thicker honey creates a denser paste. Either can work for mixing. If the honey has heavily crystallized, it may make the mixture rougher, so choose a smoother honey for this purpose.
Remember that ordinary honey is not interchangeable with sterile medical-grade honey used in specialized wound care. Do not apply this kitchen recipe to wounds or infected skin.
Step 7: Mix in the Sugar Slowly
Add the fine sugar to the honey in small portions. Stir with your clean spoon after each addition.
The finished mixture should look more like thick syrup with suspended sugar than a bowl of wet sand. If the scrub is packed with granules and barely moves, you have probably used too much sugar.
For facial skin, the honey should dominate the recipe. This is not a body scrub for elbows or heels, which can tolerate different products and methods. Your cheeks did not sign up to be refinished like hardwood flooring.
Step 8: Let the Mixture Sit for a Few Minutes
Allow the honey and sugar mixture to rest for about three to five minutes. Stir it again before use.
This short resting period allows some of the sugar surface to begin interacting with moisture in the honey. The scrub may feel slightly less sharply granular than it did immediately after mixing.
Do not expect every crystal to dissolve. If the mixture still feels noticeably scratchy when rubbed gently between two clean fingertips, add a little more honey or skip using it on your face.
Step 9: Adjust the Texture Before Application
Test a pea-sized amount between your fingertips. The texture should spread easily without requiring pressure.
If it feels too rough, add another 1/2 teaspoon of honey. If the mixture is extremely runny, add only a tiny pinch of superfine sugar. Resist the urge to keep adding sugar until the scrub develops structural engineering credentials.
This texture check is important because physical exfoliation depends not only on the ingredient but also on particle size, pressure, massage time, and frequency. A supposedly “natural” product can still irritate skin when used aggressively.
Step 10: Apply a Thin Layer With Your Fingertips
Using clean fingertips, spread a thin layer over your face. Avoid the delicate eye area and the lips.
Do not immediately start scrubbing. First, distribute the mixture with light movements. Pay attention to how your skin feels. Mild awareness of the sugar texture is expected; sharp scratching, burning, or pain is not.
If you experience uncomfortable stinging, rinse the mixture away. Skin care is not a toughness competition.
Step 11: Massage Very Gently for About 20 to 30 Seconds
Using minimal pressure, move your fingertips in small circular motions for about 20 to 30 seconds. That is enough. Set a mental timer if you tend to enter a meditative trance while standing over the sink.
Do not grind the particles into your skin. Let your fingertips glide. Give extra-sensitive areas less attention, not more.
Avoid vigorously scrubbing blackheads or pimples. More friction does not mean more pore cleansing. In acne-prone skin, harsh scrubbing can increase irritation and make breakouts appear angrier.
If you need a strong acne treatment or help with persistent clogged pores, evidence-based ingredients such as salicylic acid, retinoids, or other dermatologist-recommended approaches may be more appropriate than repeated mechanical scrubbing.
Step 12: Rinse Thoroughly and Pat Dry
Rinse the scrub away with plenty of lukewarm water. Make sure no sticky honey remains around the nostrils, eyebrows, jawline, or hairline.
Use your hands rather than an abrasive cloth to remove the mixture. Once your face is clean, gently pat it with a soft towel. Do not rub.
Your skin may feel smooth immediately after physical exfoliation. That instant texture change can be satisfying, but it is not an invitation to repeat the scrub tomorrow morning, tomorrow evening, and again because you have dinner plans.
Step 13: Moisturize and Protect Your Skin
Apply a gentle moisturizer soon after rinsing. Exfoliation can be drying, and moisturizing supports comfortable, hydrated skin after the process.
If you exfoliate during the day, finish your skin care routine with broad-spectrum sunscreen. Sun protection is a basic part of a healthy skin care routine regardless of whether you use a homemade scrub.
Start by using this scrub no more than once a week. Some people may tolerate occasional physical exfoliation, while others should avoid it entirely. If you notice persistent redness, tightness, burning, increased sensitivity, or flaking, stop using the scrub and give your skin time to recover.
How Often Should You Use a Honey and Sugar Face Scrub?
There is no prize for becoming the person who exfoliates most frequently. How often you should exfoliate depends on your skin type, the method you use, and the rest of your routine.
Because sugar is a physical exfoliant, a cautious starting point is once a week or less. You may discover that your skin looks and feels better without a facial scrub at all. That is perfectly normal.
Be especially careful about combining a scrub with retinol, tretinoin, alpha hydroxy acids, beta hydroxy acids, benzoyl peroxide, or other potentially drying products. Using multiple irritating steps at the same time may make it difficult to identify what caused redness or discomfort.
When your skin feels sore, unusually shiny and tight, persistently red, or tender during cleansing, back away from exfoliation. Simplify your routine with a gentle cleanser, an appropriate moisturizer, and sunscreen. If symptoms are severe or do not improve, consult a dermatologist.
Can You Use Brown Sugar Instead of White Sugar?
Yes, you can make a honey and brown sugar face scrub, provided the sugar is fine and the finished mixture does not feel scratchy. The color of the sugar matters less than the actual texture of the crystals and how you use the scrub.
Some brown sugars contain more molasses and feel slightly moist or soft. However, they remain physical particles. “Brown” is not a magical dermatological safety certification.
Whichever sugar you choose, use a high honey-to-sugar ratio, light pressure, and a short massage time.
Should You Add Coconut Oil, Olive Oil, or Essential Oils?
Keeping the recipe simple makes it easier to observe how your skin responds. Adding multiple ingredients creates multiple opportunities for irritation or breakouts.
Some plant oils are used successfully in cosmetic formulations, but a professionally formulated moisturizer is different from pouring cooking oil into a homemade scrub. Individual skin types also respond differently to rich oils.
Essential oils deserve extra caution. Peppermint, eucalyptus, clove, citrus, and other fragrant oils can be irritating for some people, particularly those with sensitive or rosacea-prone skin. “It smells like a luxury spa” is not the same as “my skin barrier requested this.”
For a beginner recipe, use only honey and very fine sugar. Follow with your regular moisturizer.
Common Honey and Sugar Scrub Mistakes
Using Coarse Sugar
Large crystals can feel harsh on facial skin. Choose very fine sugar and check the texture with your fingertips before application.
Scrubbing for Several Minutes
Longer is not automatically better. Keep the massage brief and gentle. Dermatology guidance for physical exfoliation emphasizes small circular motions and a short application period.
Using the Scrub on Irritated Acne
Do not attack inflamed pimples with sugar. Aggressive scrubbing can irritate acne-prone skin. Persistent acne deserves a treatment plan designed for acne rather than increasingly heroic exfoliation.
Making a Giant Batch for the Shower
A wet, humid bathroom is not an ideal laboratory for experimenting with long-term storage of preservative-free cosmetics. Make a small fresh batch and discard leftovers.
Skipping Moisturizer
Your face may feel clean and smooth after rinsing, but exfoliation can also contribute to dryness. A gentle moisturizer should be the calm friend who arrives after the party and makes sure everyone gets home safely.
Adding Lemon Juice or Baking Soda
Homemade skin care recipes frequently recommend kitchen ingredients based on enthusiasm rather than careful formulation. More ingredients do not guarantee more benefits. Simple is easier to tolerate, easier to test, and easier to troubleshoot.
Who Should Avoid a Sugar Face Scrub?
Consider skipping a honey and sugar scrub if you have active eczema, rosacea that is easily triggered, broken skin, sunburn, severe inflammatory acne, or an unexplained facial rash. People whose skin becomes red or painful with ordinary cleansing should be especially cautious with physical exfoliation.
You should also avoid the scrub if you have experienced an allergic reaction to honey or another ingredient used in the recipe.
If you have a chronic skin condition or use prescription topical medication, ask your dermatologist whether physical exfoliation fits your routine. Sometimes the most sophisticated DIY skin care decision is deciding not to DIY something.
My Experience With Making a Honey and Sugar Face Scrub
The first lesson I learned from experimenting with a simple honey and sugar scrub was that the internet’s definition of “one tablespoon of sugar” can be wildly optimistic for facial skin. My earliest mixture looked beautiful in the bowl: golden honey, sparkling crystals, very photogenic. It also had the texture of landscaping material.
I tested a little between my fingertips and immediately realized that the recipe needed more honey and much less sugar. That small texture test changed the entire process. Once the ratio became honey-heavy, the mixture spread more easily and I no longer felt tempted to press hard to move it across the skin.
The second lesson was about pressure. During the first gentle massage, I noticed how easy it is to unconsciously scrub harder around the nose and chin. Those are the places where people often see visible pores or rough texture, so the brain apparently announces, “Excellent, let us sand this area aggressively.”
Instead, I deliberately relaxed my fingertips and used only enough pressure to move the honey. I kept the massage brief. The difference was surprisingly noticeable. My face did not feel “deep cleaned” in the dramatic, squeaky sense. It simply felt smooth after rinsing, which is a much more sensible goal.
I also discovered that rinsing deserves more attention than most DIY scrub instructions admit. Honey is committed to its work. It can hide near the eyebrows and hairline with the determination of a tenant who has ignored three eviction notices. Lukewarm water and patient rinsing worked better than rubbing the skin with a washcloth.
After patting my face dry, moisturizer became the non-negotiable final step. On an occasion when I delayed moisturizing, my cheeks felt slightly tight. That was a useful reminder that immediate smoothness does not necessarily mean the skin wants more exfoliation. Once I applied a plain moisturizer, the routine felt much more complete.
Perhaps the biggest practical lesson was frequency. It is incredibly tempting to repeat a beauty treatment when you enjoy the immediate texture of your skin afterward. I tried to judge the scrub based on how my face felt over the next couple of days rather than how smooth it felt five minutes after rinsing.
Spacing out applications made it easier to notice irritation. If my skin was already dry from weather, sunscreen changes, or another active skin care product, I skipped the scrub. The routine became less of a rigid weekly ritual and more of an occasional option.
I also stopped experimenting with endless add-ins. Lemon juice sounded fresh. Essential oils sounded luxurious. Coconut oil sounded moisturizing. Then I remembered that my face is not a smoothie bowl and does not need seven toppings to become interesting. The two-ingredient version was easier to mix, easier to patch test, and easier to evaluate.
My final takeaway is that a homemade honey and sugar face scrub is enjoyable precisely because it is simple. It is not a substitute for acne treatment, professional skin care, sunscreen, or a consistent moisturizing routine. Used cautiously, it can be an occasional physical exfoliation experiment for skin that tolerates it. Used with excessive sugar and Olympic-level scrubbing enthusiasm, it can become an irritation experiment instead.
The best experience came from treating the recipe as a gentle, optional skin care step rather than a miracle treatment. Fine sugar, more honey than sugar, clean tools, minimal pressure, quick rinsing, and moisturizer afterward made the process far more comfortable. Sometimes the secret to DIY beauty is not adding another ingredient. It is knowing when to put the spoon down.
Conclusion
Learning how to make a honey and sugar face scrub is easy: mix a small amount of plain honey with very fine sugar, allow the mixture to soften slightly, and use an extremely light touch for no more than about 20 to 30 seconds. The more important skill is knowing whether physical exfoliation agrees with your skin.
Honey gives the scrub a spreadable base, while sugar provides mechanical exfoliation. Neither ingredient turns the recipe into an acne treatment or medical product. Coarse crystals, hard rubbing, frequent use, and unnecessary add-ins can increase the likelihood of irritation.
Patch test new ingredients, avoid scrubbing damaged or inflamed skin, rinse with lukewarm water, and moisturize afterward. If your face consistently stings, burns, or becomes red after exfoliation, retire the sugar bowl from your skin care routine. It will recover emotionally. There are always cookies.